3D/Geometric Coffee Table

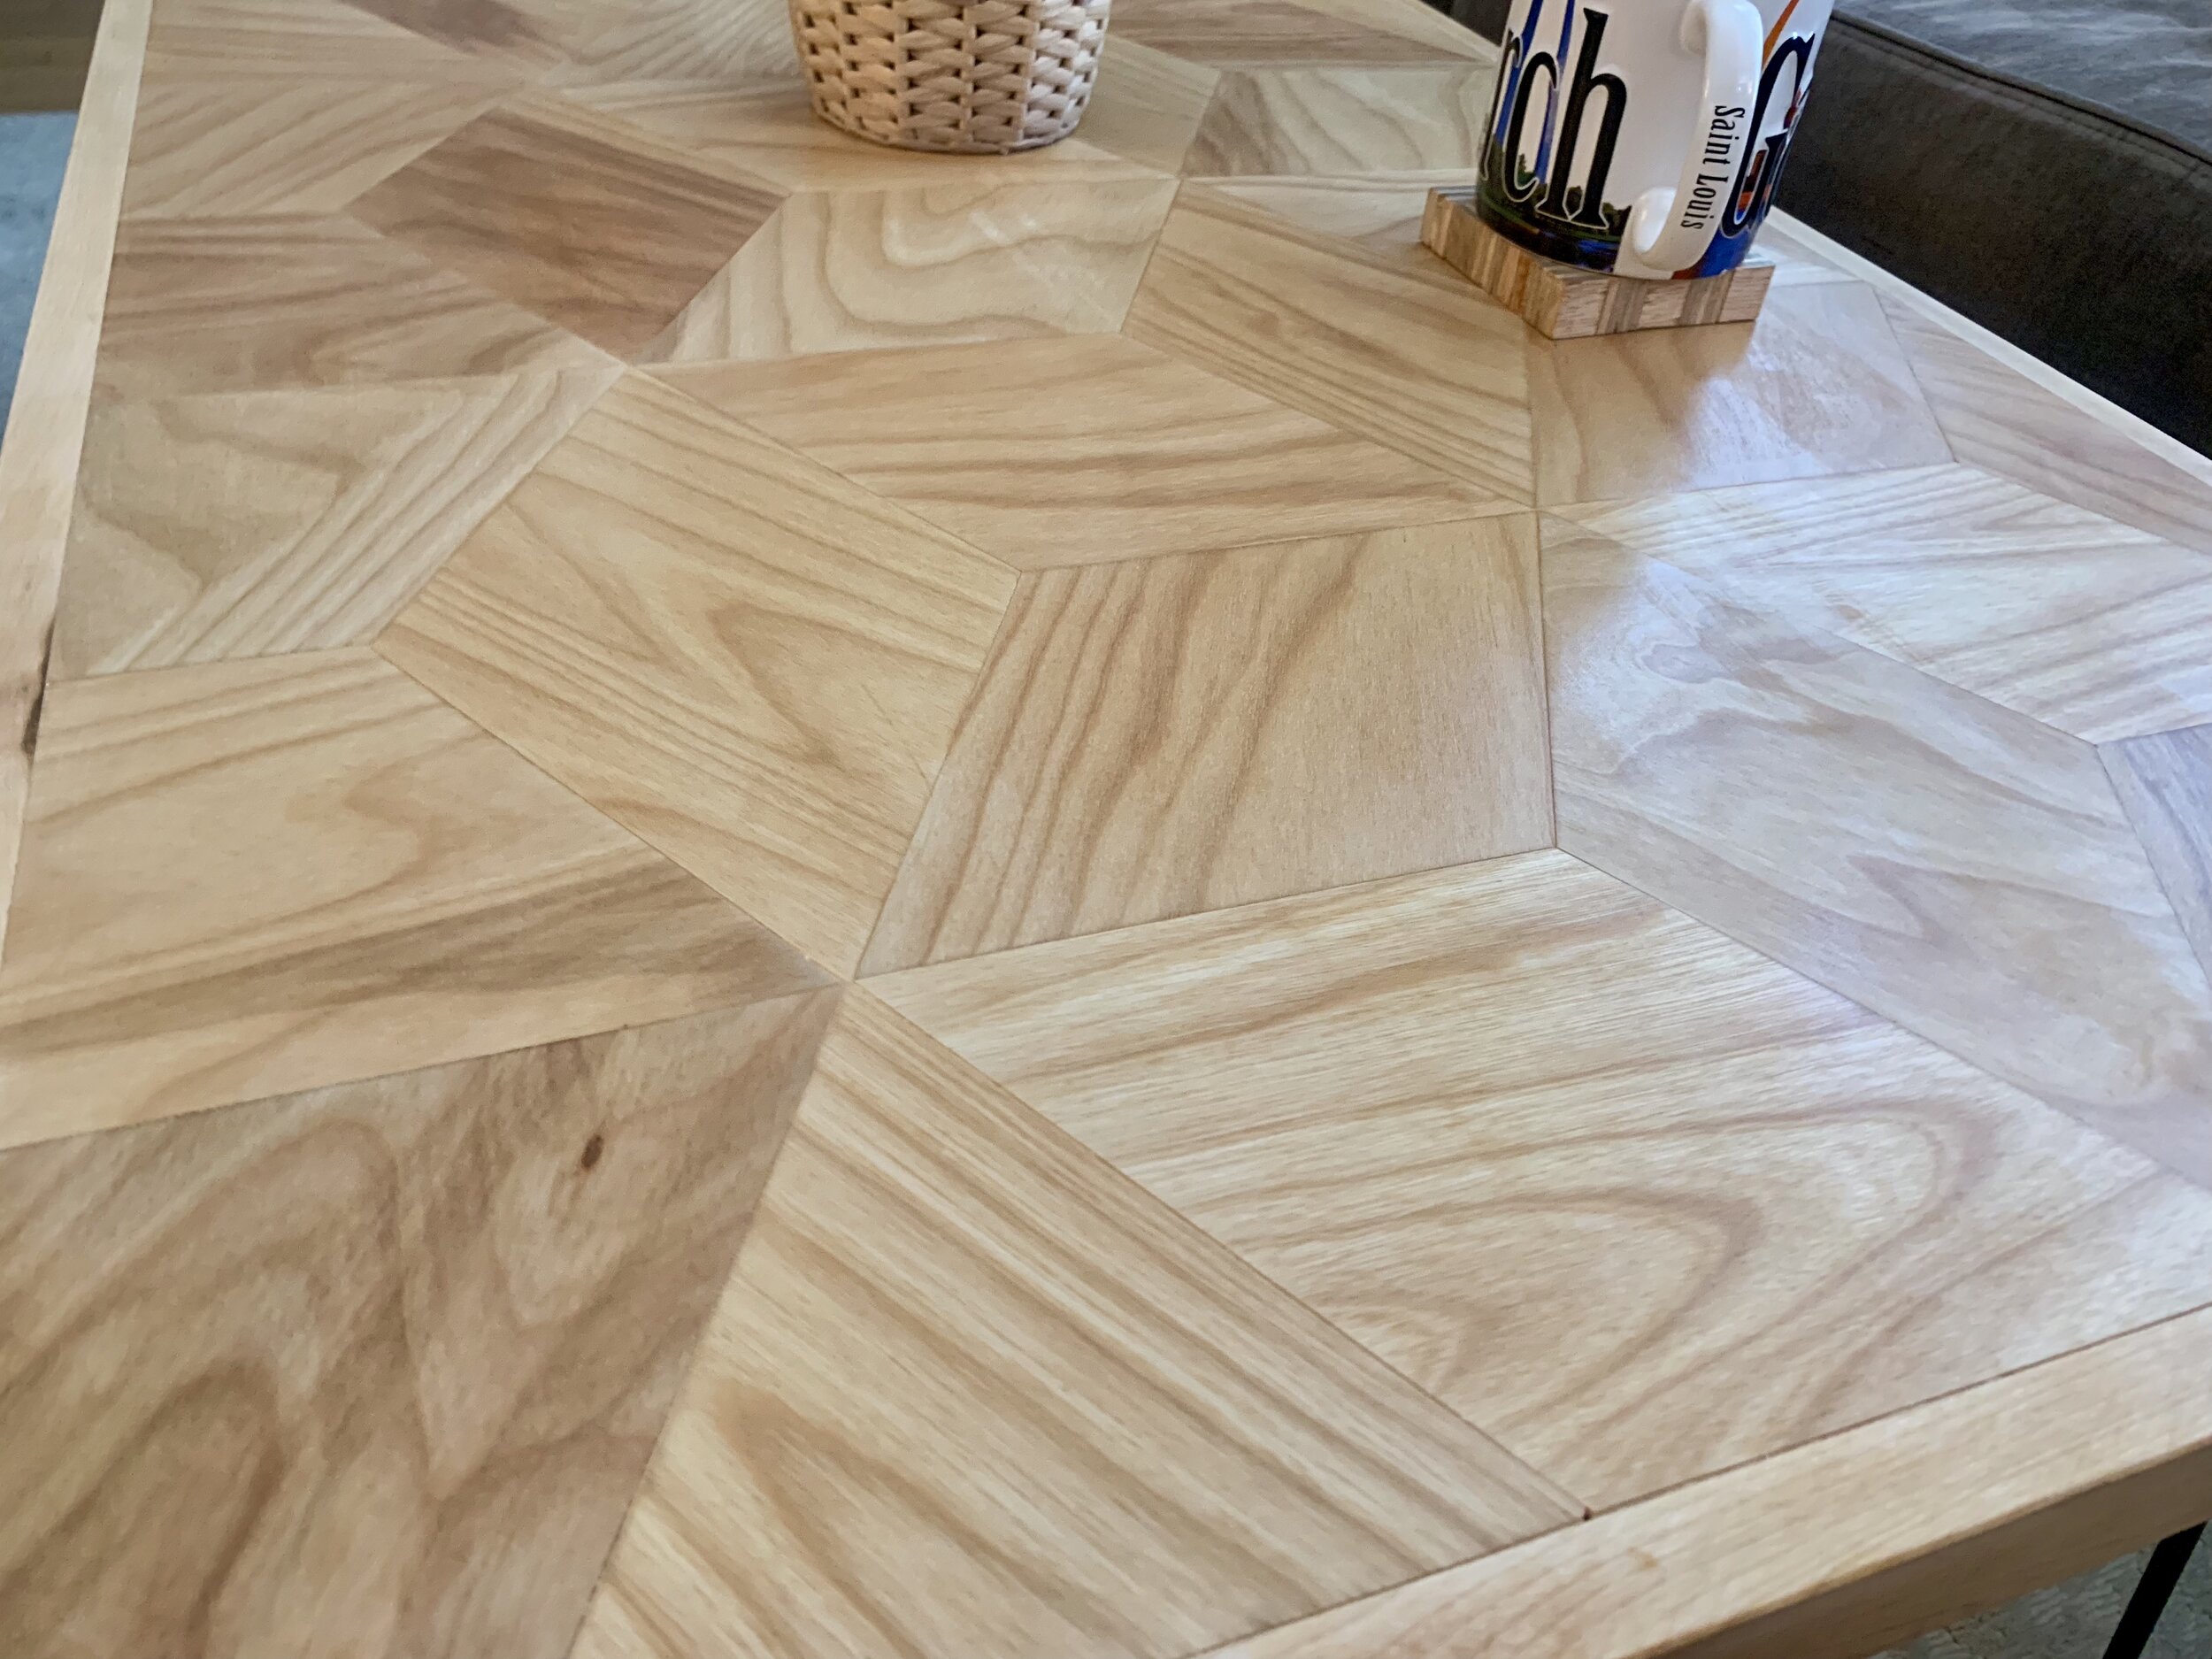
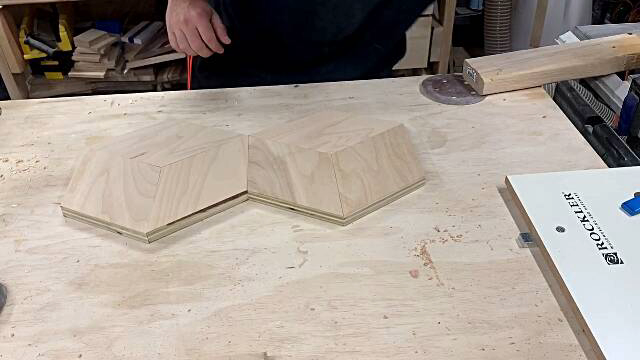
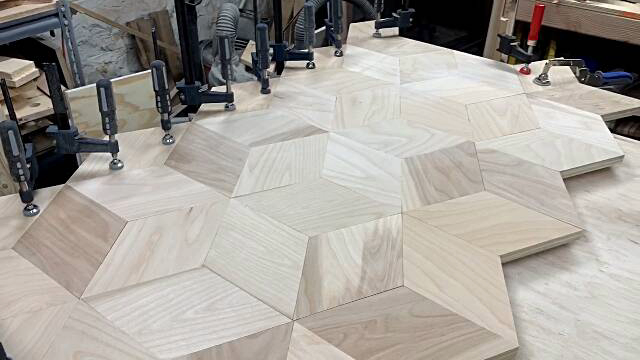
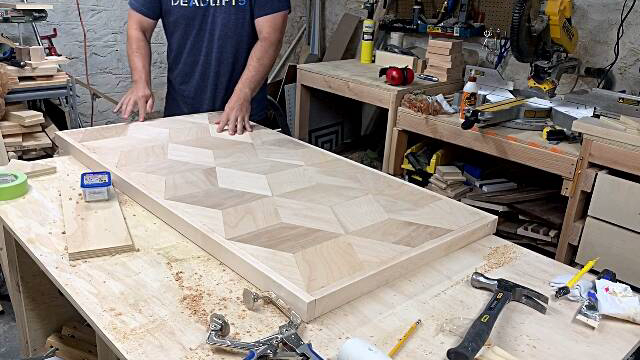
Break out your protractors and take a trip back to 10th grade geometry for this one because you’re going to need it…Just kidding, it’s only one angle and I’ll tell you what it is…30 degrees…well, the shape has a 120 degree and 60 degree interior angles but your cuts are all made at 30 degrees. This table is fairly easy to make once everything is set up for it. I got the idea from the flooring in a Modern Builds attic renovation video.
Side note: The more and more I look at these picture, the more it looks like Oak plywood. The sticker said maple and it definitely did not look like oak before I applied danish oil. Oh well, still looks fantastic.
Materials:
3/4 inch Maple Plywood - 1 Sheet
3/4 inch sanded plywood - 2’x4’ section
1x2x8’ piece of Maple
Tools:
Miter Gauge
Clamps…you’re on your own with these.
**If you’re going to buy a table saw, I highly recommend you buy a SawStop. Yes, they’re expensive but are your fingers worth more than $1800? I realize that I don’t use one in my videos but the ONLY reason I don’t is because I can’t fit one in my basement shop.
Details:
I started out by making a base for the table by breaking down a sheet of 3/4 inch plywood into 2 feet by 4 feet sections using the Kreg Rip Cut. Next I took half a sheet of maple plywood and ripped it down into about 5 inch sections. I was planning on making two tables so I broke down the entire piece. One table takes just about half a sheet of plywood.

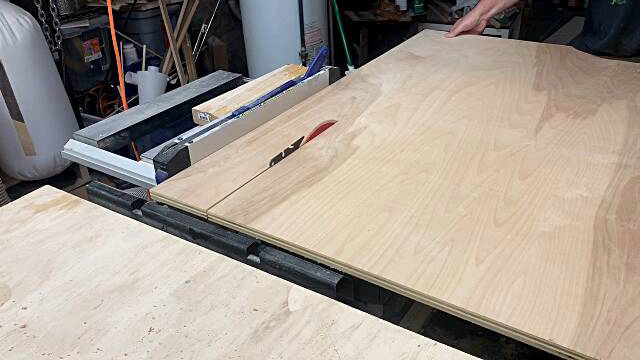
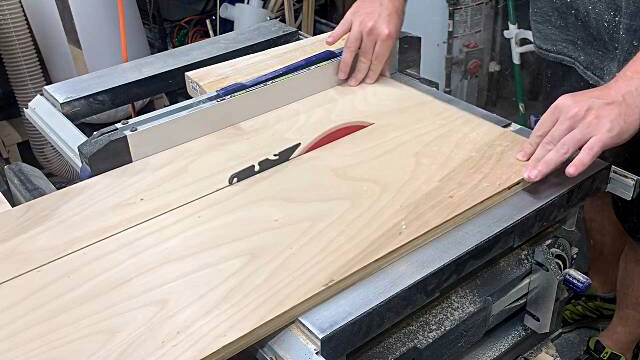
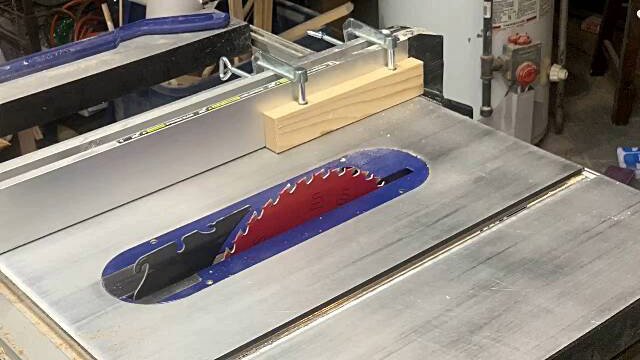
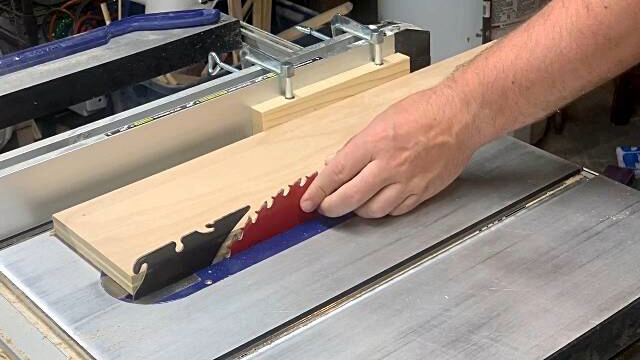
I set up a space block and moved the fence back to the same width as the strips.
The spacer is there to prevent the cut piece from getting trapped between the fence and the blade and shooting back toward you.
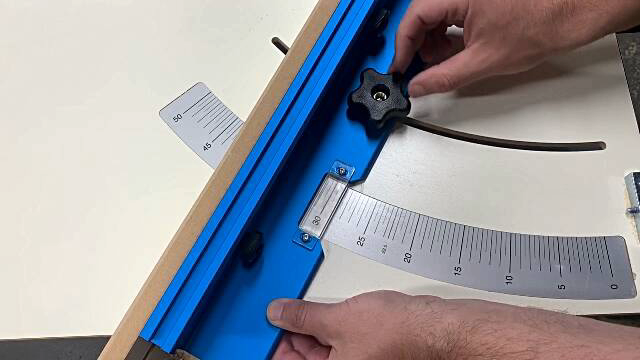
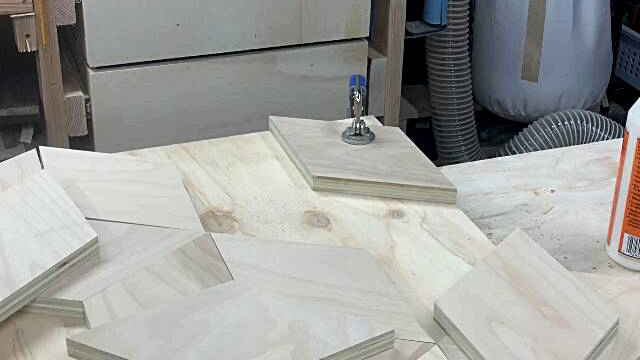
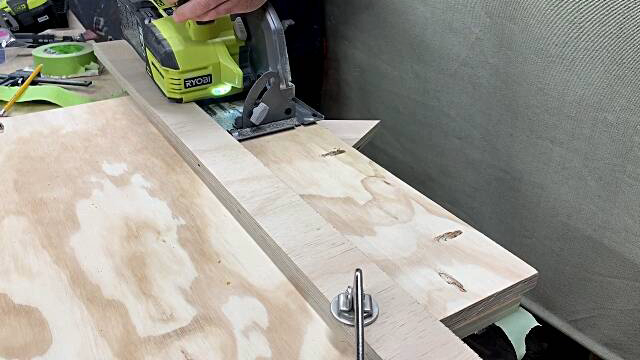
I set my crosscut sled to 30 degrees to make the angle for the geometric pattern and spent the next 20 minutes knocking these pieces out. The first cut is just waste to establish the angle then you can bring your piece all the way to the spacer.
After cutting the first piece I checked to make sure my angle was set correctly and how everything was fitting together. Ideally, I'd use a scrap piece for this. Then it was back to cutting.
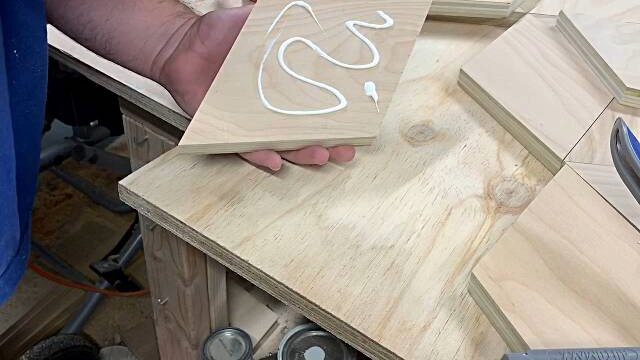
I laid out all the pieces on the plywood base, applied some glue to the first piece and clamping it in place. This piece is critical as it will establish how the entire table fits together.
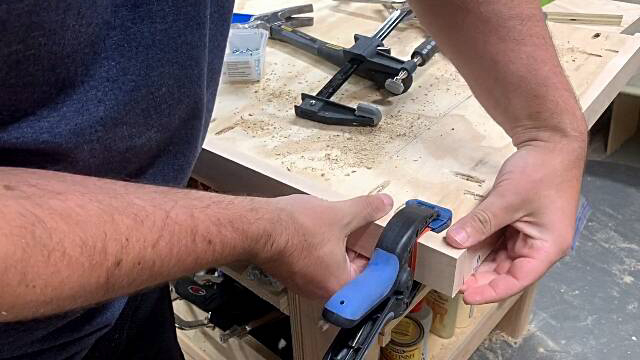
I nailed the edge of each piece at an angle to secure it while the glue dries. I'm using 1 inch brad nails which haven't gone through the base, yet. It would be very difficult to clamp each piece once you get to the second row so nailing is your best option.
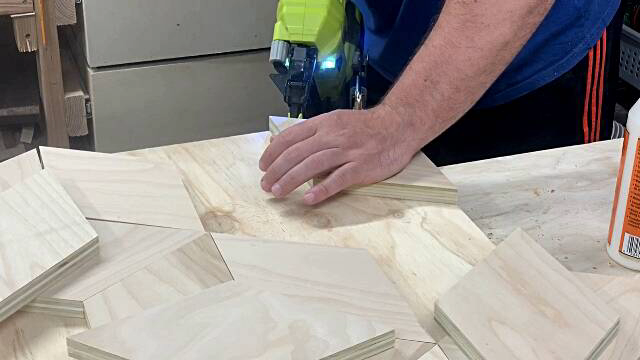

For this last full row, I'm nailing as close to the inside of the table as possible since part of it will be trimmed off. The last odd pieces are clamped, again, so I can trim them off without hitting any nails.
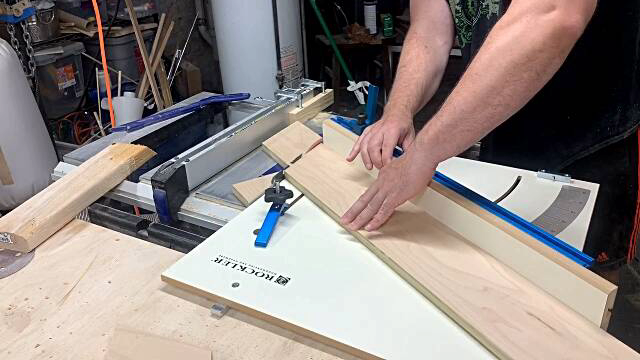
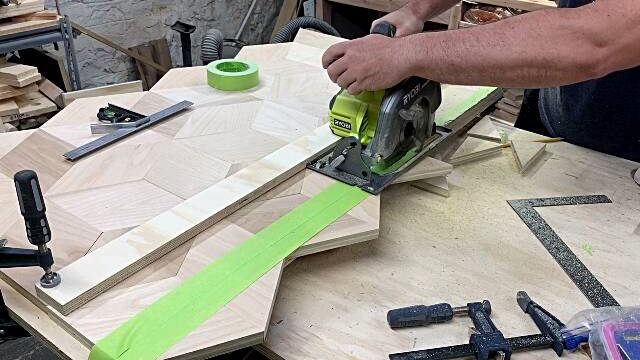
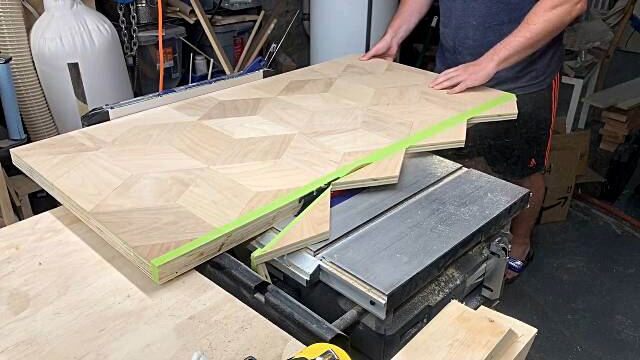
A few hours later, after everything dried, I set up a straight edge and ripped the table down to its final dimensions...Although I forgot the circular saw blade spins in the opposite direction of the table saw and has a bit of tear out on the top. For the next cuts, I flipped it over. For the last edge, I sent it through the table saw.
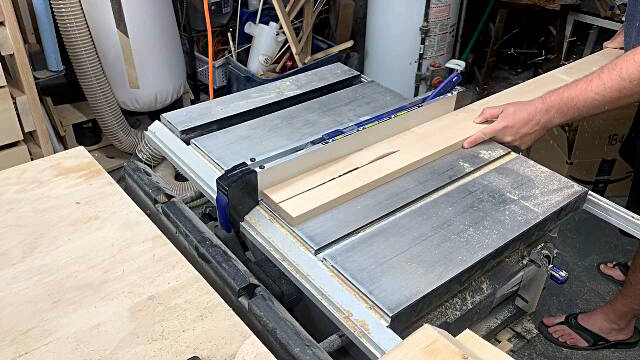
To make the sides, I ripped a 1x4 piece of maple in half. (You can also just use a 1x2) This made the edge, slightly thicker than the edge of the table to hide the hairpin leg bases.
I glued and screwed the edge using pocket holes and a lot of different clamping methods to make sure everything lined up correctly.
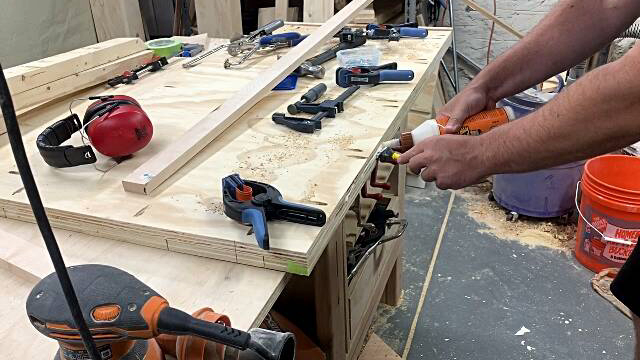
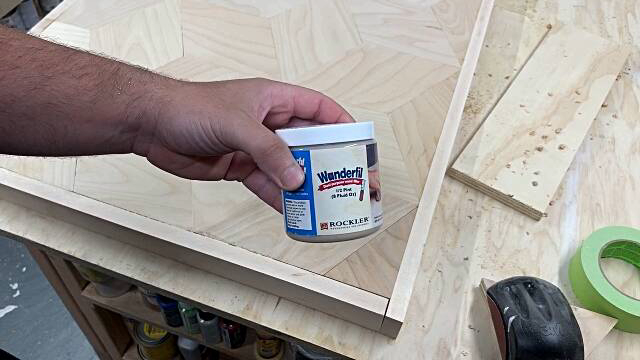
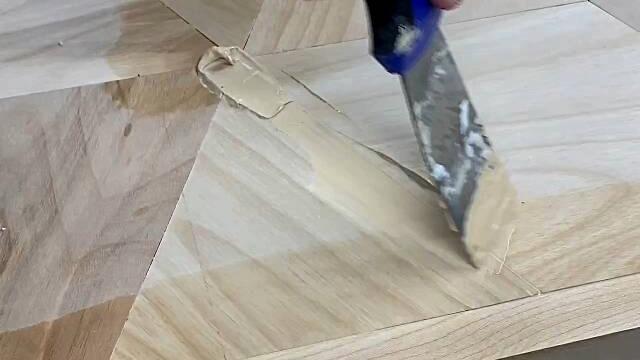
After everything was attached, I used some Wunderfil woodfiller to fill in all the cracks. Since I'm not very accurate on the table saw, there were a lot. I applied a minimal amount to each crack and then wiped away the excess with a damp shop rag.
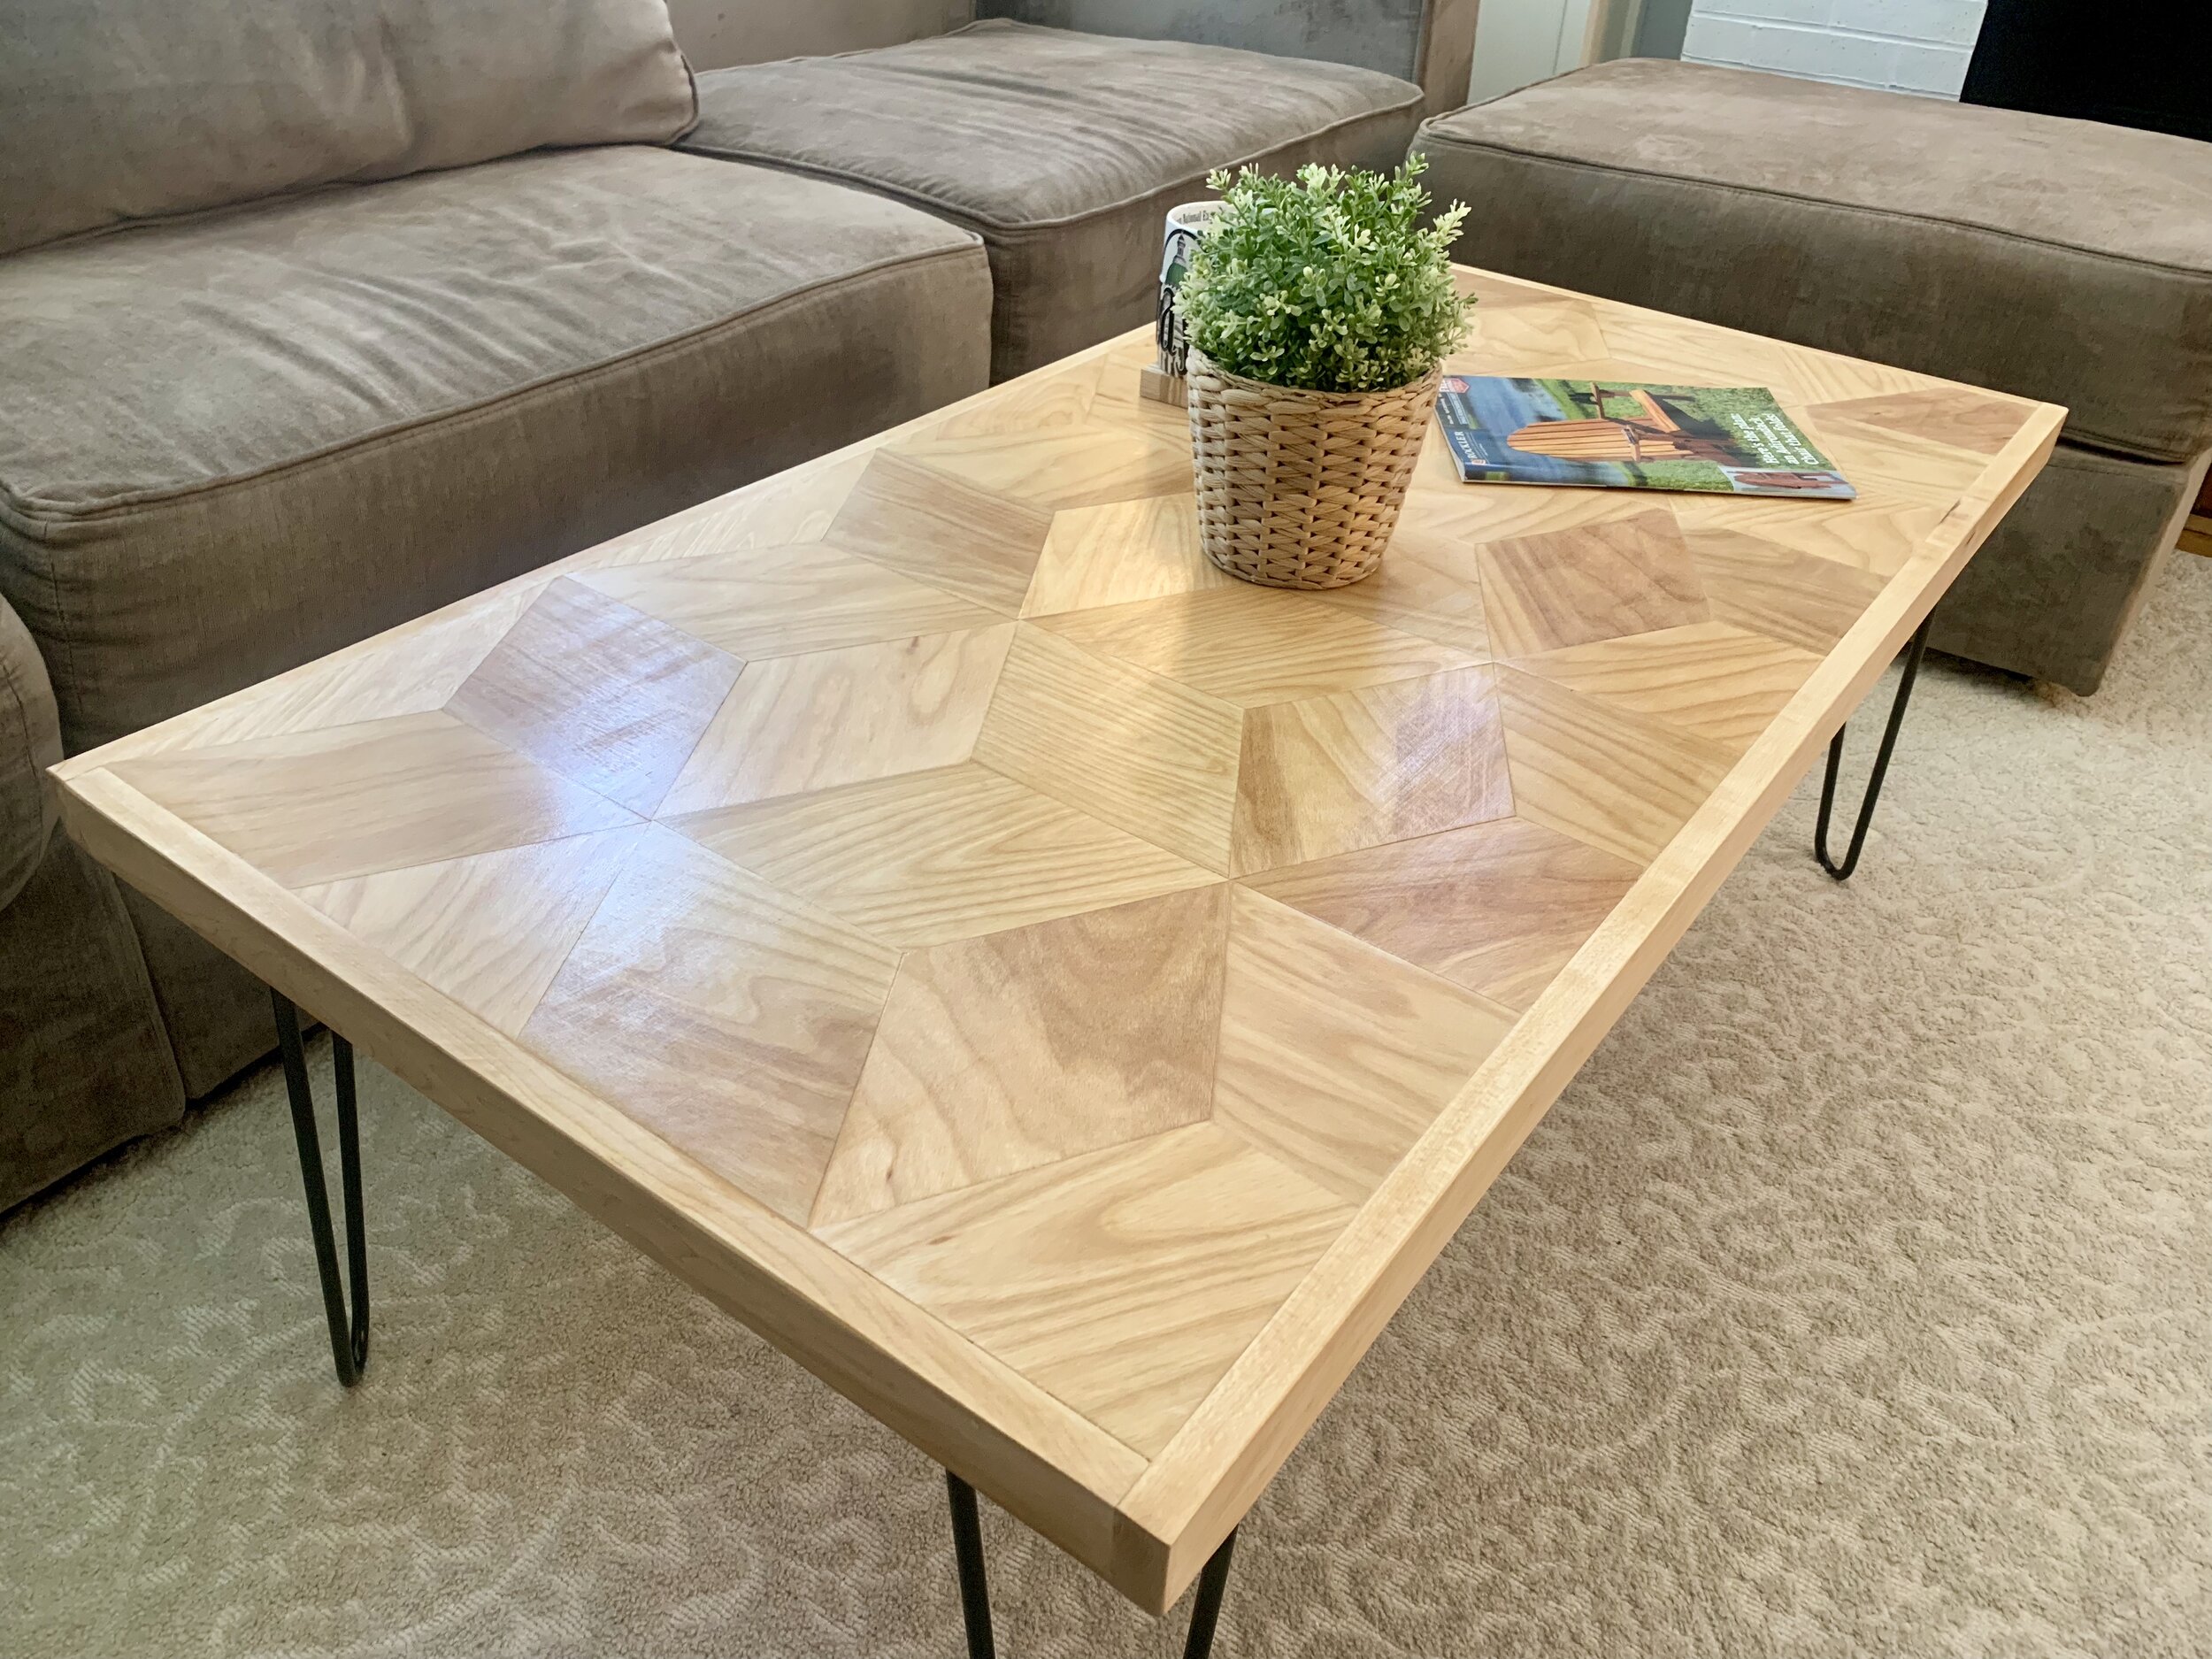
I applied 2 coats of Danish oil which really brought out the color in the maple. Then I attached the hairpin legs using the screws provided. It seemed pointless to use any other type of legs since the main focal point is the top. Getting fancy with the legs would only distract from that since I love how this turned out.