DIY Hardwood Baby Rattle

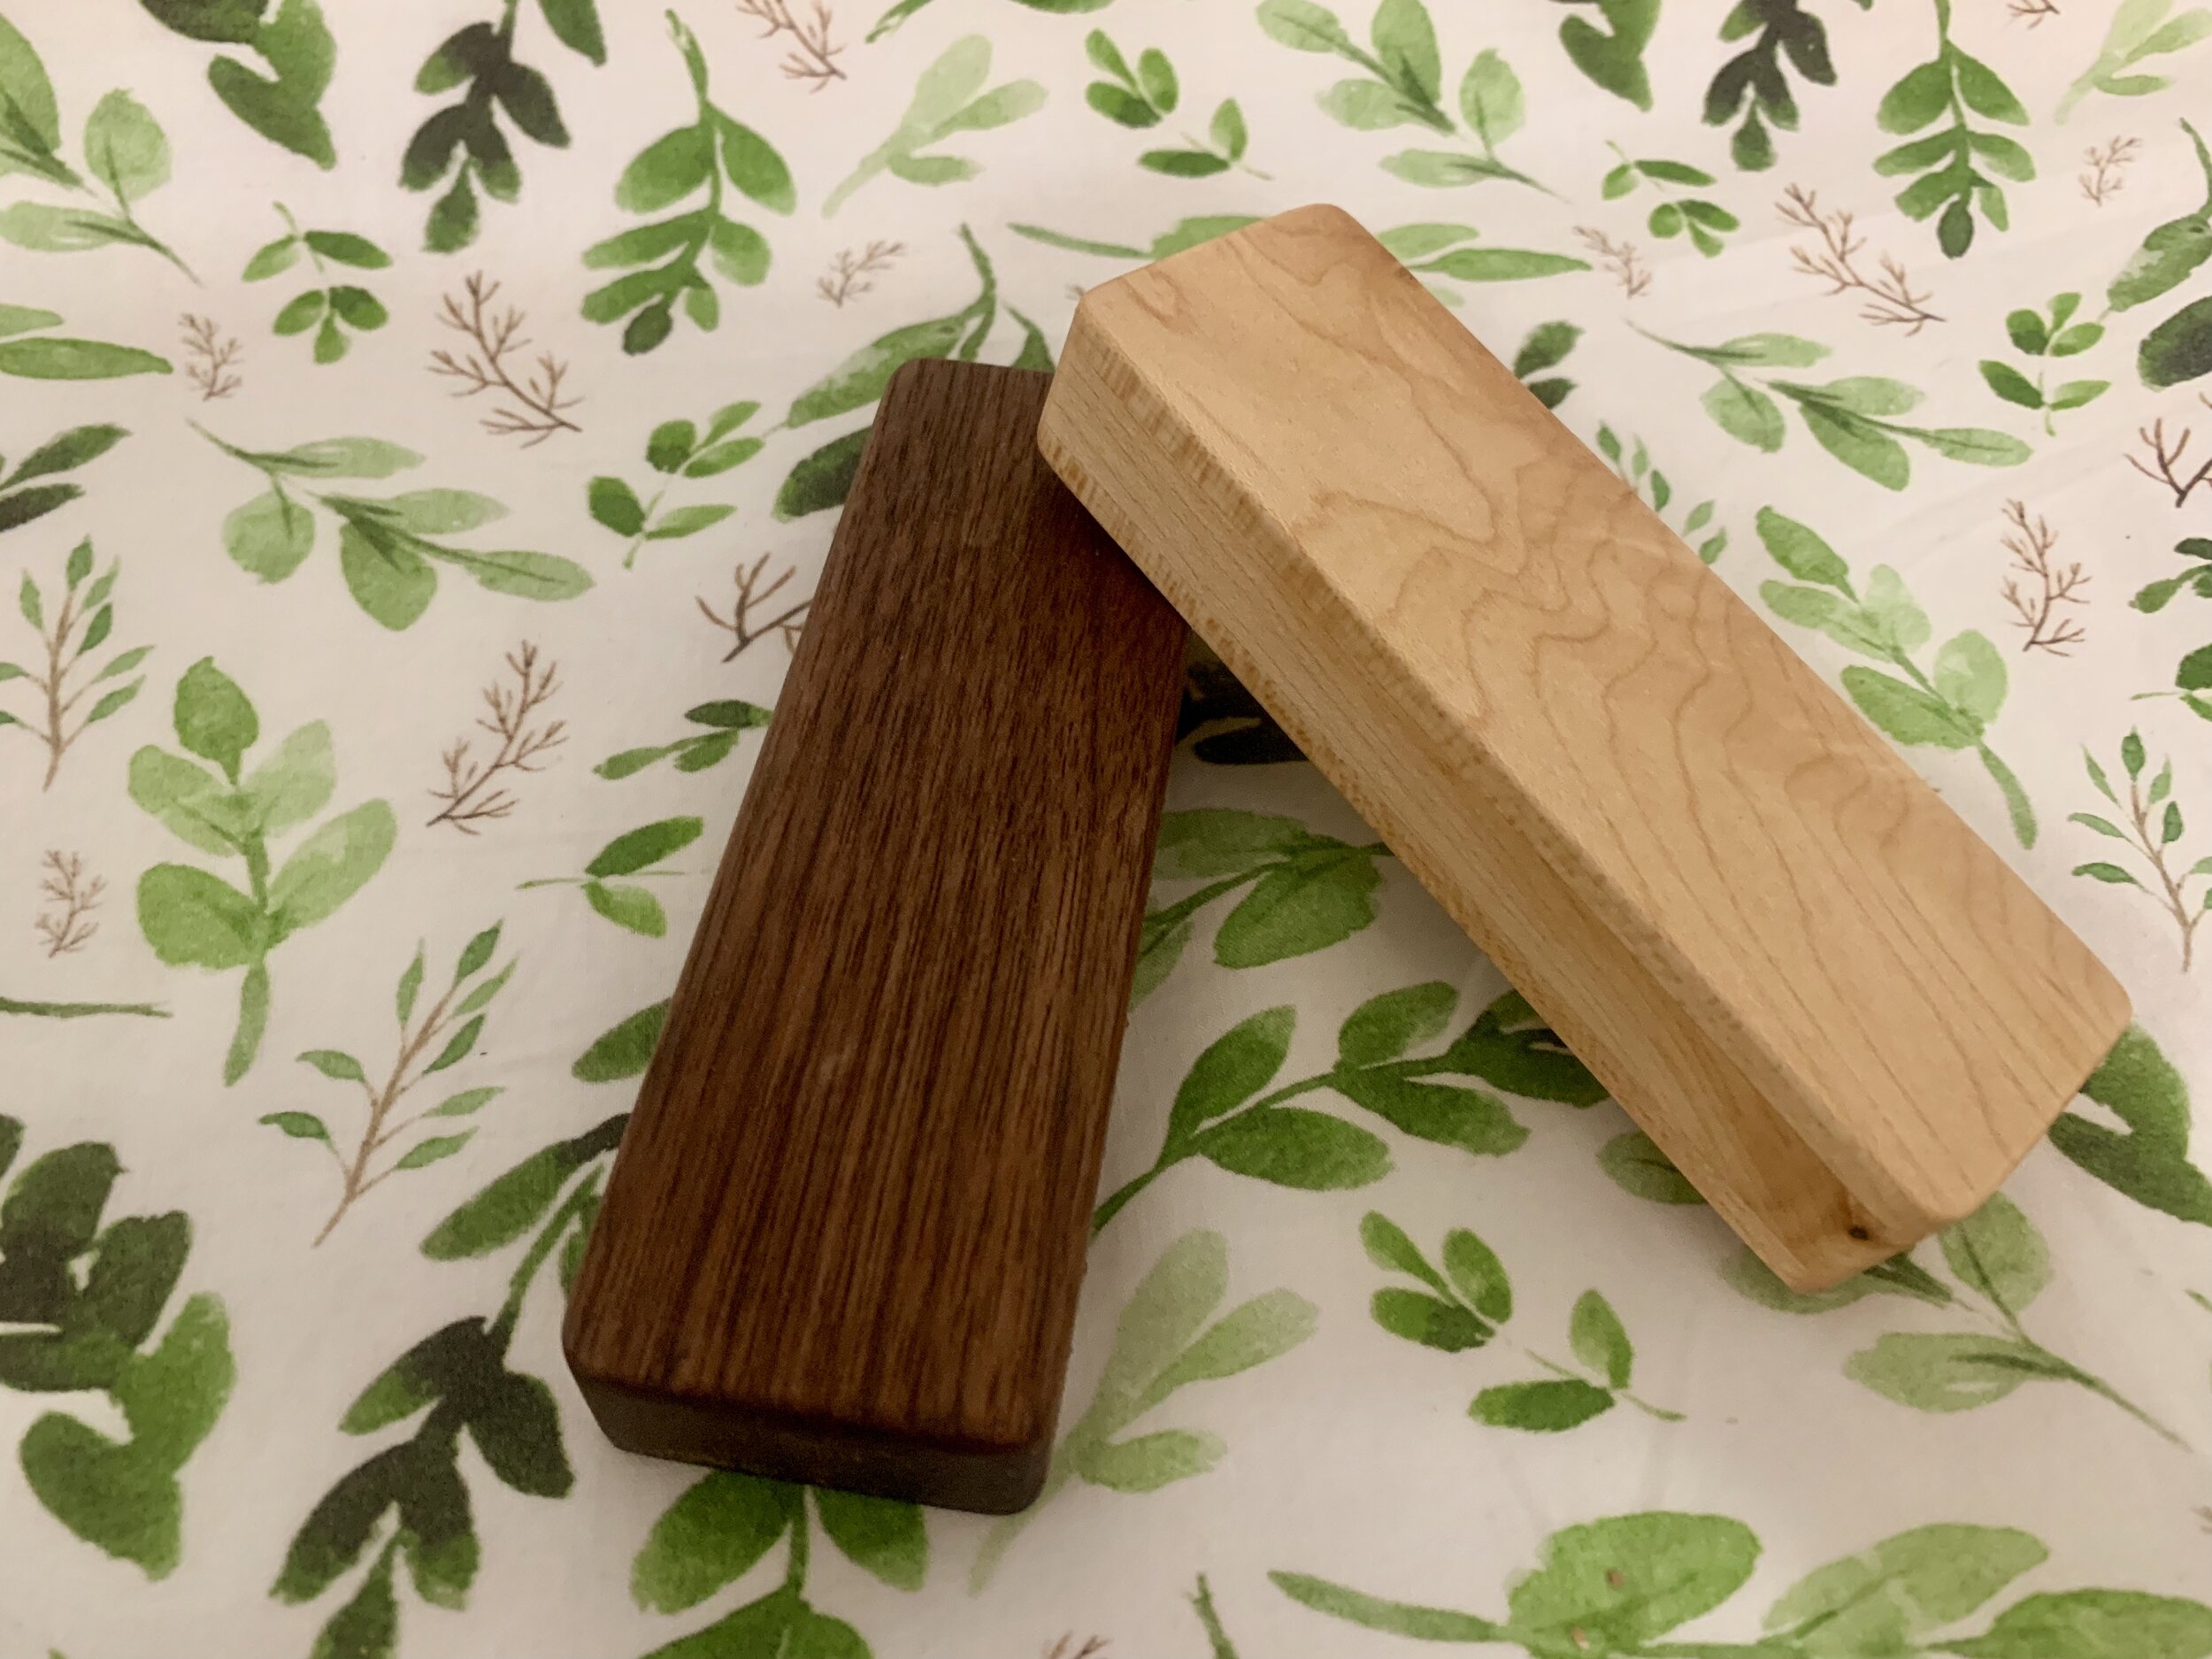
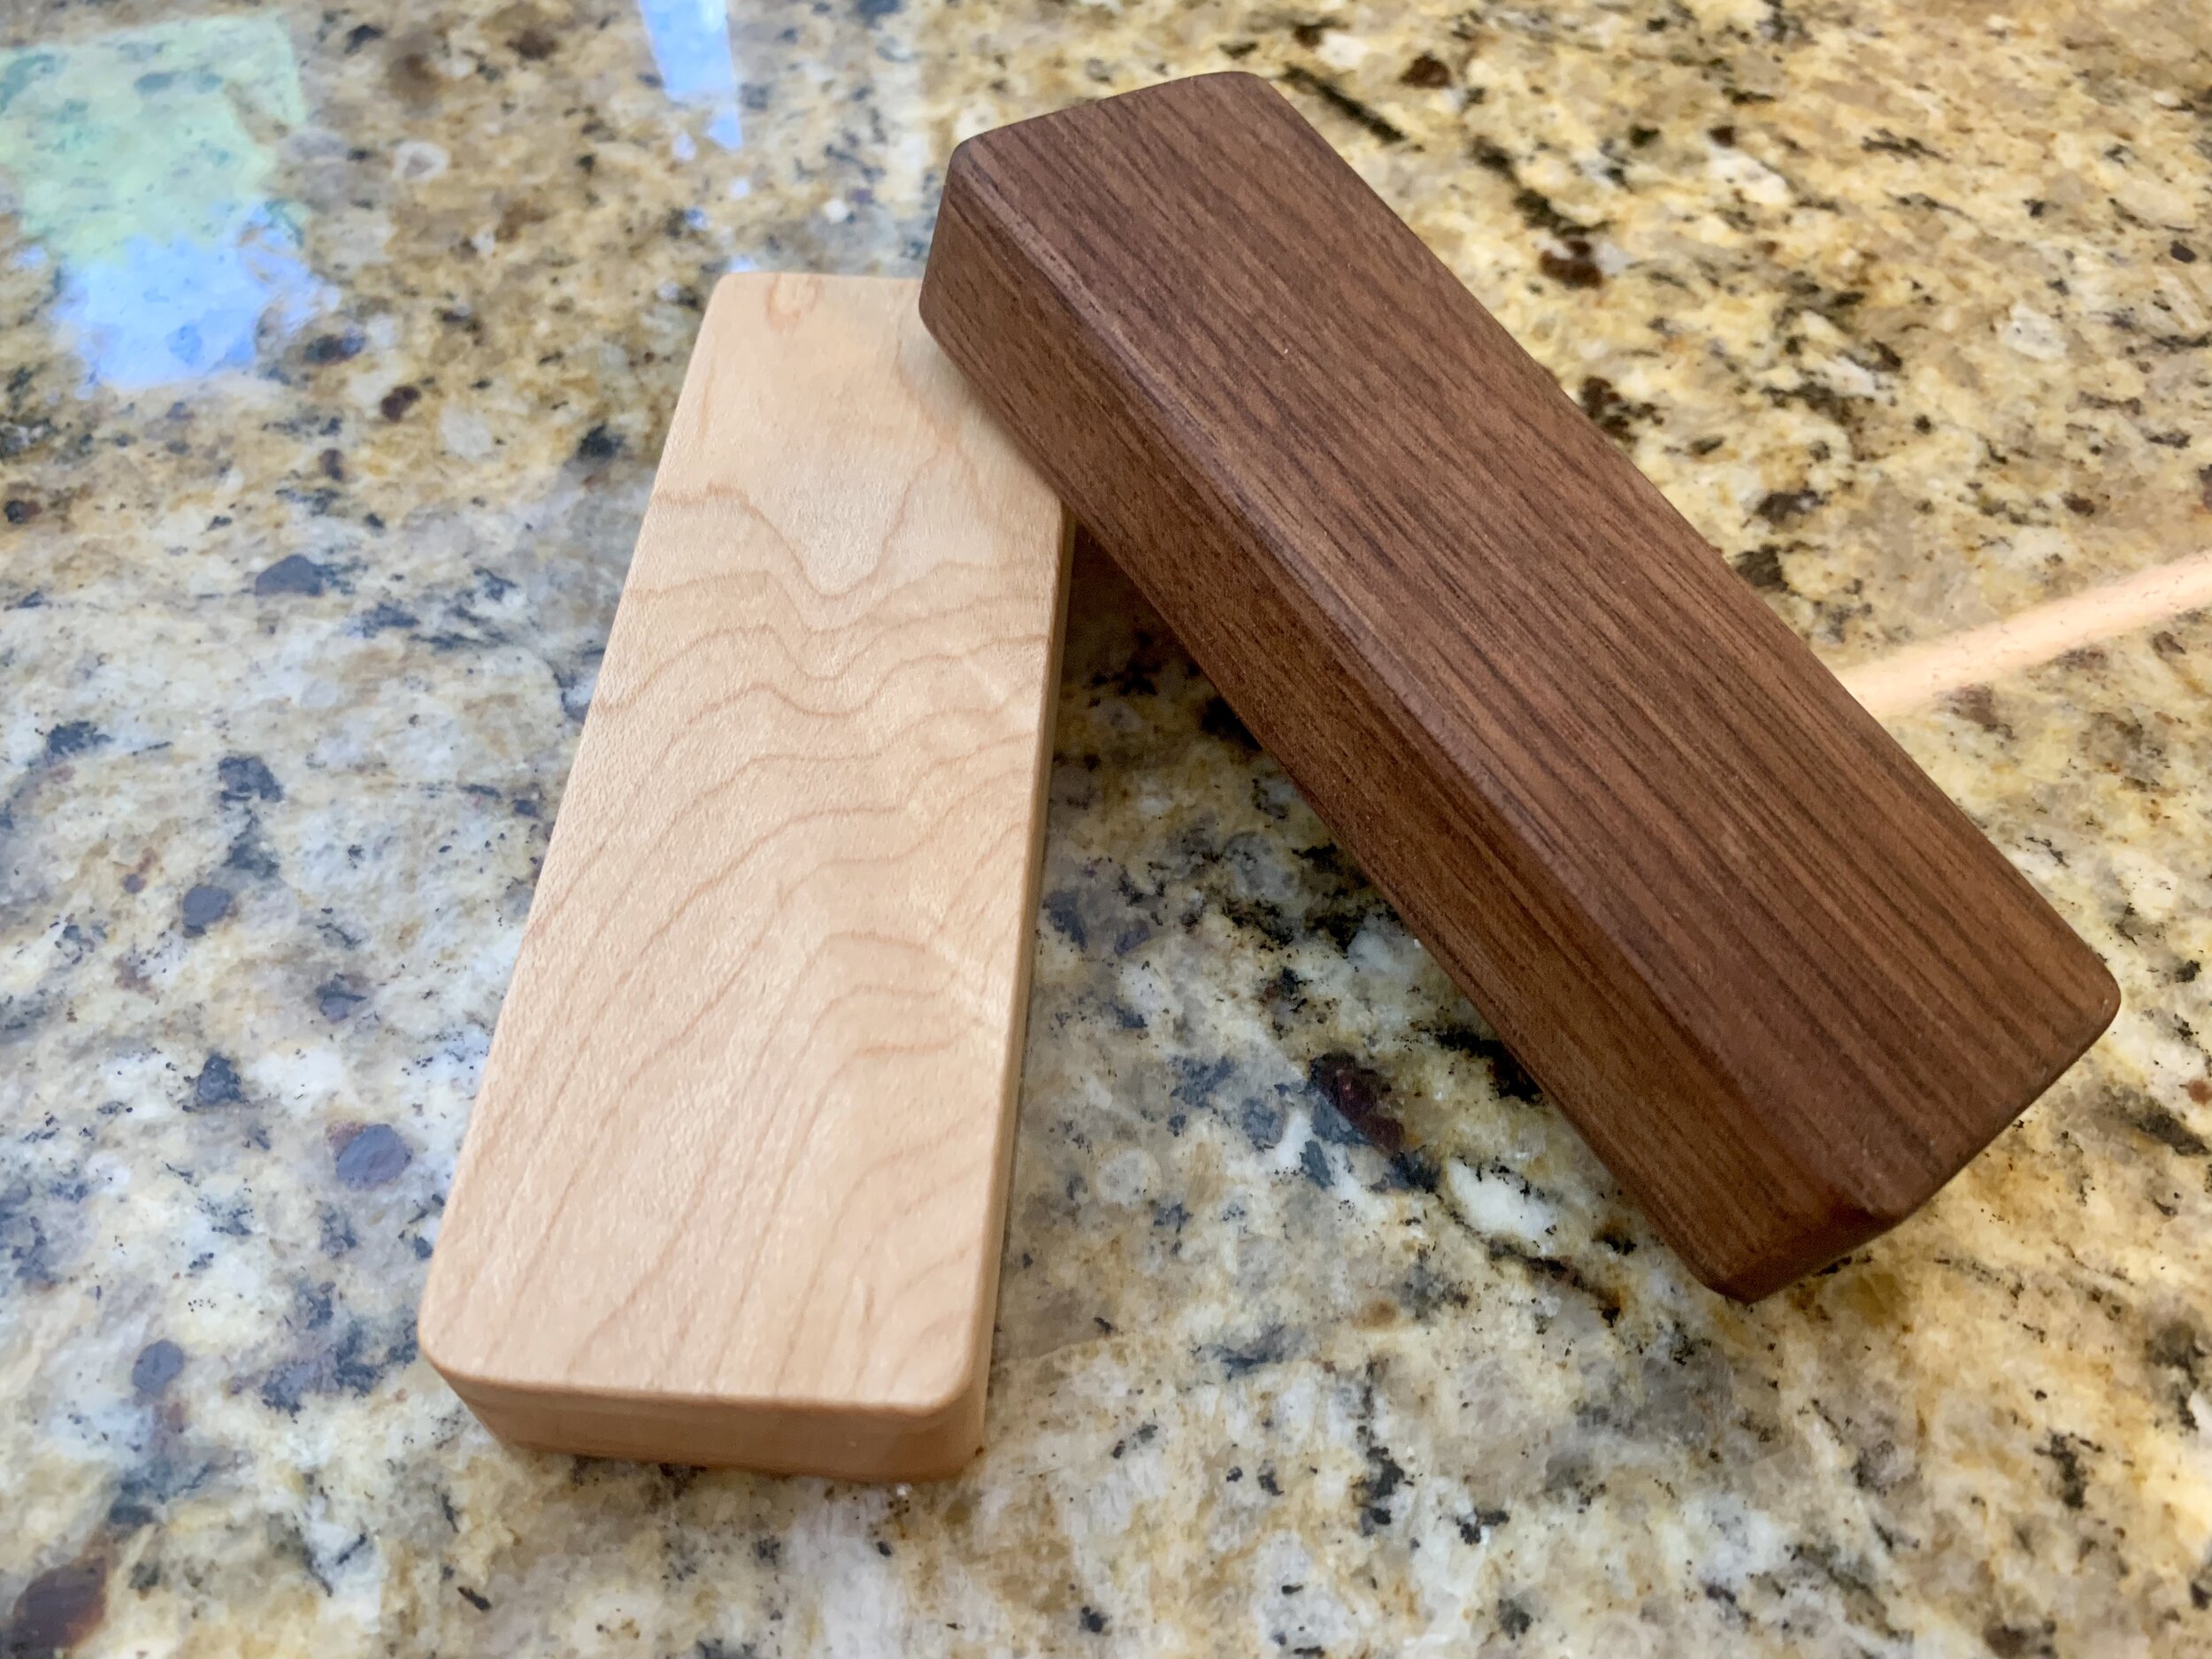
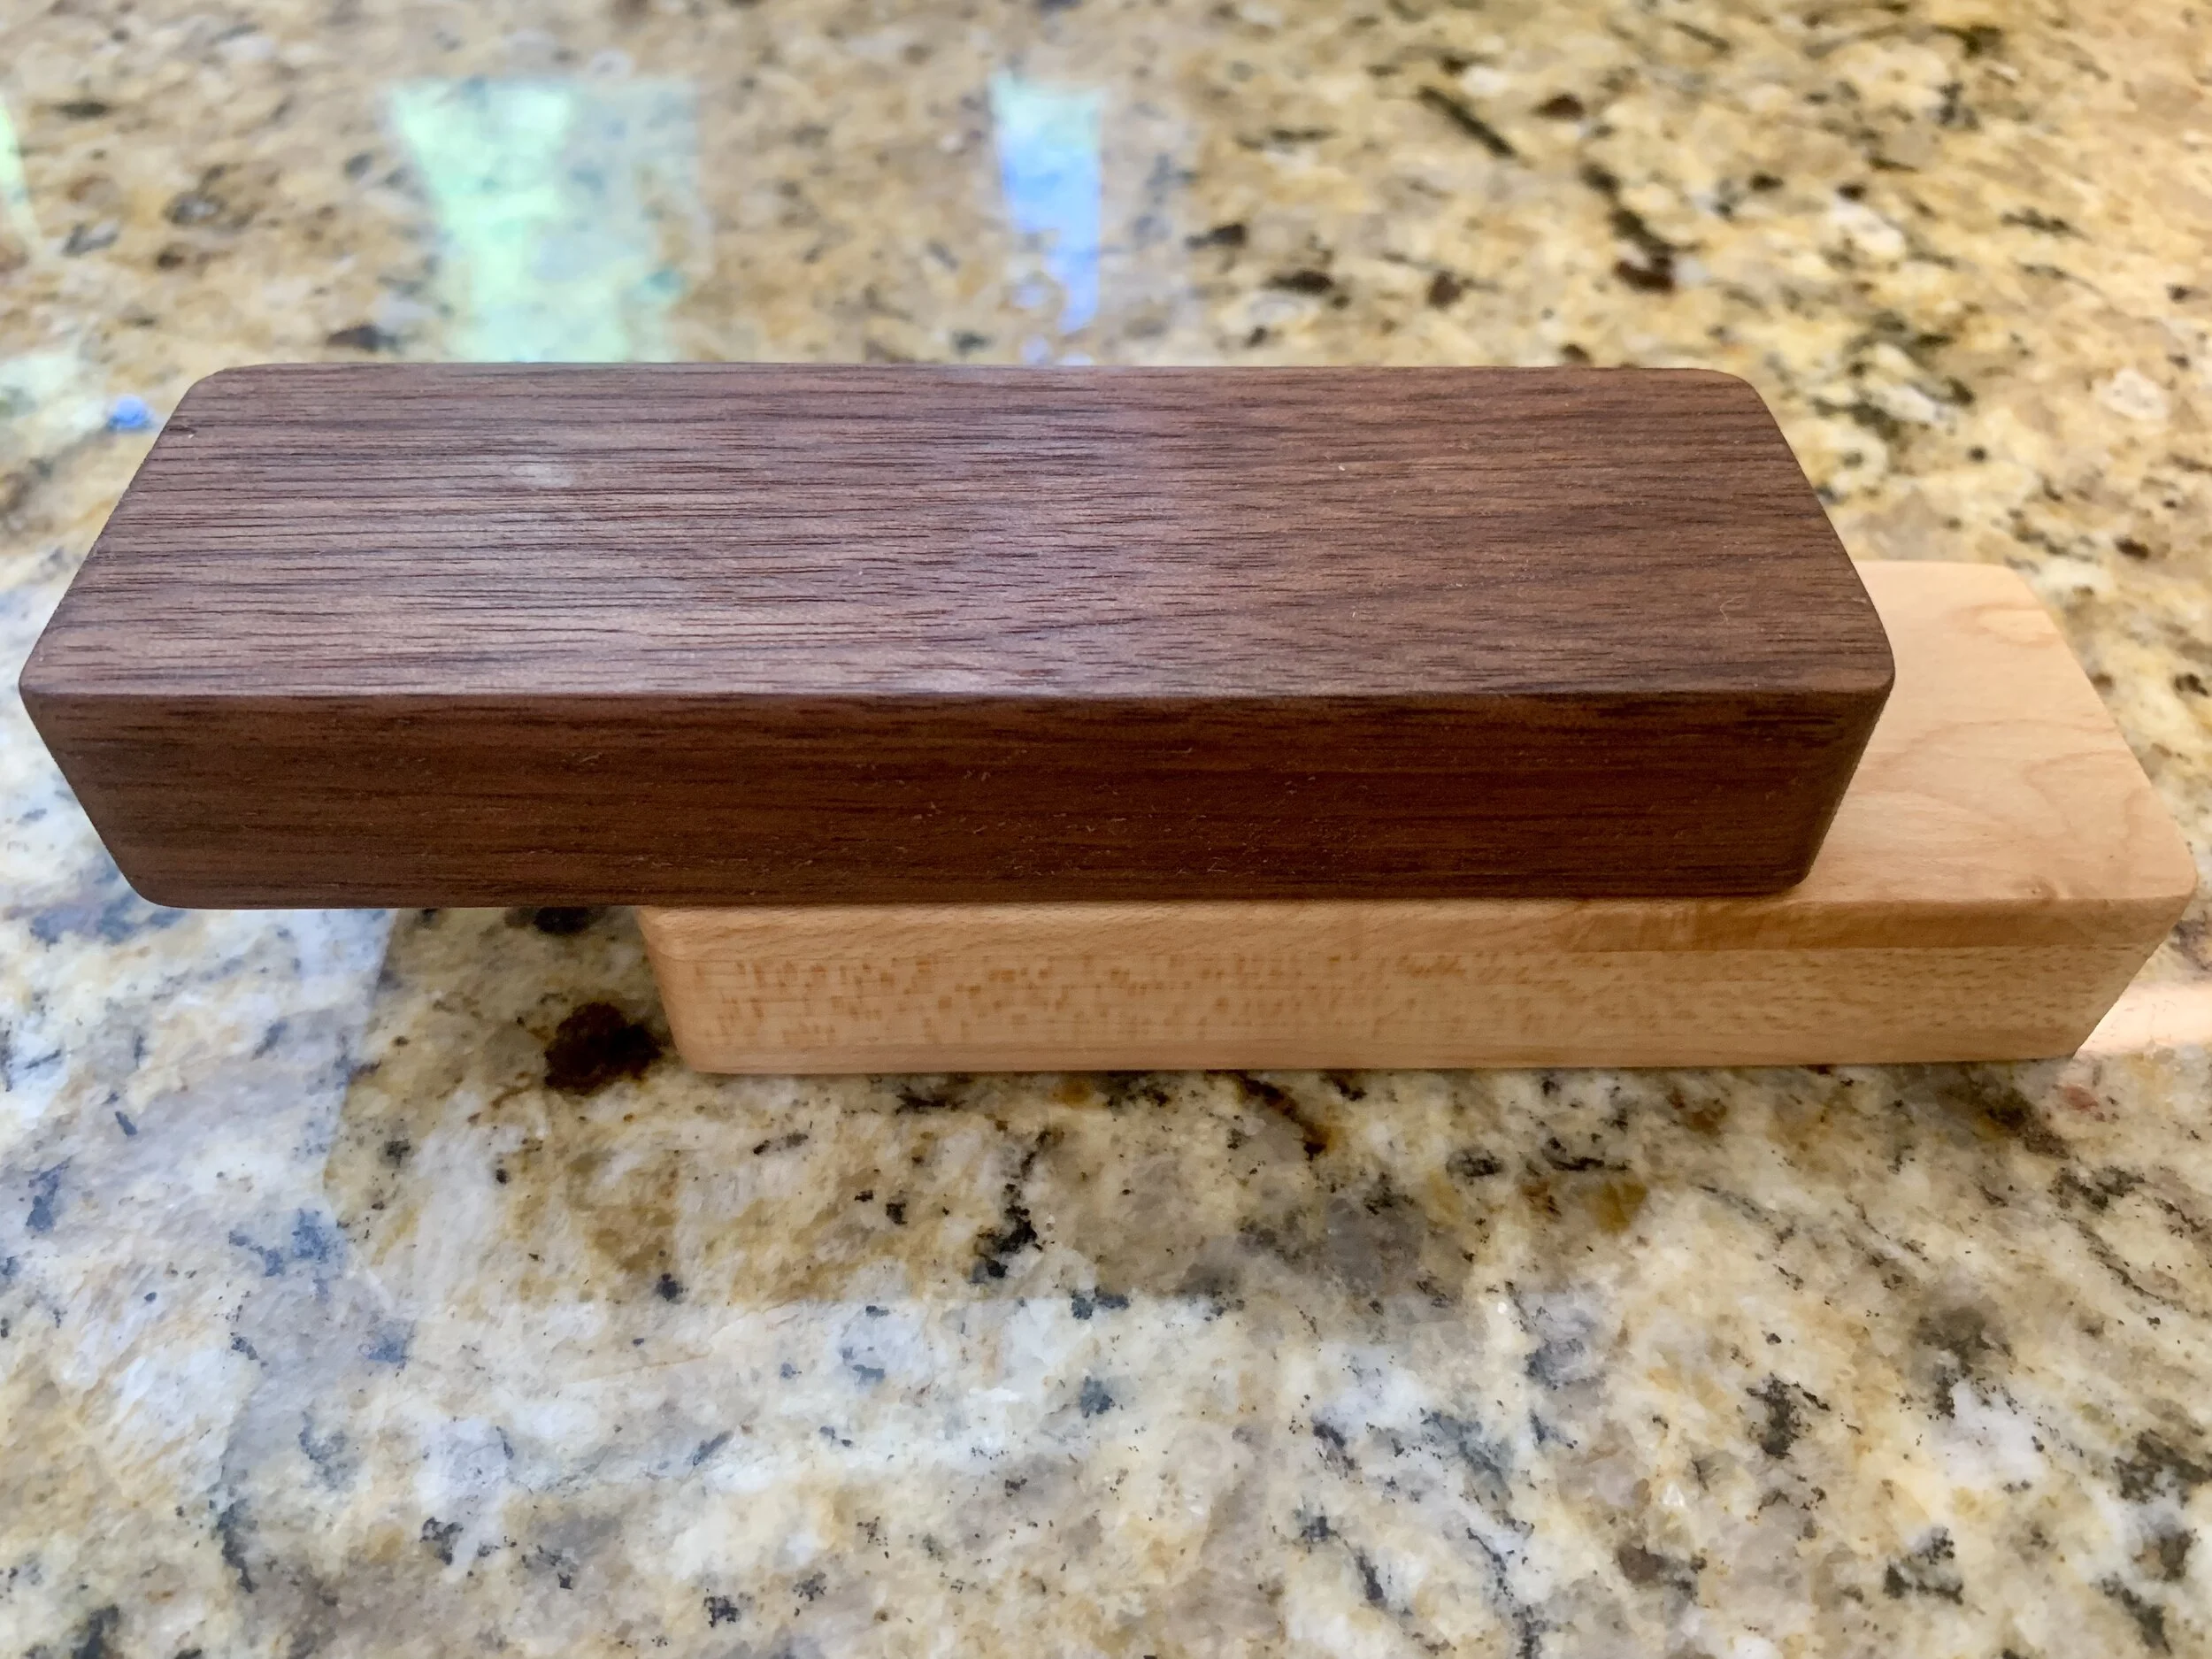
I had some copper BBs from something else I was doing and figured, since my wife just had a baby, and I’m a woodworker, I should make a baby rattle. The original one was made from oak since it was available at Home Depot in 1/4 inch thickness and 1/2 inch thickness. At the time, I was not good at thin ripping strips. These are made from walnut and maple with non-toxic food safe materials.
If you don’t want to make one and would rather buy one, they’re available for purchase on here or in My Etsy Store
Materials
Hardwood
Tools
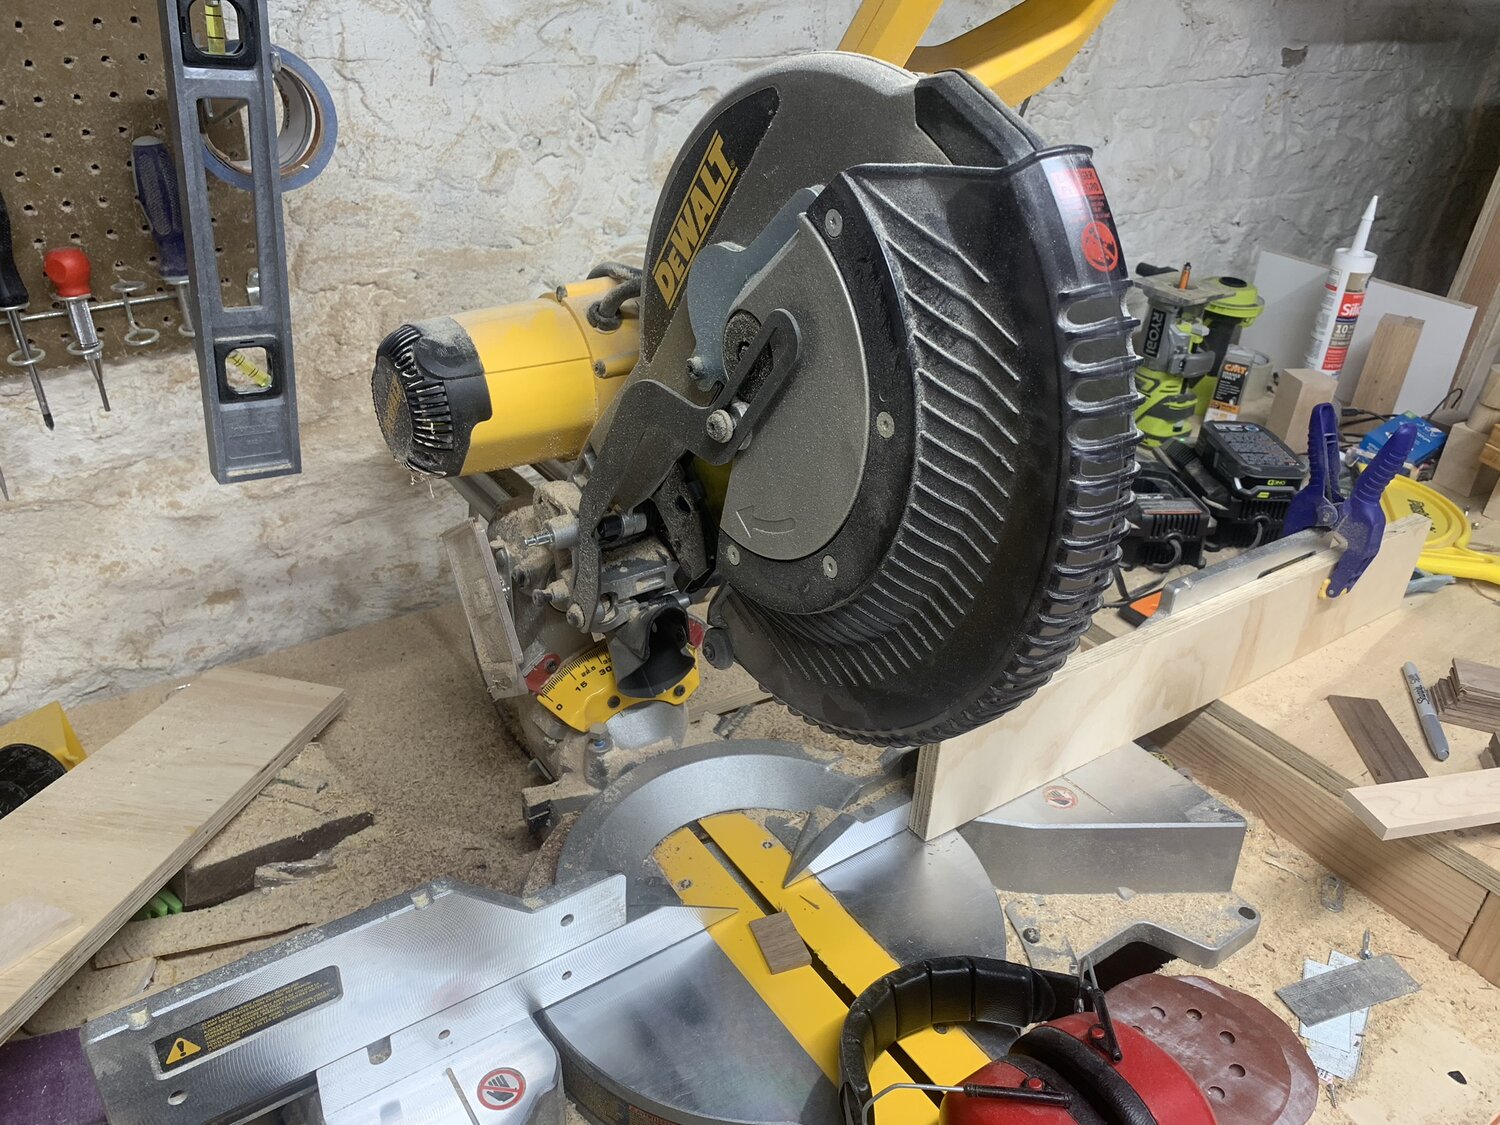
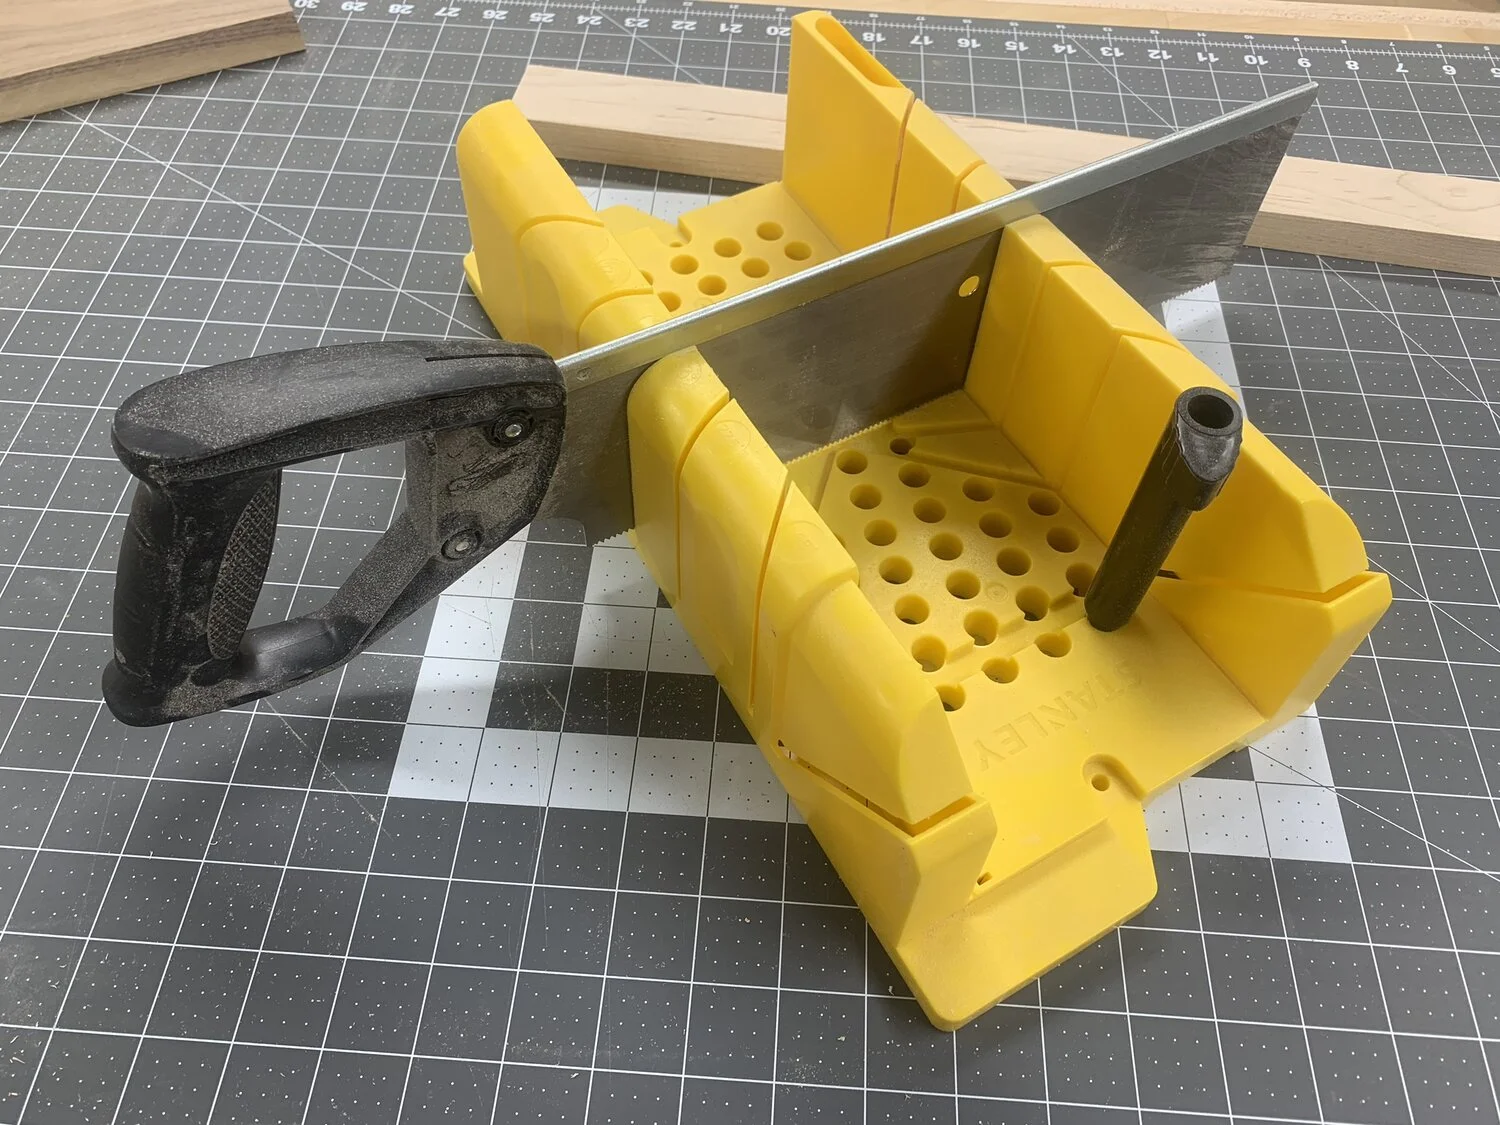
Miter Saw or Miter Box and saw
Table Saw (optional)
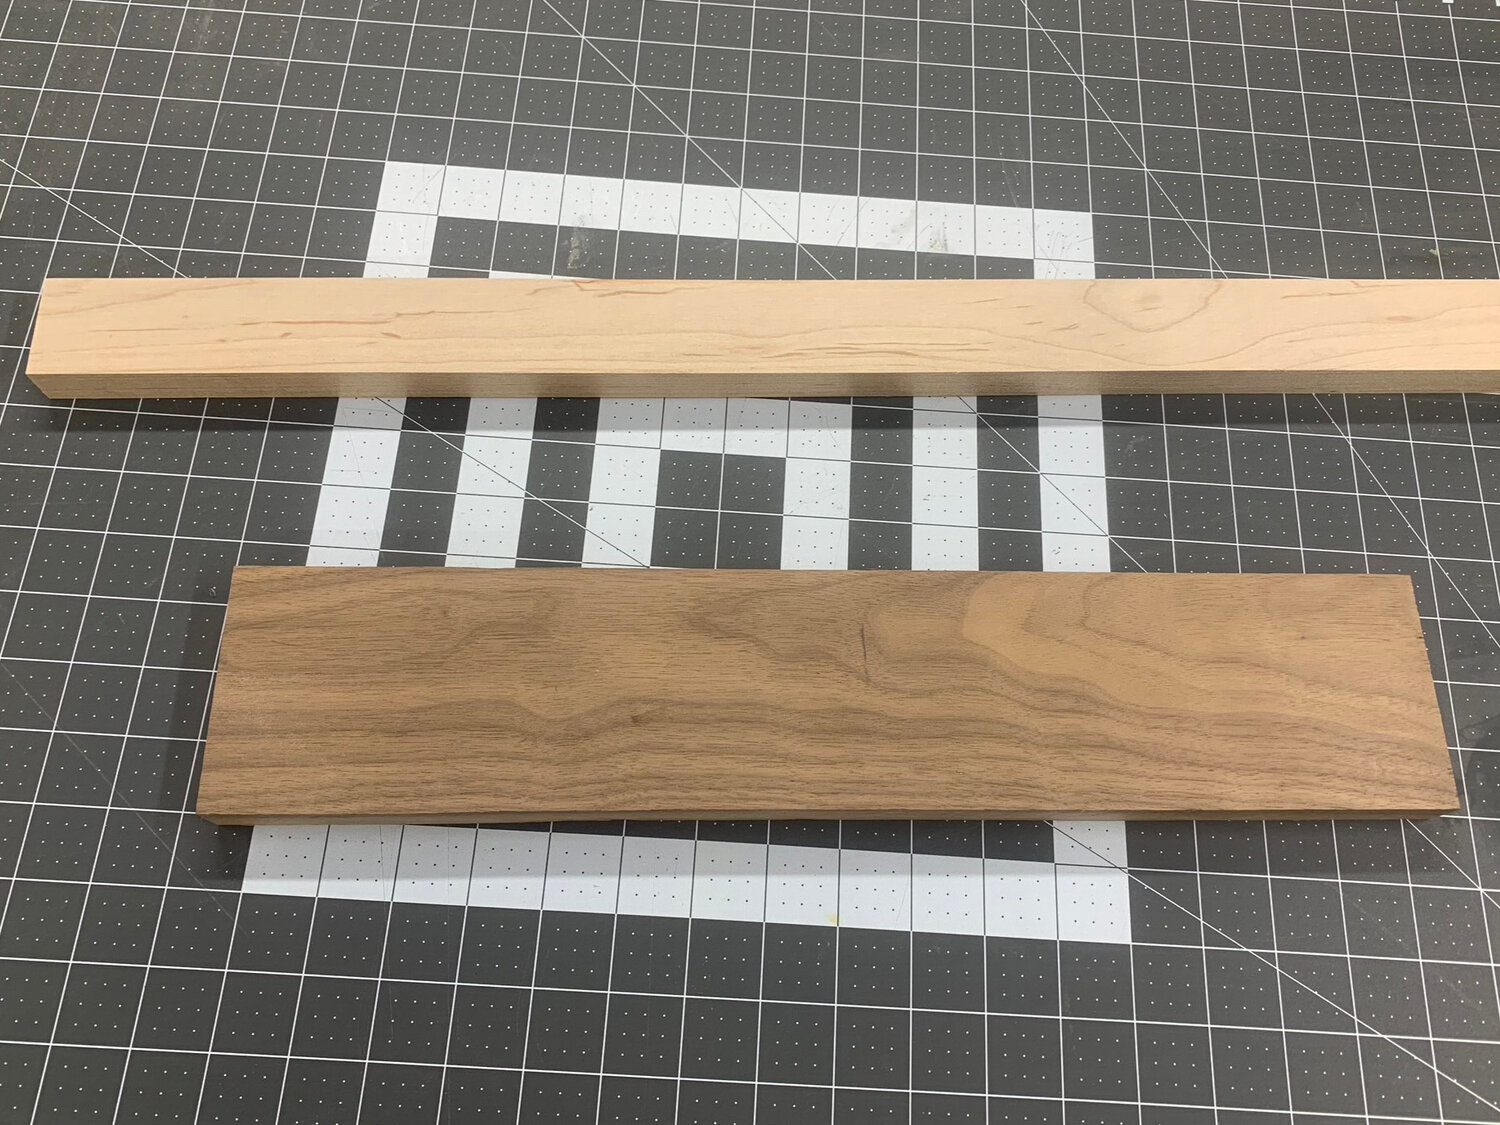
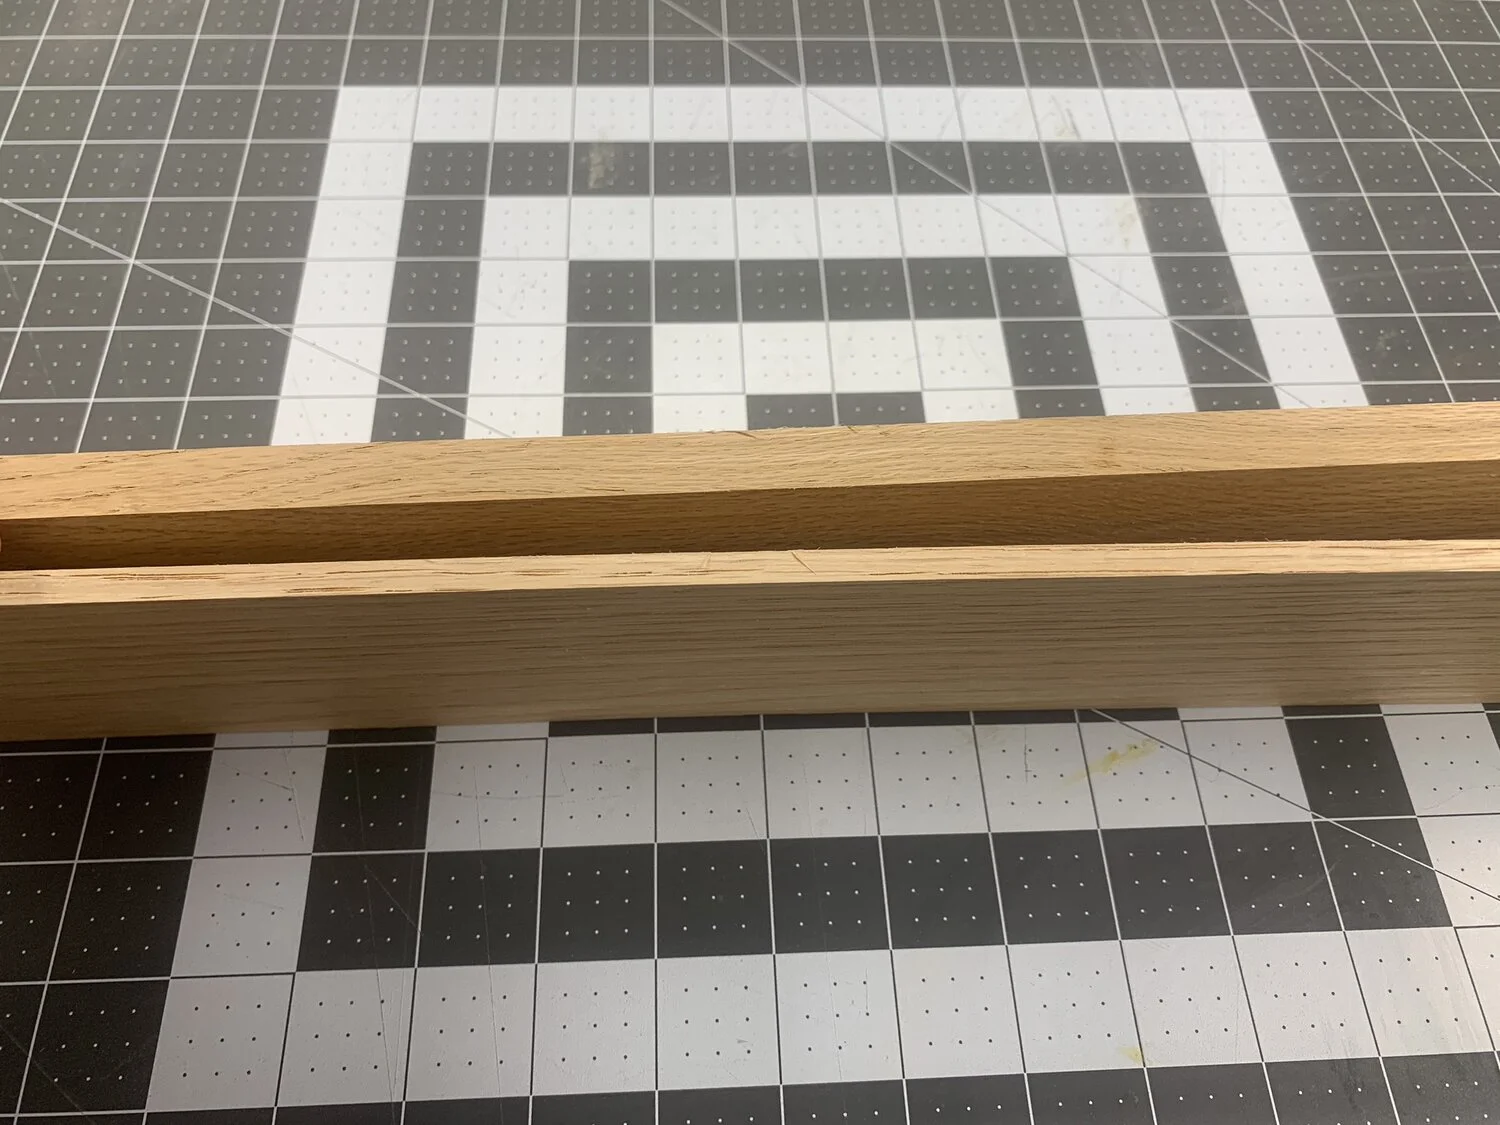
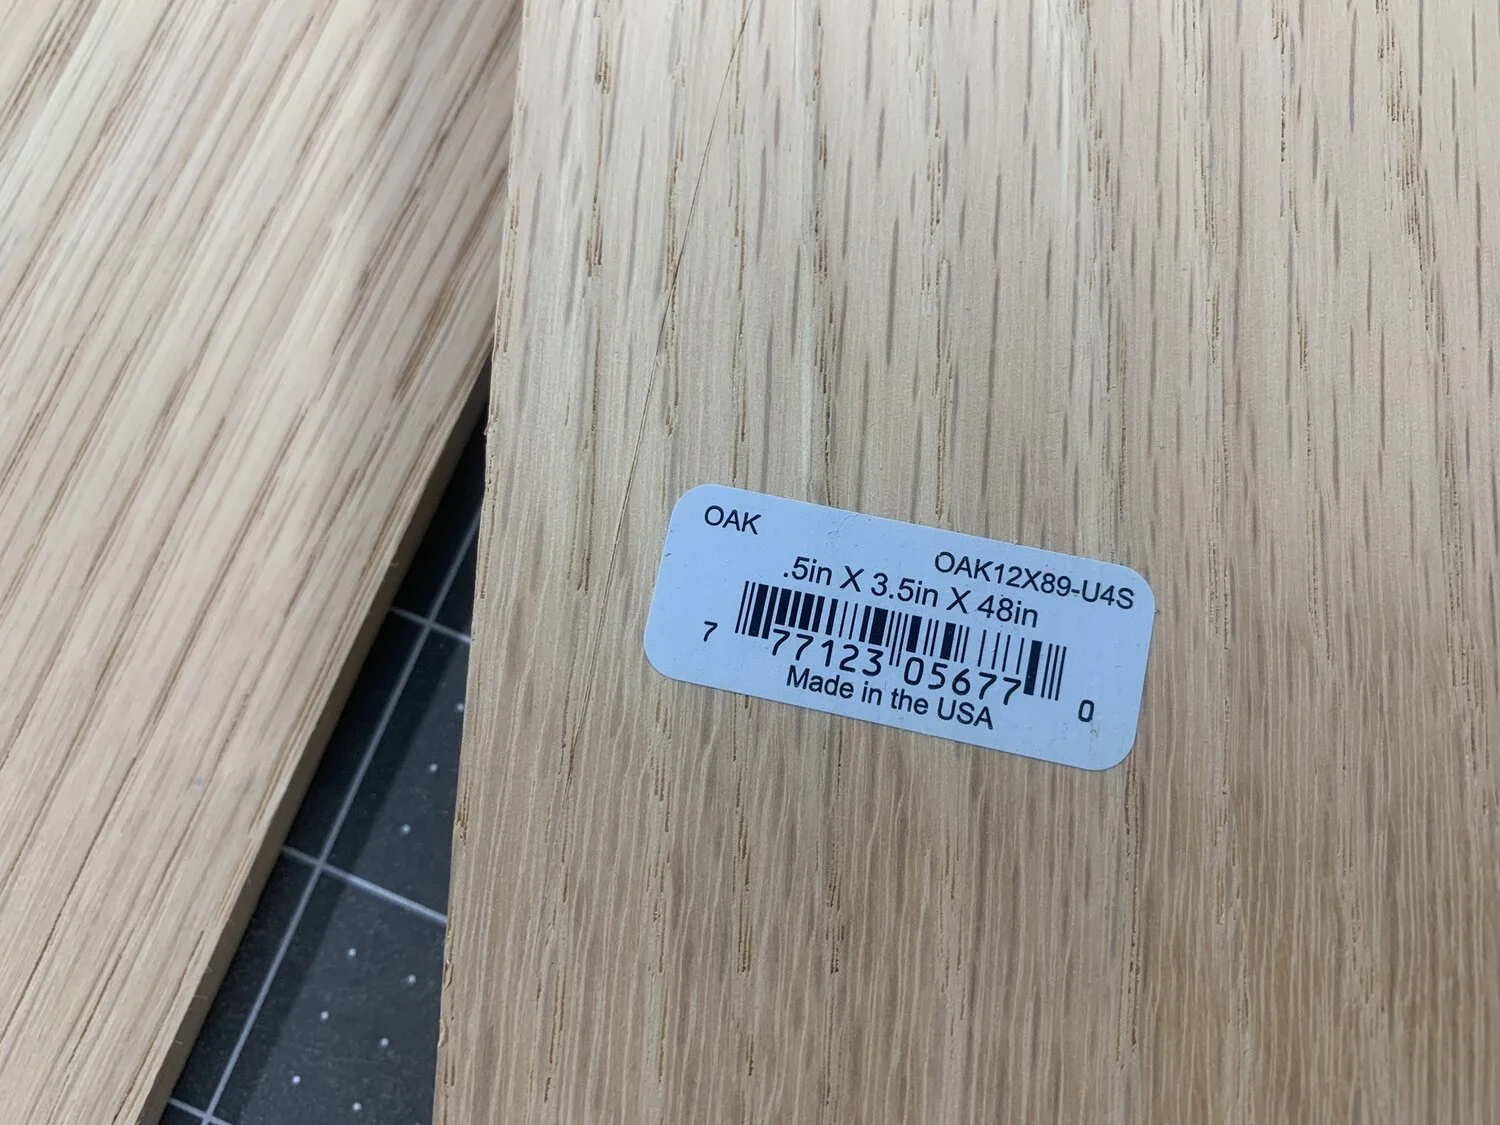
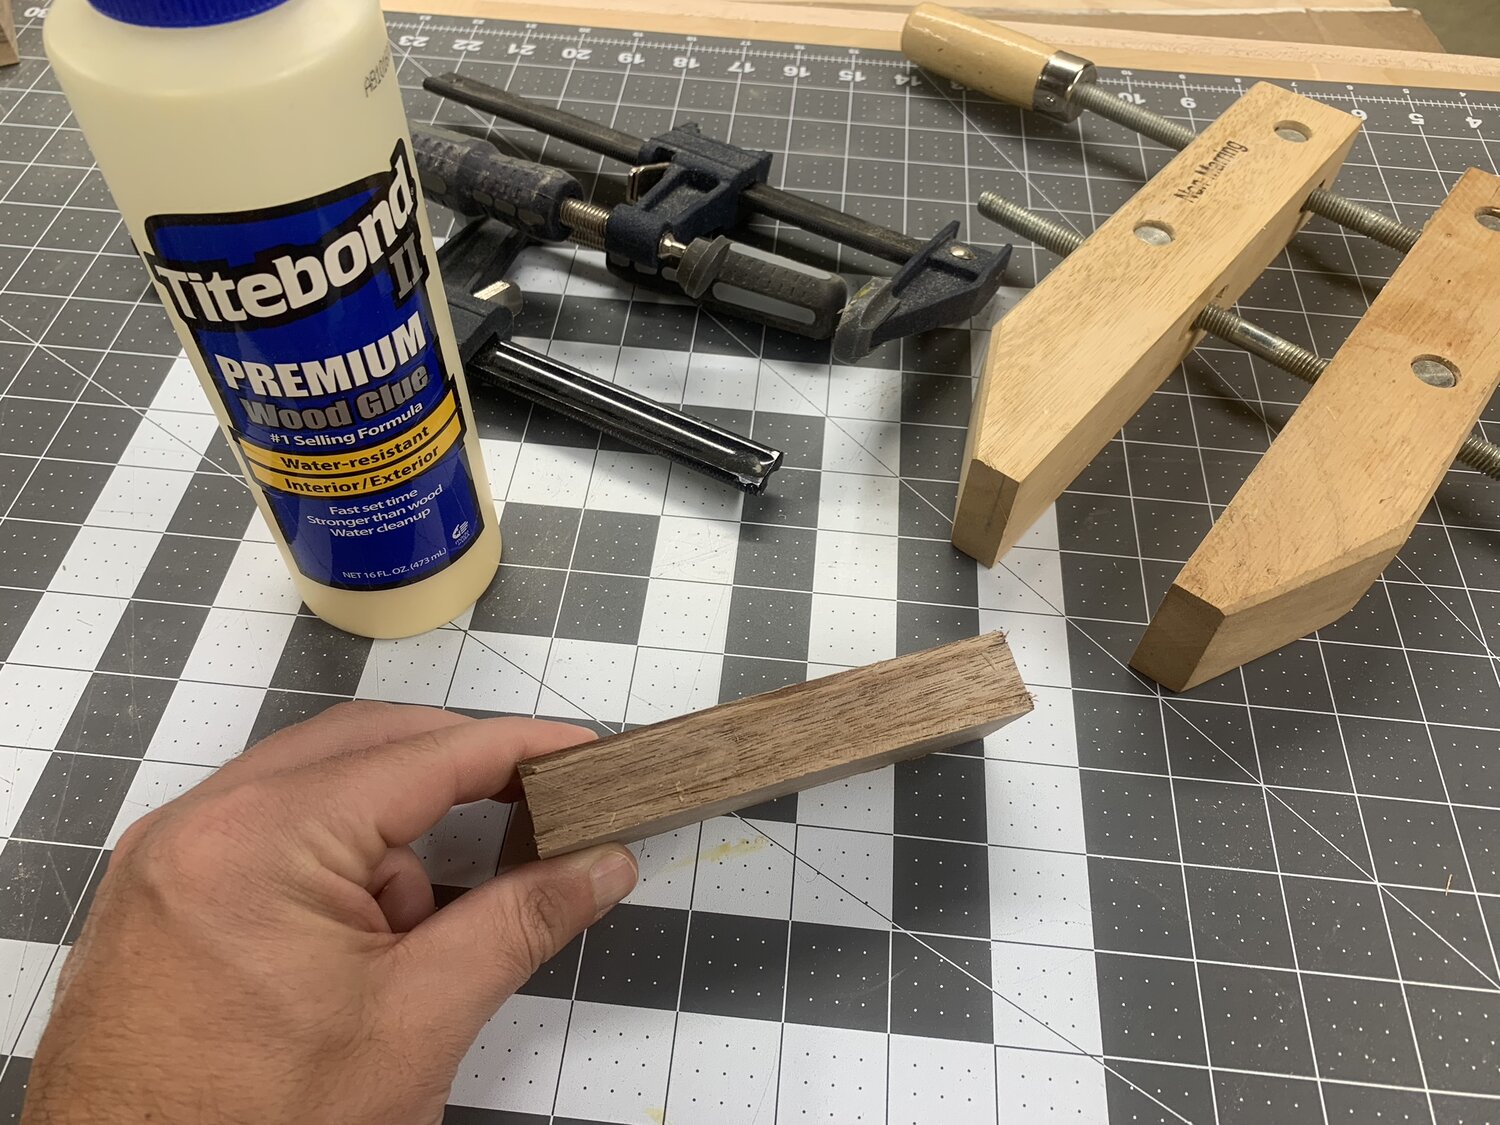
The first thing to consider is what kind of wood you’d like to use and the tools you have. If you have a table saw, then your options are endless since you can rip down and resaw any type of wood. If not, then you’ll need 1/4 inch thick and 1/2 inch thick pieces of wood that are 1.5 inches wide. You can buy this at Home Depot in oak. You might be able to find thin Walnut or Maple on Amazon but it’s expensive. Or, if you live near a Rockler Hardware or Woodcraft, you can find thinner boards there.
The wood available at Home Depot is shown below. These are 3.5 inches wide but you can get them 1.5 inches wide so no ripping is needed.
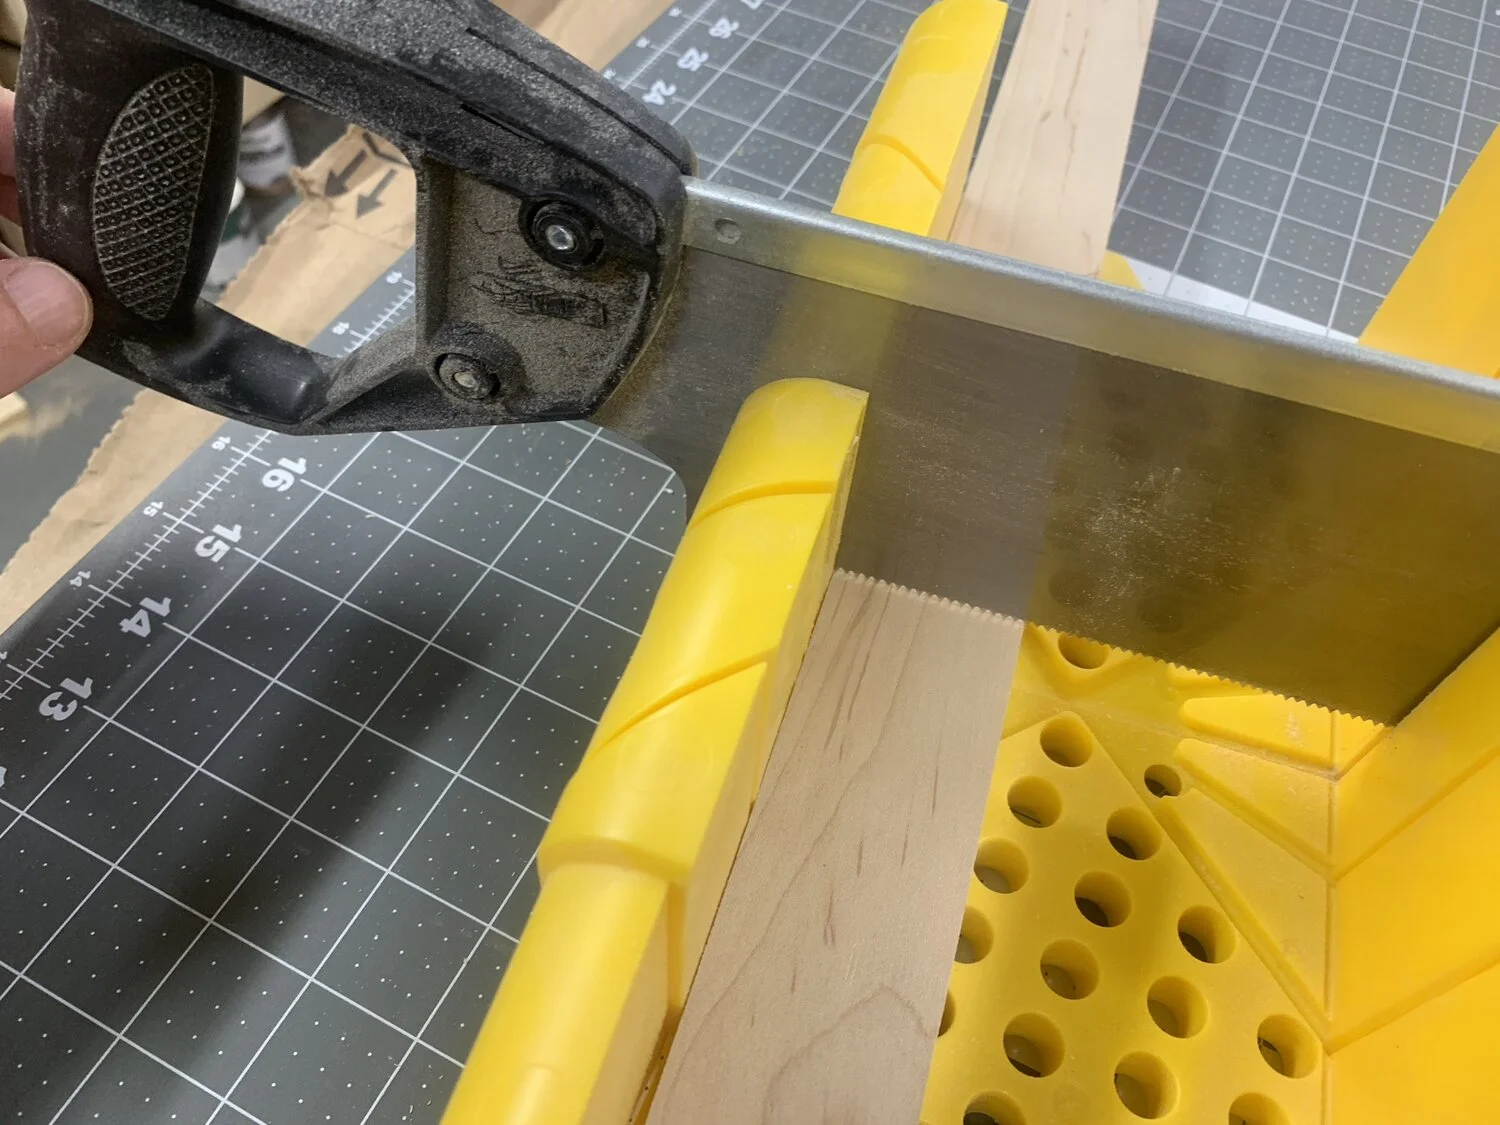
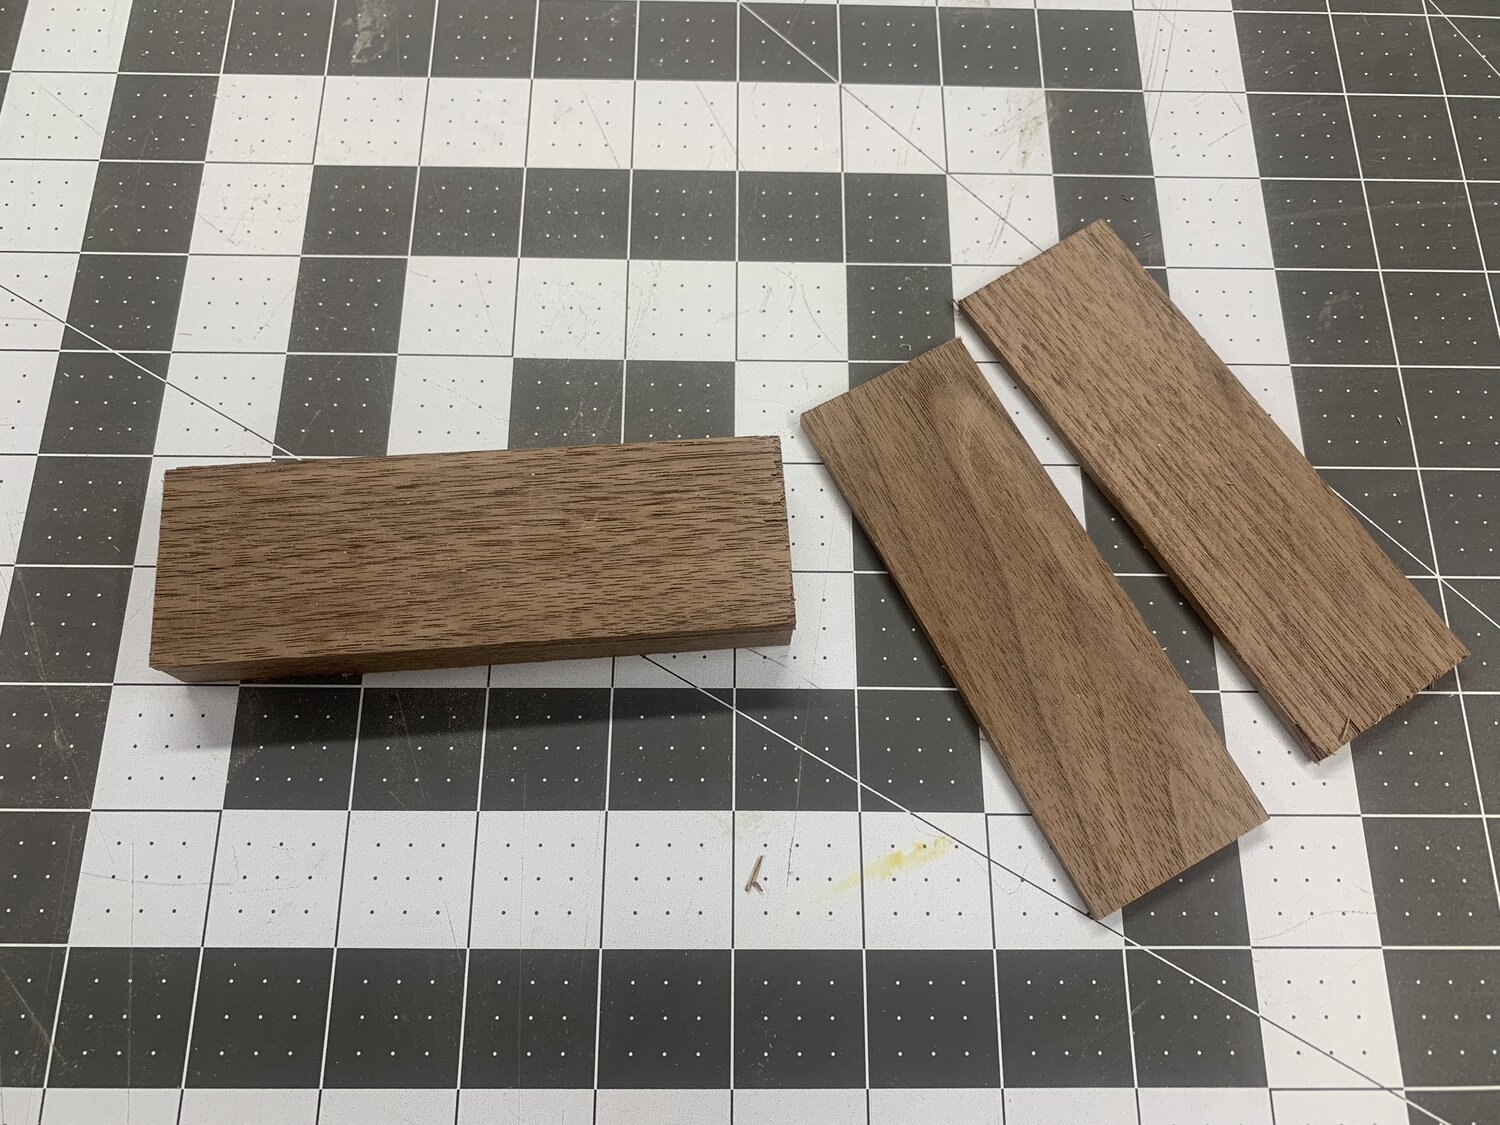
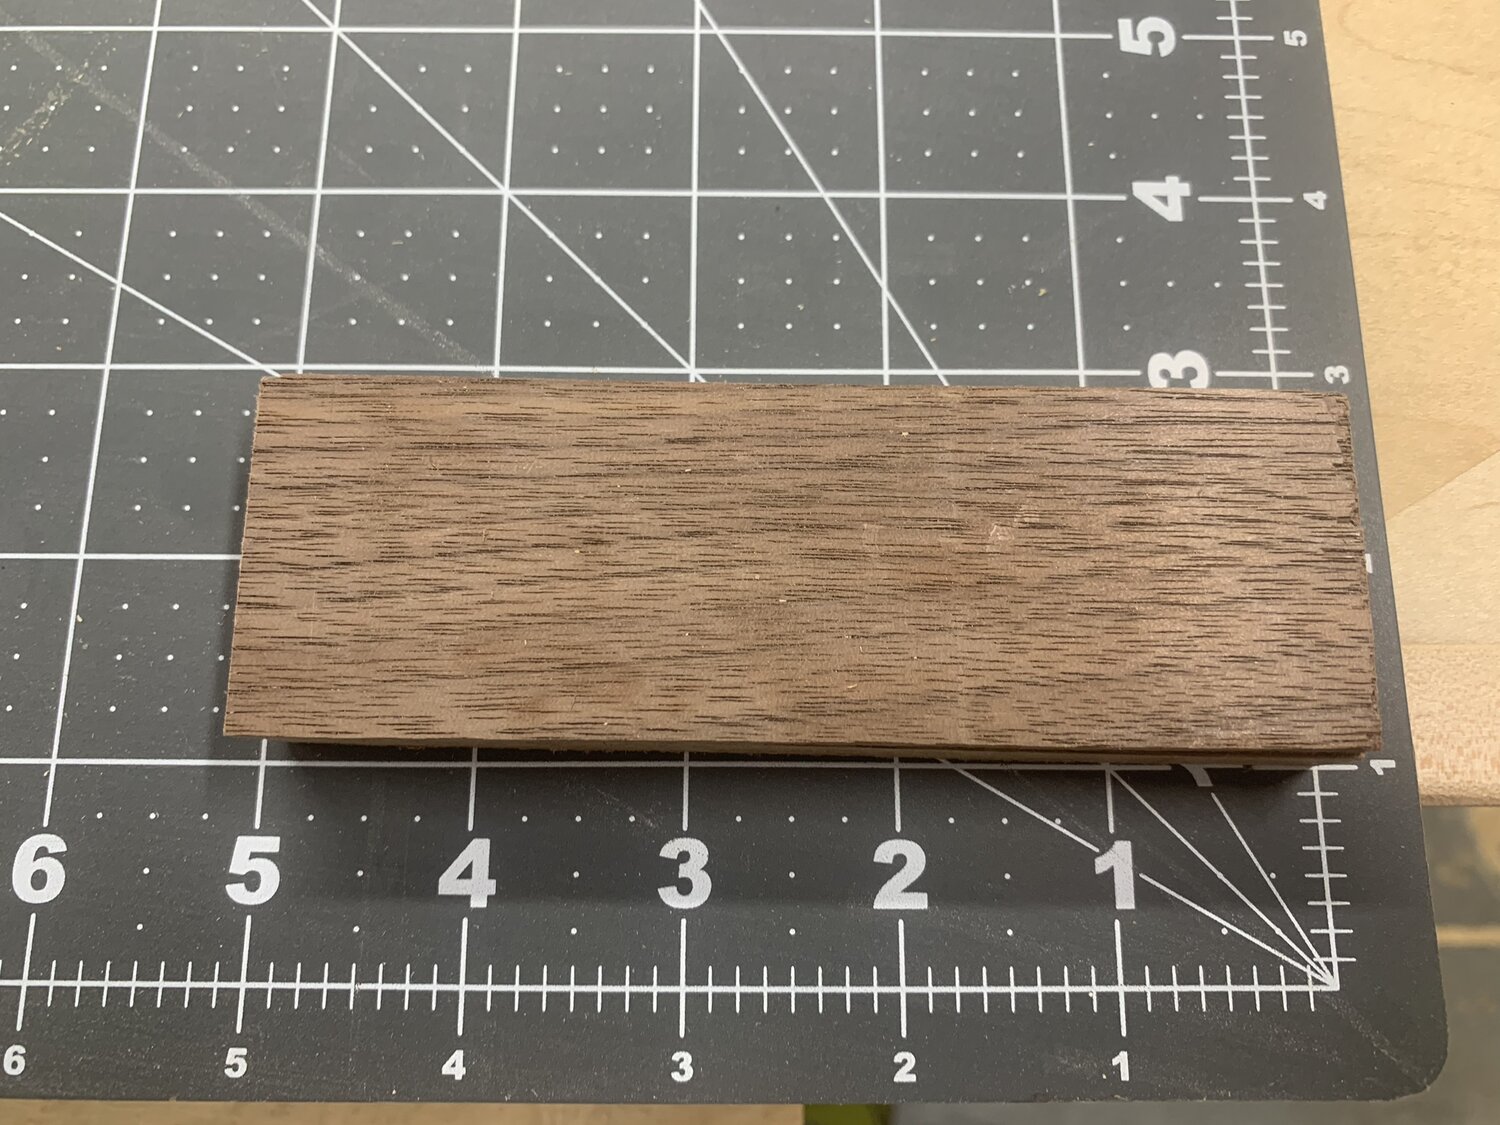
First you’ll need to cut the strips down into 4.5-5 inch pieces. You can either use a miter saw, miter box or just a hand saw.
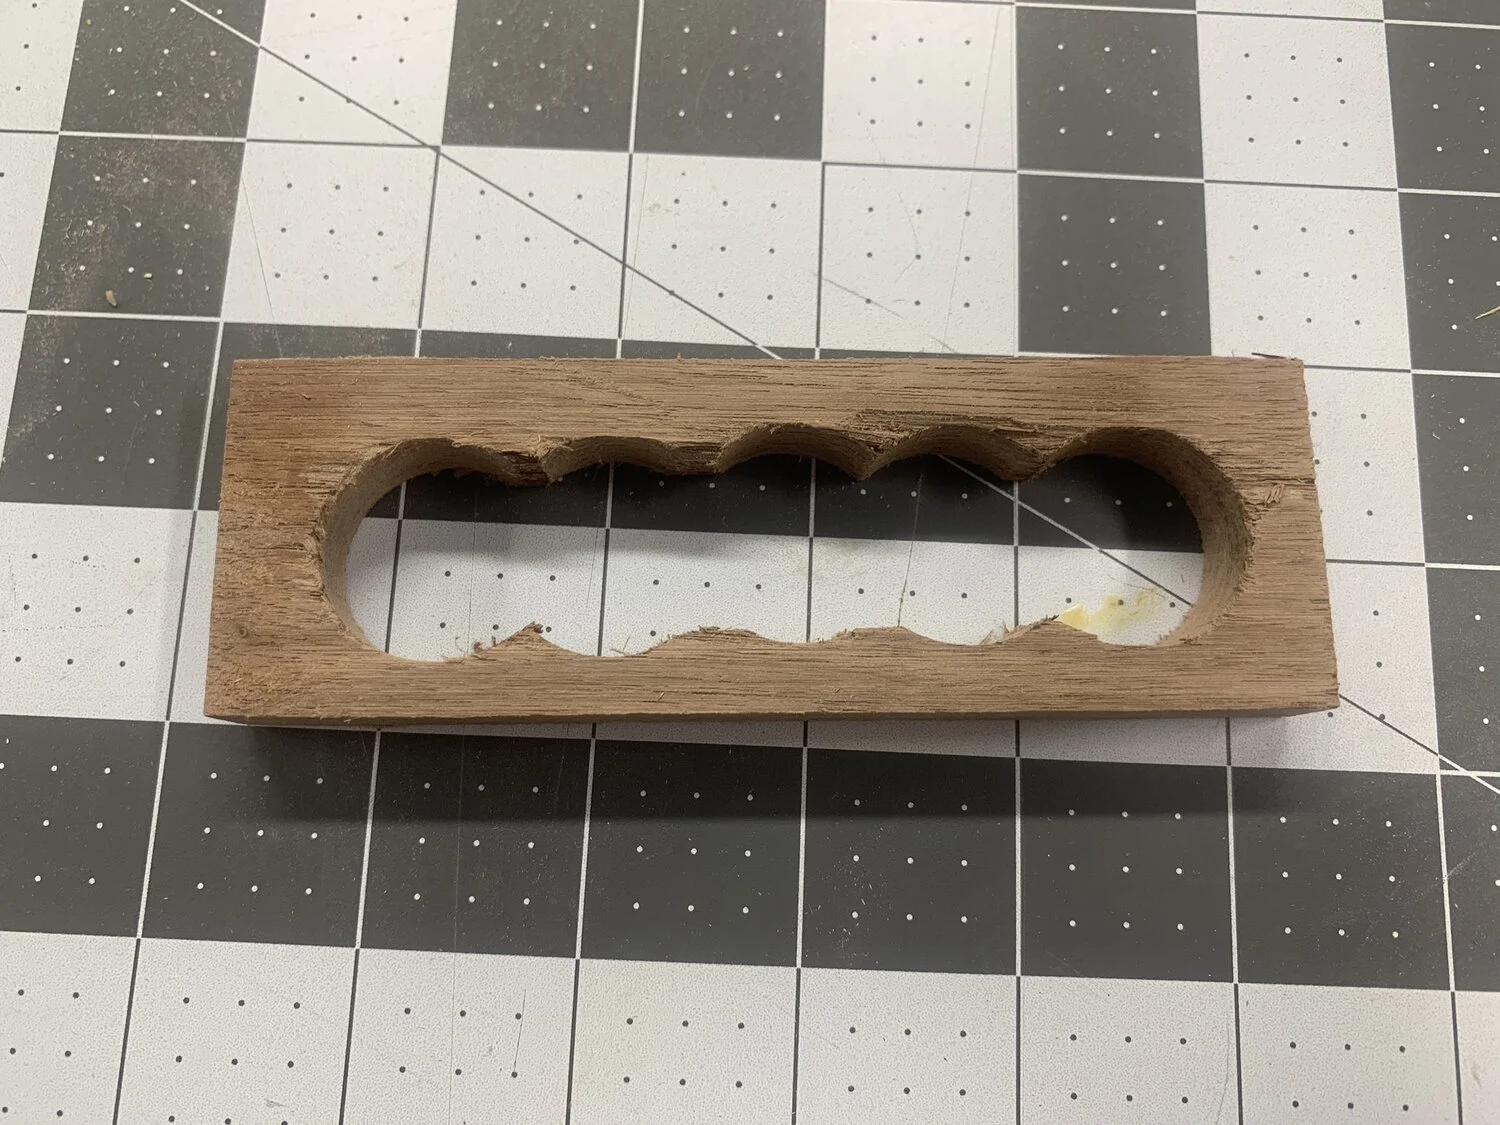
Once your pieces are cut to length, drill holes using (preferably) a 1-1/8 inch forstner bit or make multiple holes using a larger drill bit. The goal is to bore out as much space as possible leaving at a little more than 1/4 inch on the long sides and 1/2 inch on the short sides.
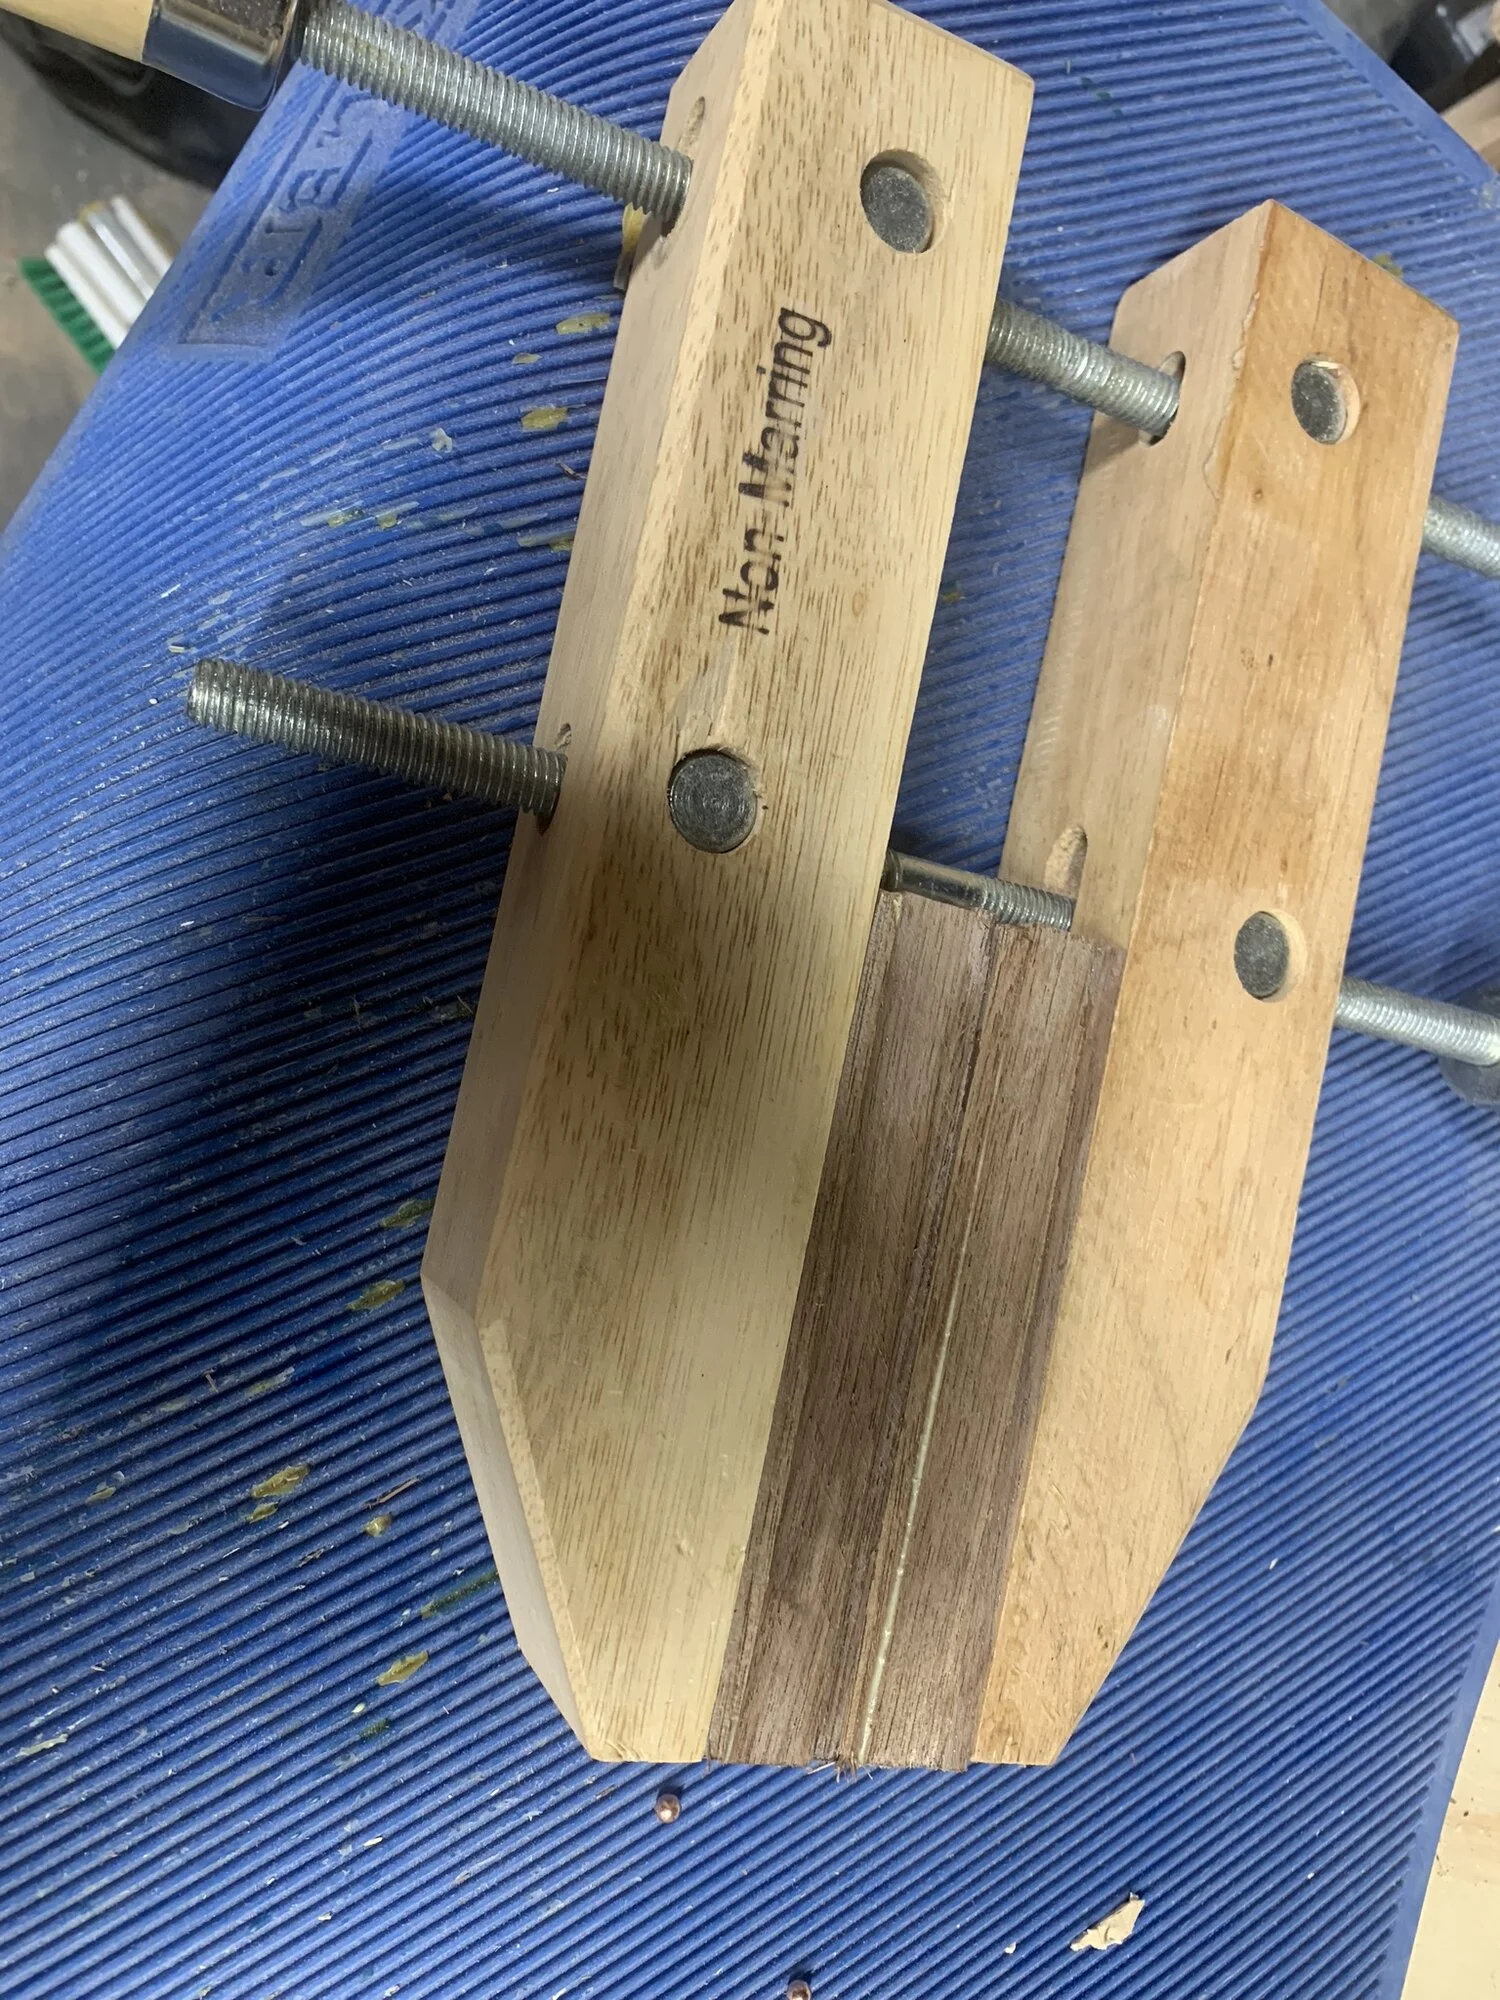
Next you’re going to glue one thinner piece to the bottom of the middle piece, add the copper BBs and apply glue to the top portion, then clamp.
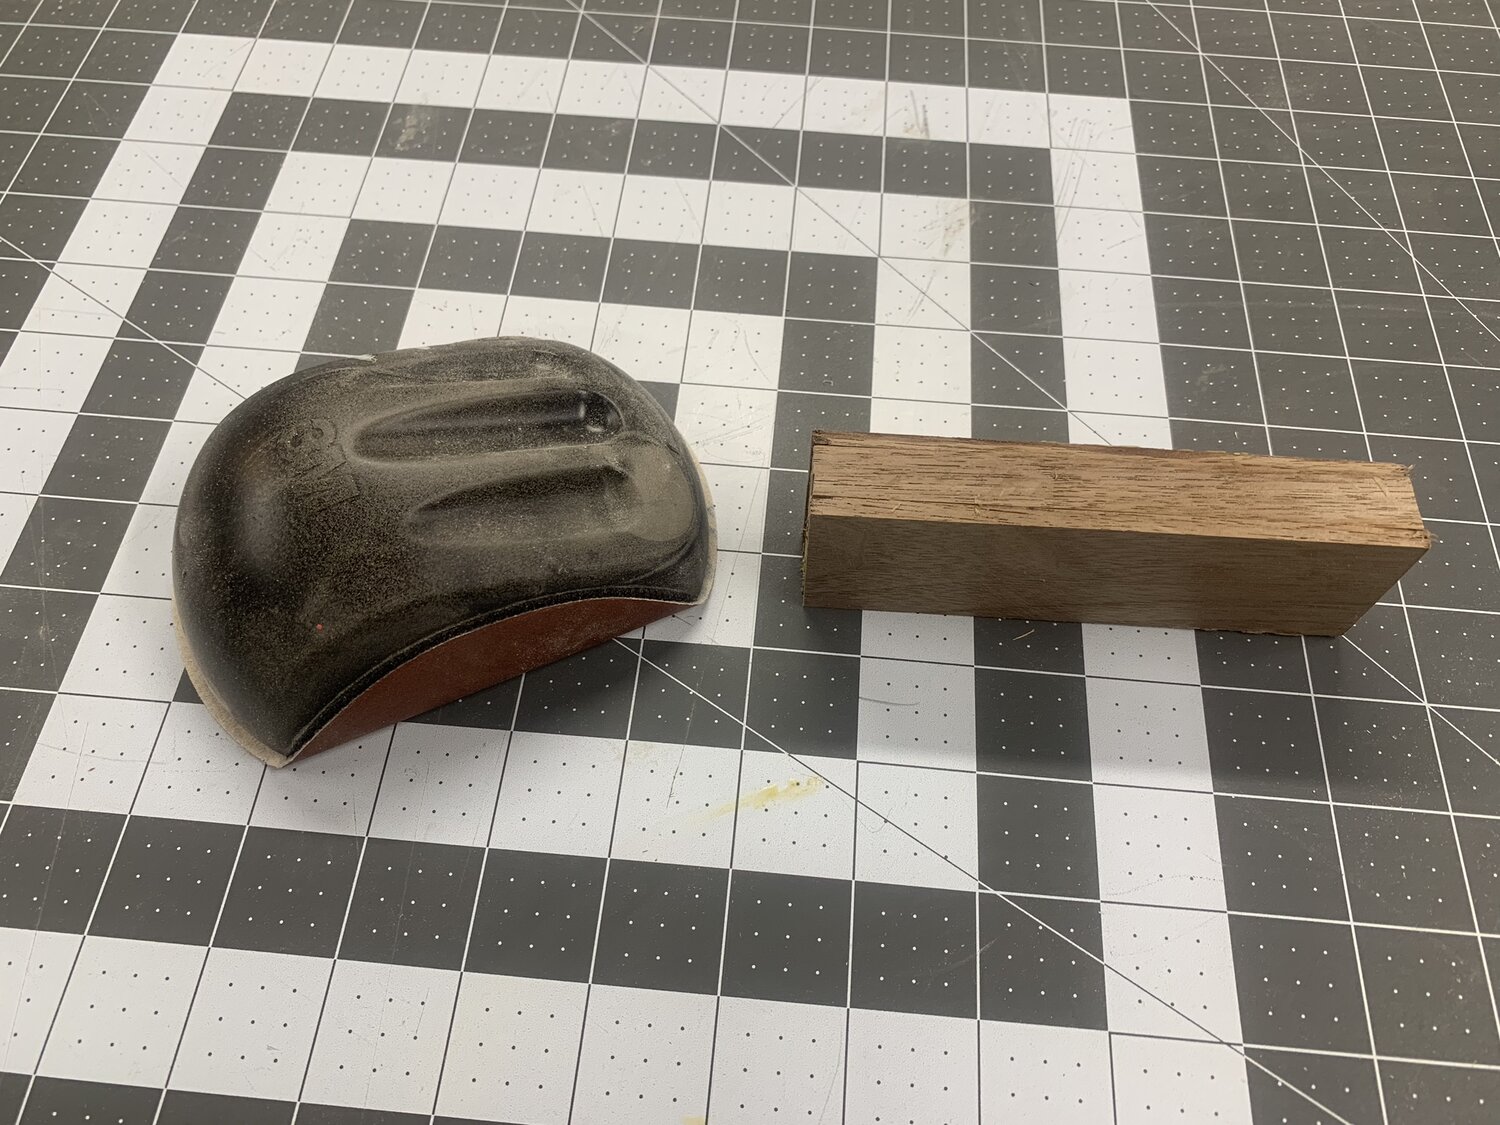
Once the glue dries, you’re going to sand like crazy with 80 grit sandpaper to smooth out all the surface and clean up the glue. Then, finish up with 220 grit sandpaper. Before applying finish, you need to wet the entire surface to raise the grain. Then, you’ll sand it back down with 220 grit. If you want, you can follow up with 400 grit sandpaper for an even smoother finish.
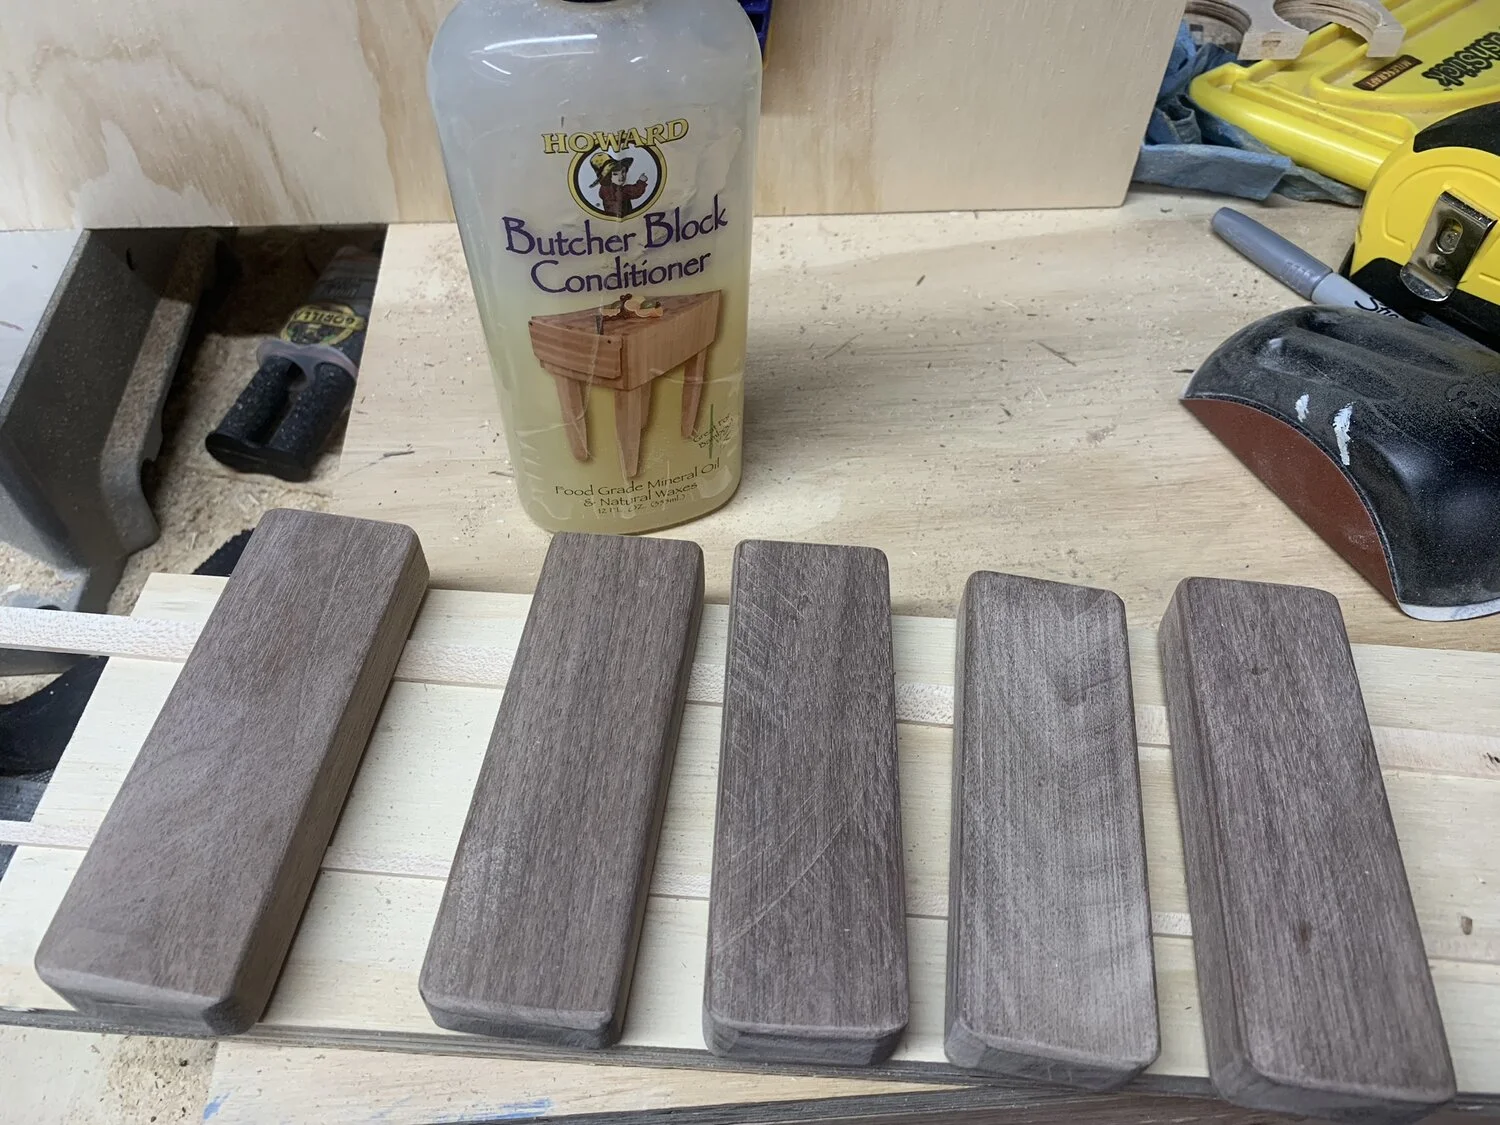
Apply a generous coat of Butcher Block Conditioner which contains beeswax as a slight hardener. After is soaks in for a few minutes, lightly wipe it off and let the rattle air dry.