
Minimalist Walnut and Metal Coat Hooks // DIY

I think I was 5 when I was first introduced to coat hooks. It was the first day of kindergarten and everyone was assigned a coat hook outside the classroom. We were told it was to hang our coats and bookbags from while we were in school. But, I always knew you could hang so much more than coats on them. I knew they could be so much more than boring curved metal hooks. Which is why, when I envisioned this beautiful minimalist coat hook in my head, I knew I had to make it.
Okay, enough of that BS…I got the inspiration for this minimalist coat hook from a different hook I saw. I liked the look and thought I'd buy some steel and use scrap walnut to give it a try.
Materials:
8/4 Hardwood - I’m using Walnut
1-1/2” x 1/8” Steel or Aluminum Flat Bar
3 inch Lathe Screws
2.5 inch Lathe Screws
Spray Paint
60 Grit Sandpaper - If you want to hand sand the metal
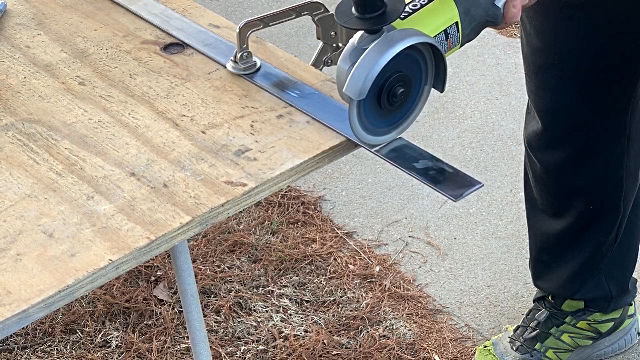
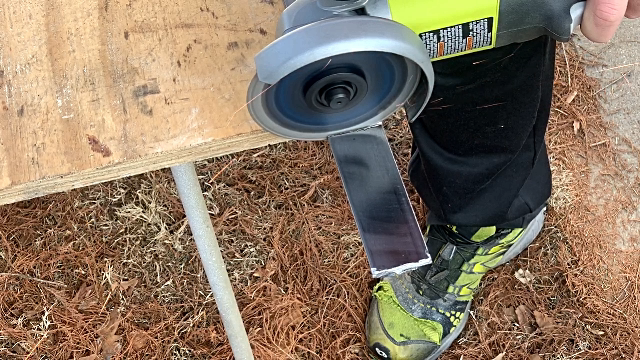
I'm using a steel flat bar that's 1.5 inches wide and 1/8 inch thick. Since I don't have a metal cutting saw I used my angle grinder to cut off some 5 inch long sections. If you don't have an angle grinder you can buy the same piece of metal in aluminum. The aluminum should be soft enough to cut with a regular miter saw blade. I suggest using a 2x4 as a backing board during the cut.
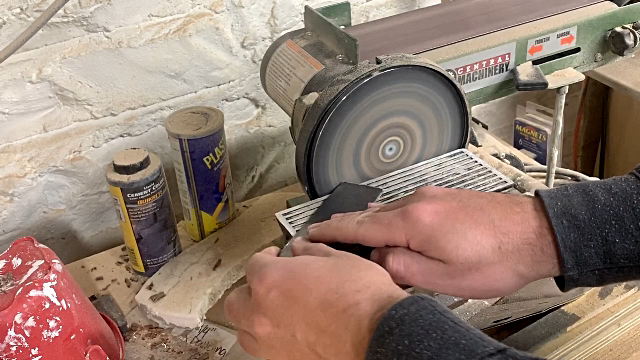
After cutting several pieces, I used my belt sander and disc sander to smooth out the edges and round off the corners. Since I've never sanded metal, this was a learning experience and I'm probably doing it incorrectly. But whatever I did, it got the job done and I didn't break the sander or any fingers. I didn't consider the metal would be hot so I almost burned my hand at one point.

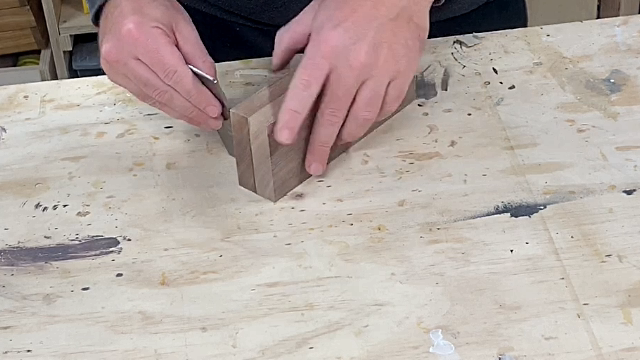
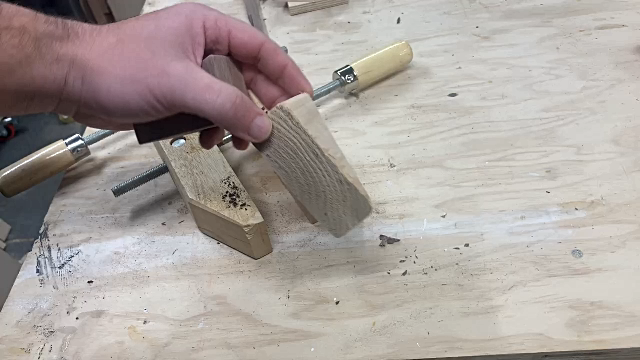
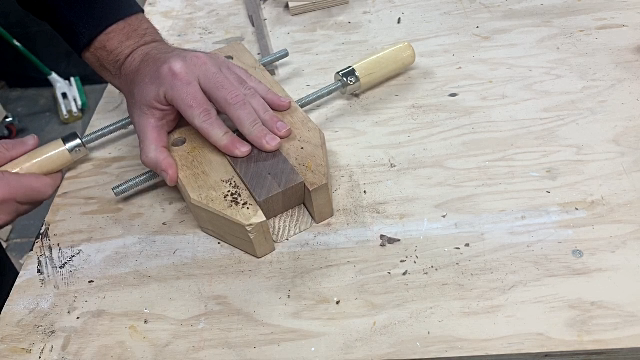
For the walnut part, I glued up some scrap walnut to match the width of the metal. Then I squared up the edges...the glue line you can see won't matter since the end grain will be covered up by the wall and the metal, the top and bottom won't be seen.
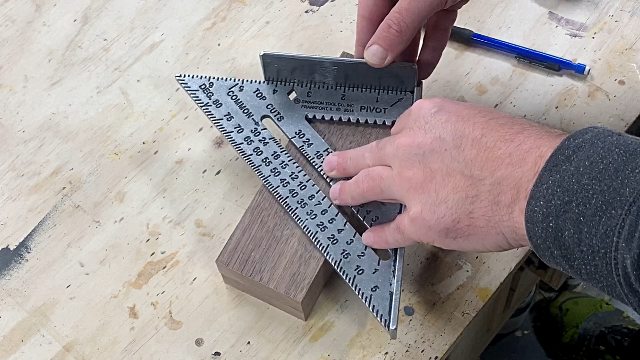
Next I figured out the angle I wanted for the hook. I didn't want it too steep or it would stick out from the wall too far and too shallow wouldn't look good...maybe I have the steep and shallow descriptions backwards but you get the idea.
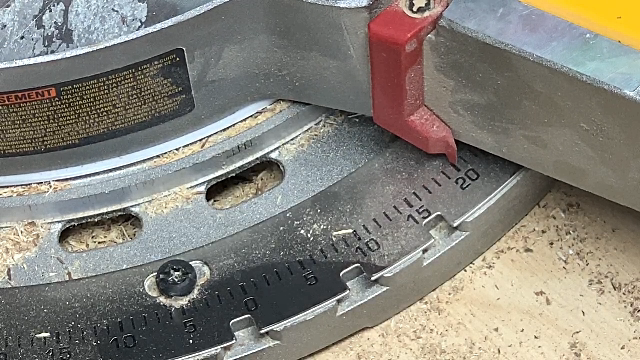
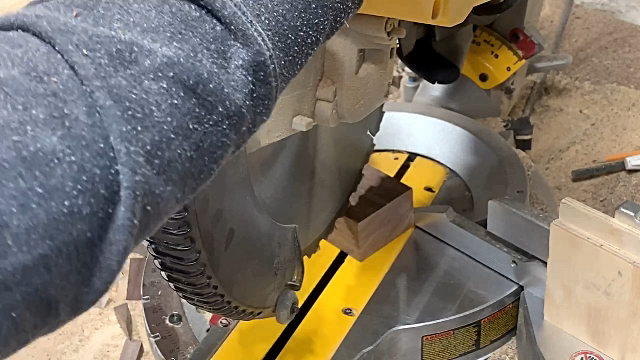
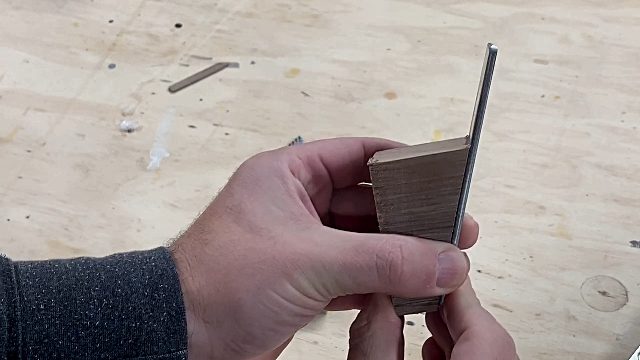
I settled on an angle of 20 degrees and set my miter saw. I eyeballed the first cut and I thought it looked good. Then I just eyeballed the rest of the cuts. As you can see, the metal is going to be attached to the walnut and angled away from the wall.
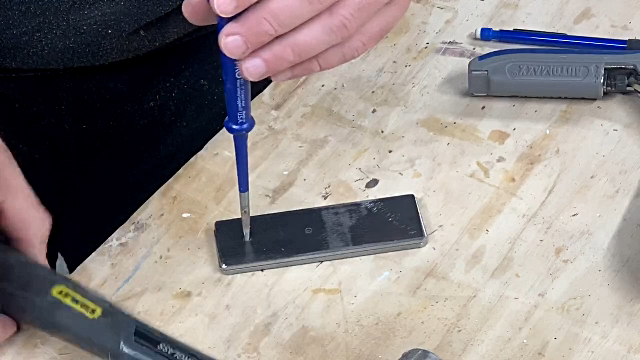
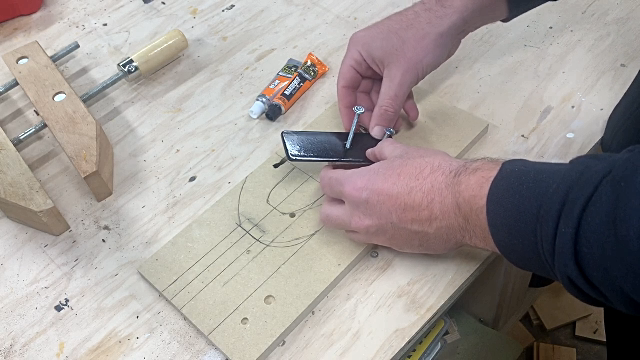
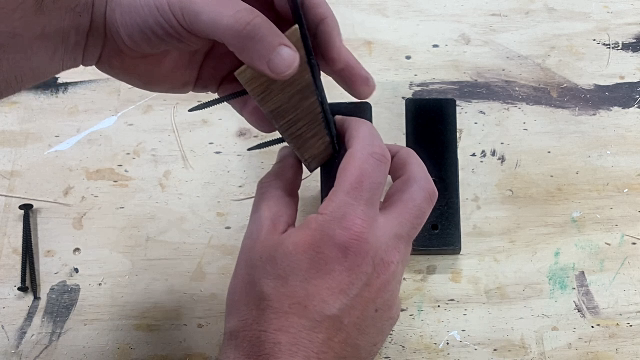
The hardest part for this hook, if you can even call it hard, is drilling the holes. First I used a punch to mark off where the holes should go. Then drilled them out on the first piece. Here I'm using the holes to mark out the remaining metal pieces. I used a drill bit that is slightly larger in diameter than the lathe screws I'm going to use.
I used the holes in the metal to mark where I needed to drill in the walnut.
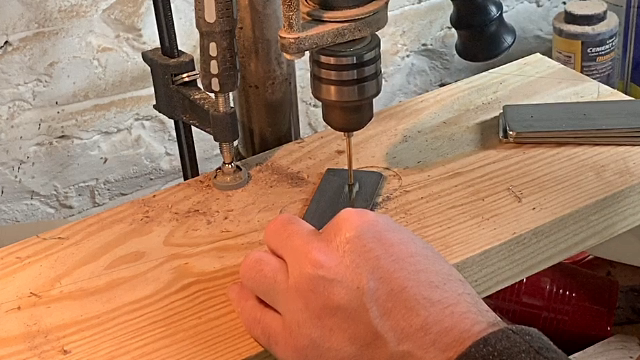
These holes need to be drilled at the same angle as the wood is cut, otherwise the screwheads won't sit flush.

I cut out a scrap piece of wood at the same 20 degree angle and used this as a jig to make the wood sit perpendicular to the drill press. As you can see, this worked out pretty well. The only issue is the screws go into the wall at an angle. If you're attaching to a stud, it's fine but might be tricky if you use a wall anchor.
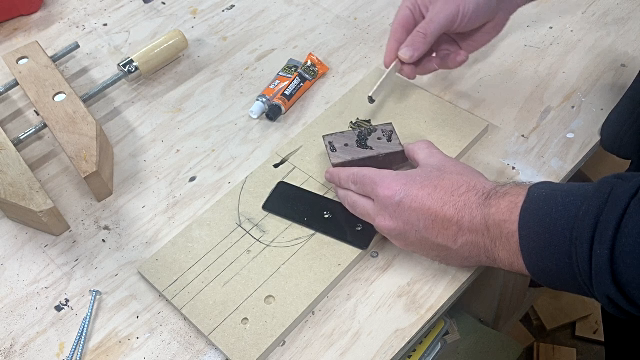
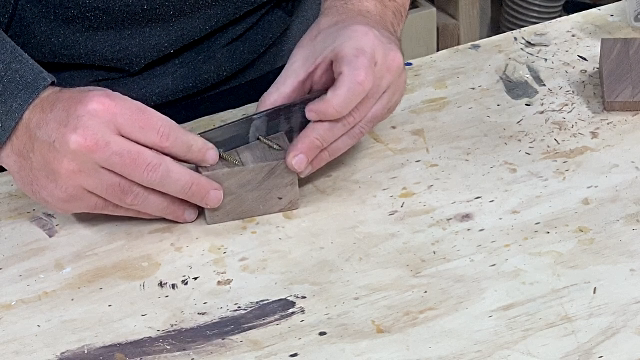
To attach the wood to the metal I just used JB weld. I couldn't really clamp anything together so I just crossed my fingers that it wouldn't move or stick to the screws I used for alignment.
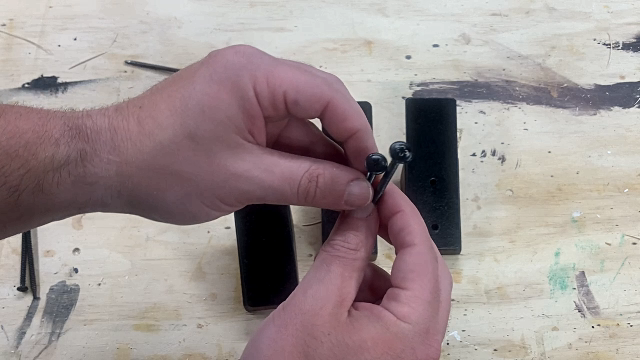

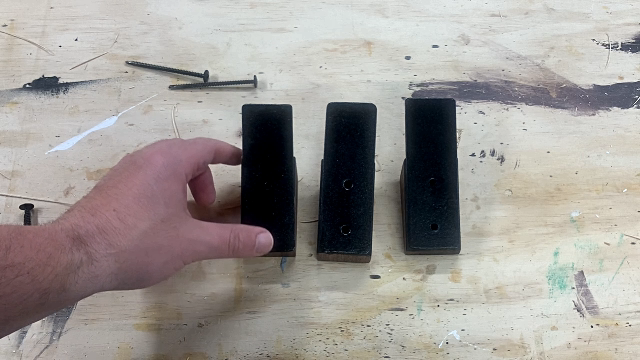
The 3 inch screw is needed to extend through the wider top part while the 2 1/2 inch screw is long enough for the bottom. I suppose you could just use two 3 inch screws and only need to buy one box of lathe screws but I like to keep the amount of screw doing the securing to a consistent length. Although it’s not going to matter. No one will see it.
Ideally you’d want to powder coat the metal and then attach it to the wood. That’s the more expensive/advanced option. The less expensive option is spray paint with a clear coat. I used a hammered black spray paint for these hooks.