Box Joint Knife Block

I’ll never forget my fascination with knives growing up. I made many ridiculous knife purchases, most of them on school field trips because it was the only way I could hide them from my parents before I was able to drive. It was stupid because I could have been expelled. It was also the opposite of what anyone would have expected of me since I almost never got in trouble. Throughout my 12 years of school I got in trouble ONE time. And it was because I forgot my math homework and had to stay after school to make it up. But there I was, buying a butterfly knife on a field trip into Boston…and buying a giant Rambo knife in Quebec City on a trip for French class. Then I brought it back over the border on a coach bus. Pretty bad, but not as bad as my friend who bought a starter pistol. In our defense, we spoke French the entire time in the store where we bought them. That has to count for something. Anyway, enough of the food blogger BS again…
Recently I decided I need to use my router table more often and I've been wanting to make a knife holder. I bought a box joint jig for my router table at the same time I bought the router table. I need to use it. So, here is how I made an open air box joint knife block.
Tools and Supplies:
PS: If you like what I'm doing, help me buy more clamps, you can never have enough: https://www.buymeacoffee.com/SCWorkshop
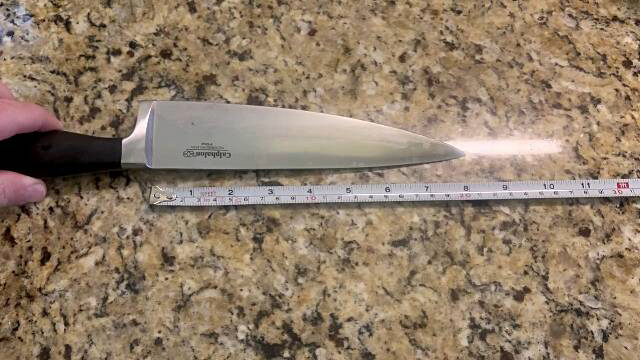
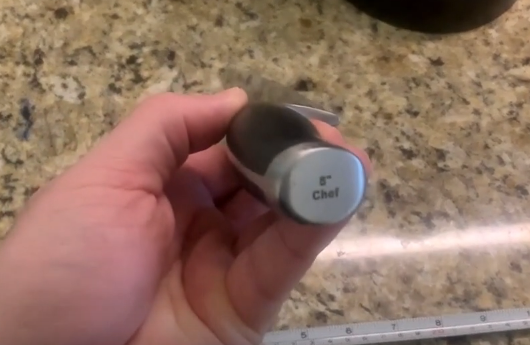
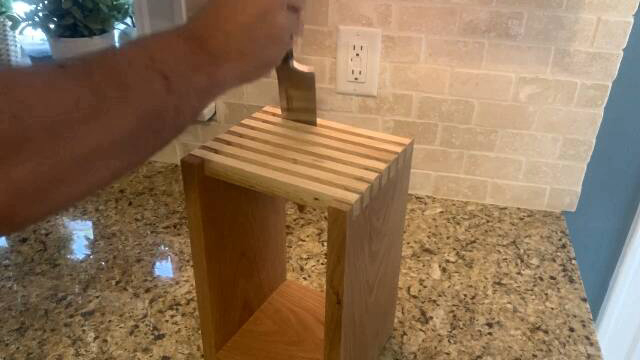
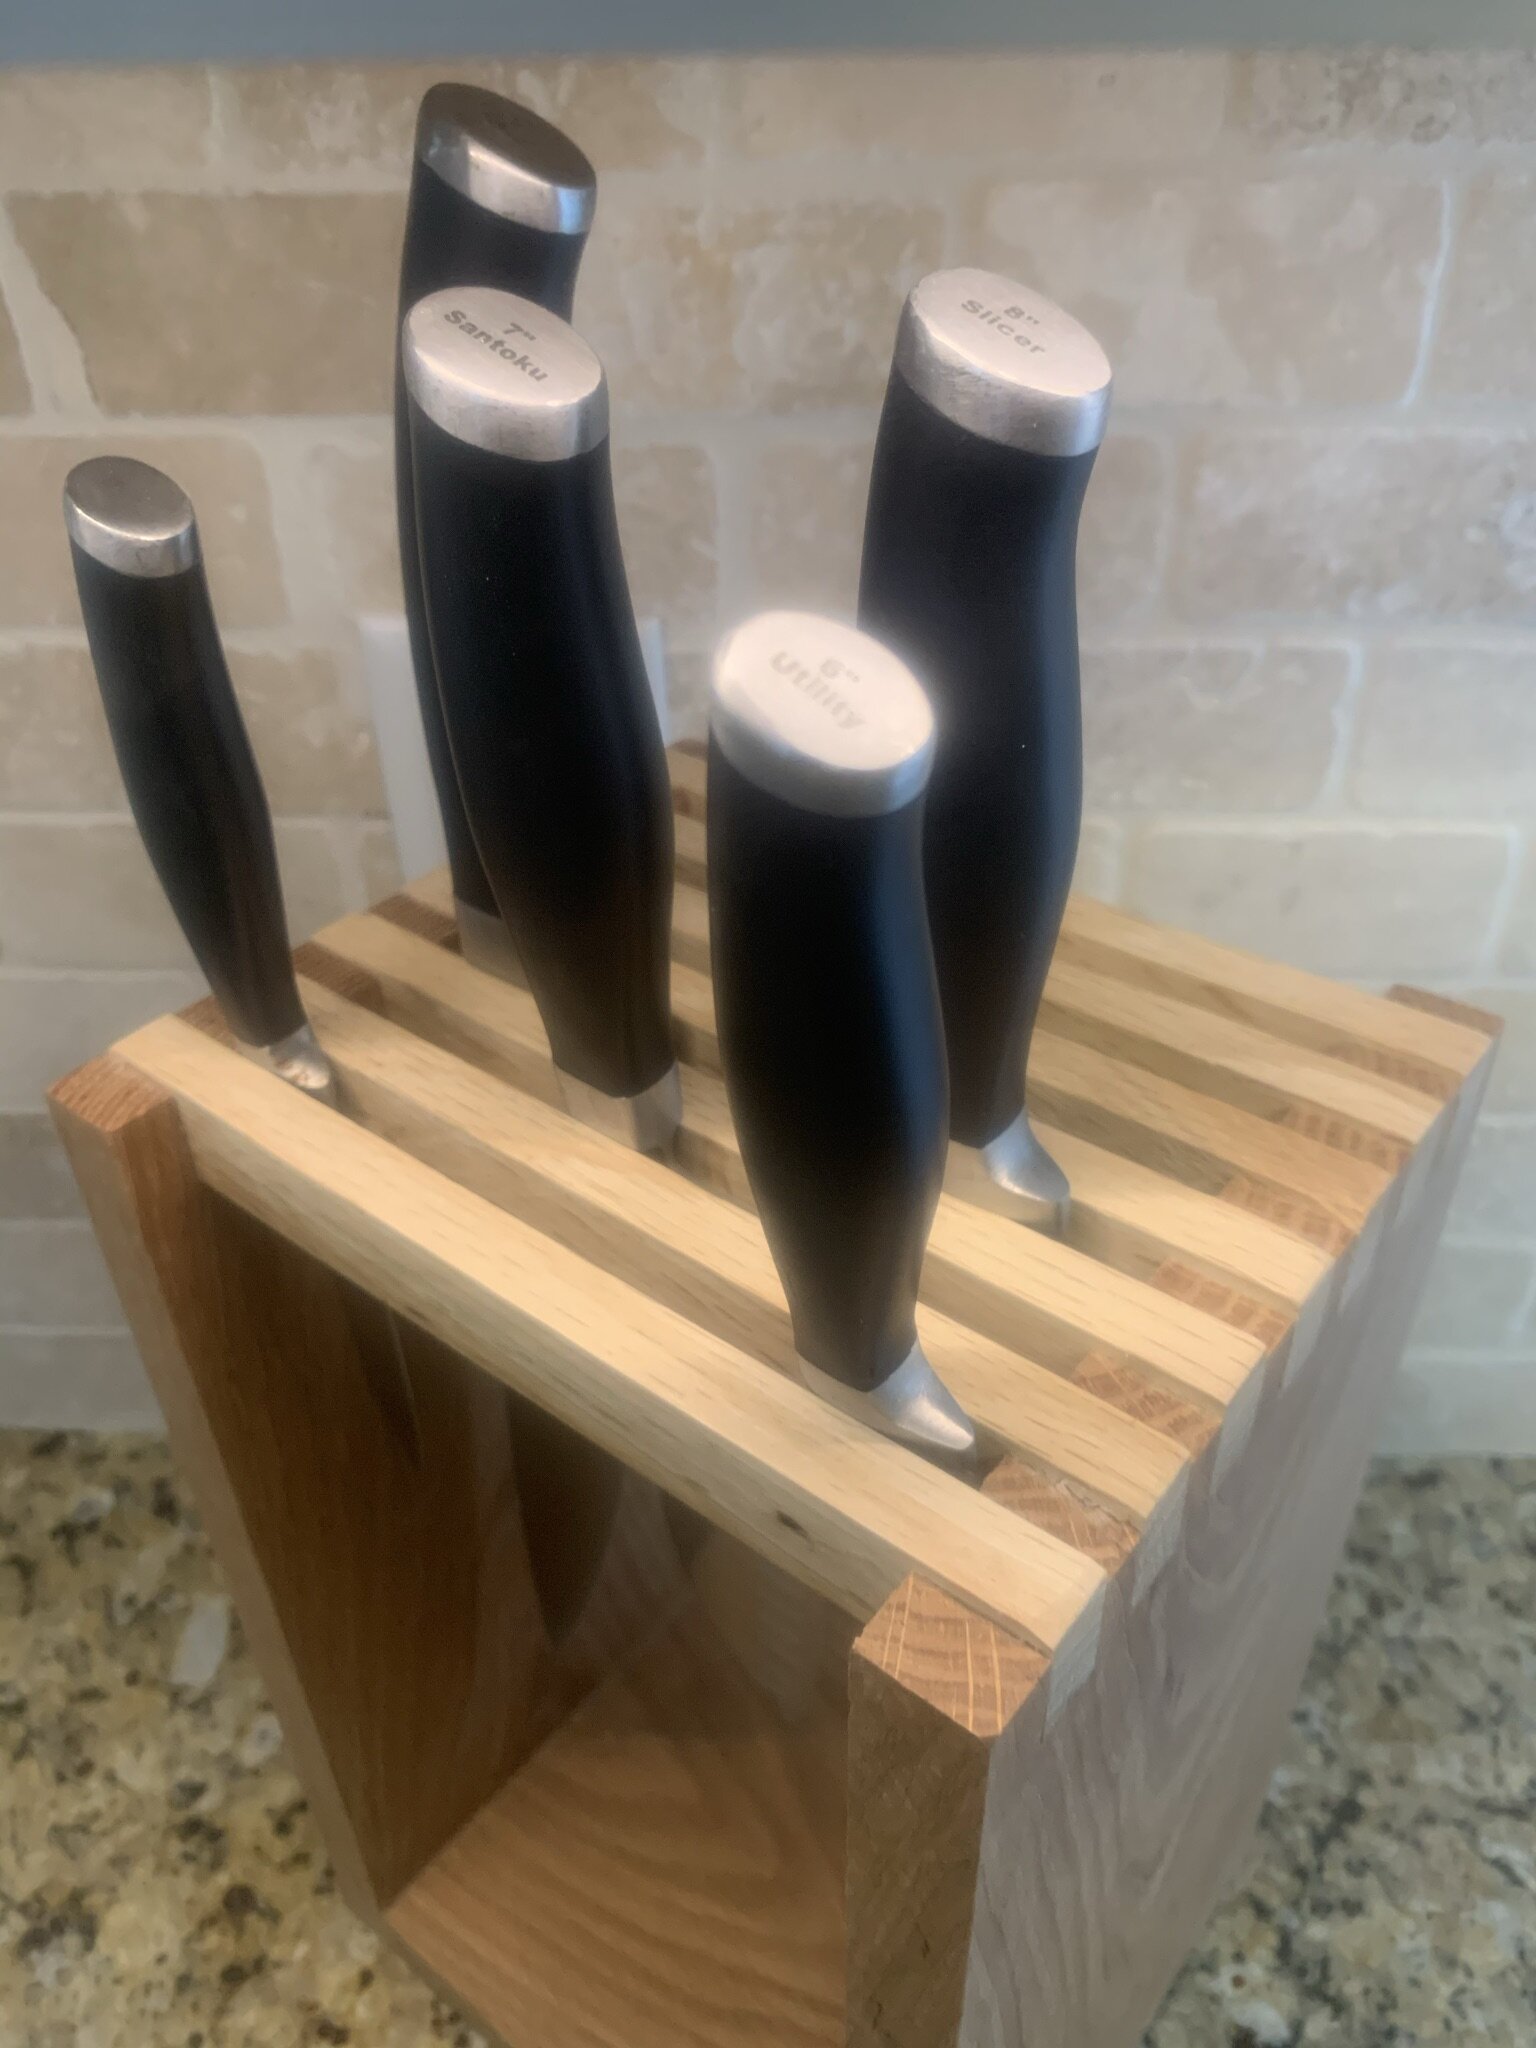
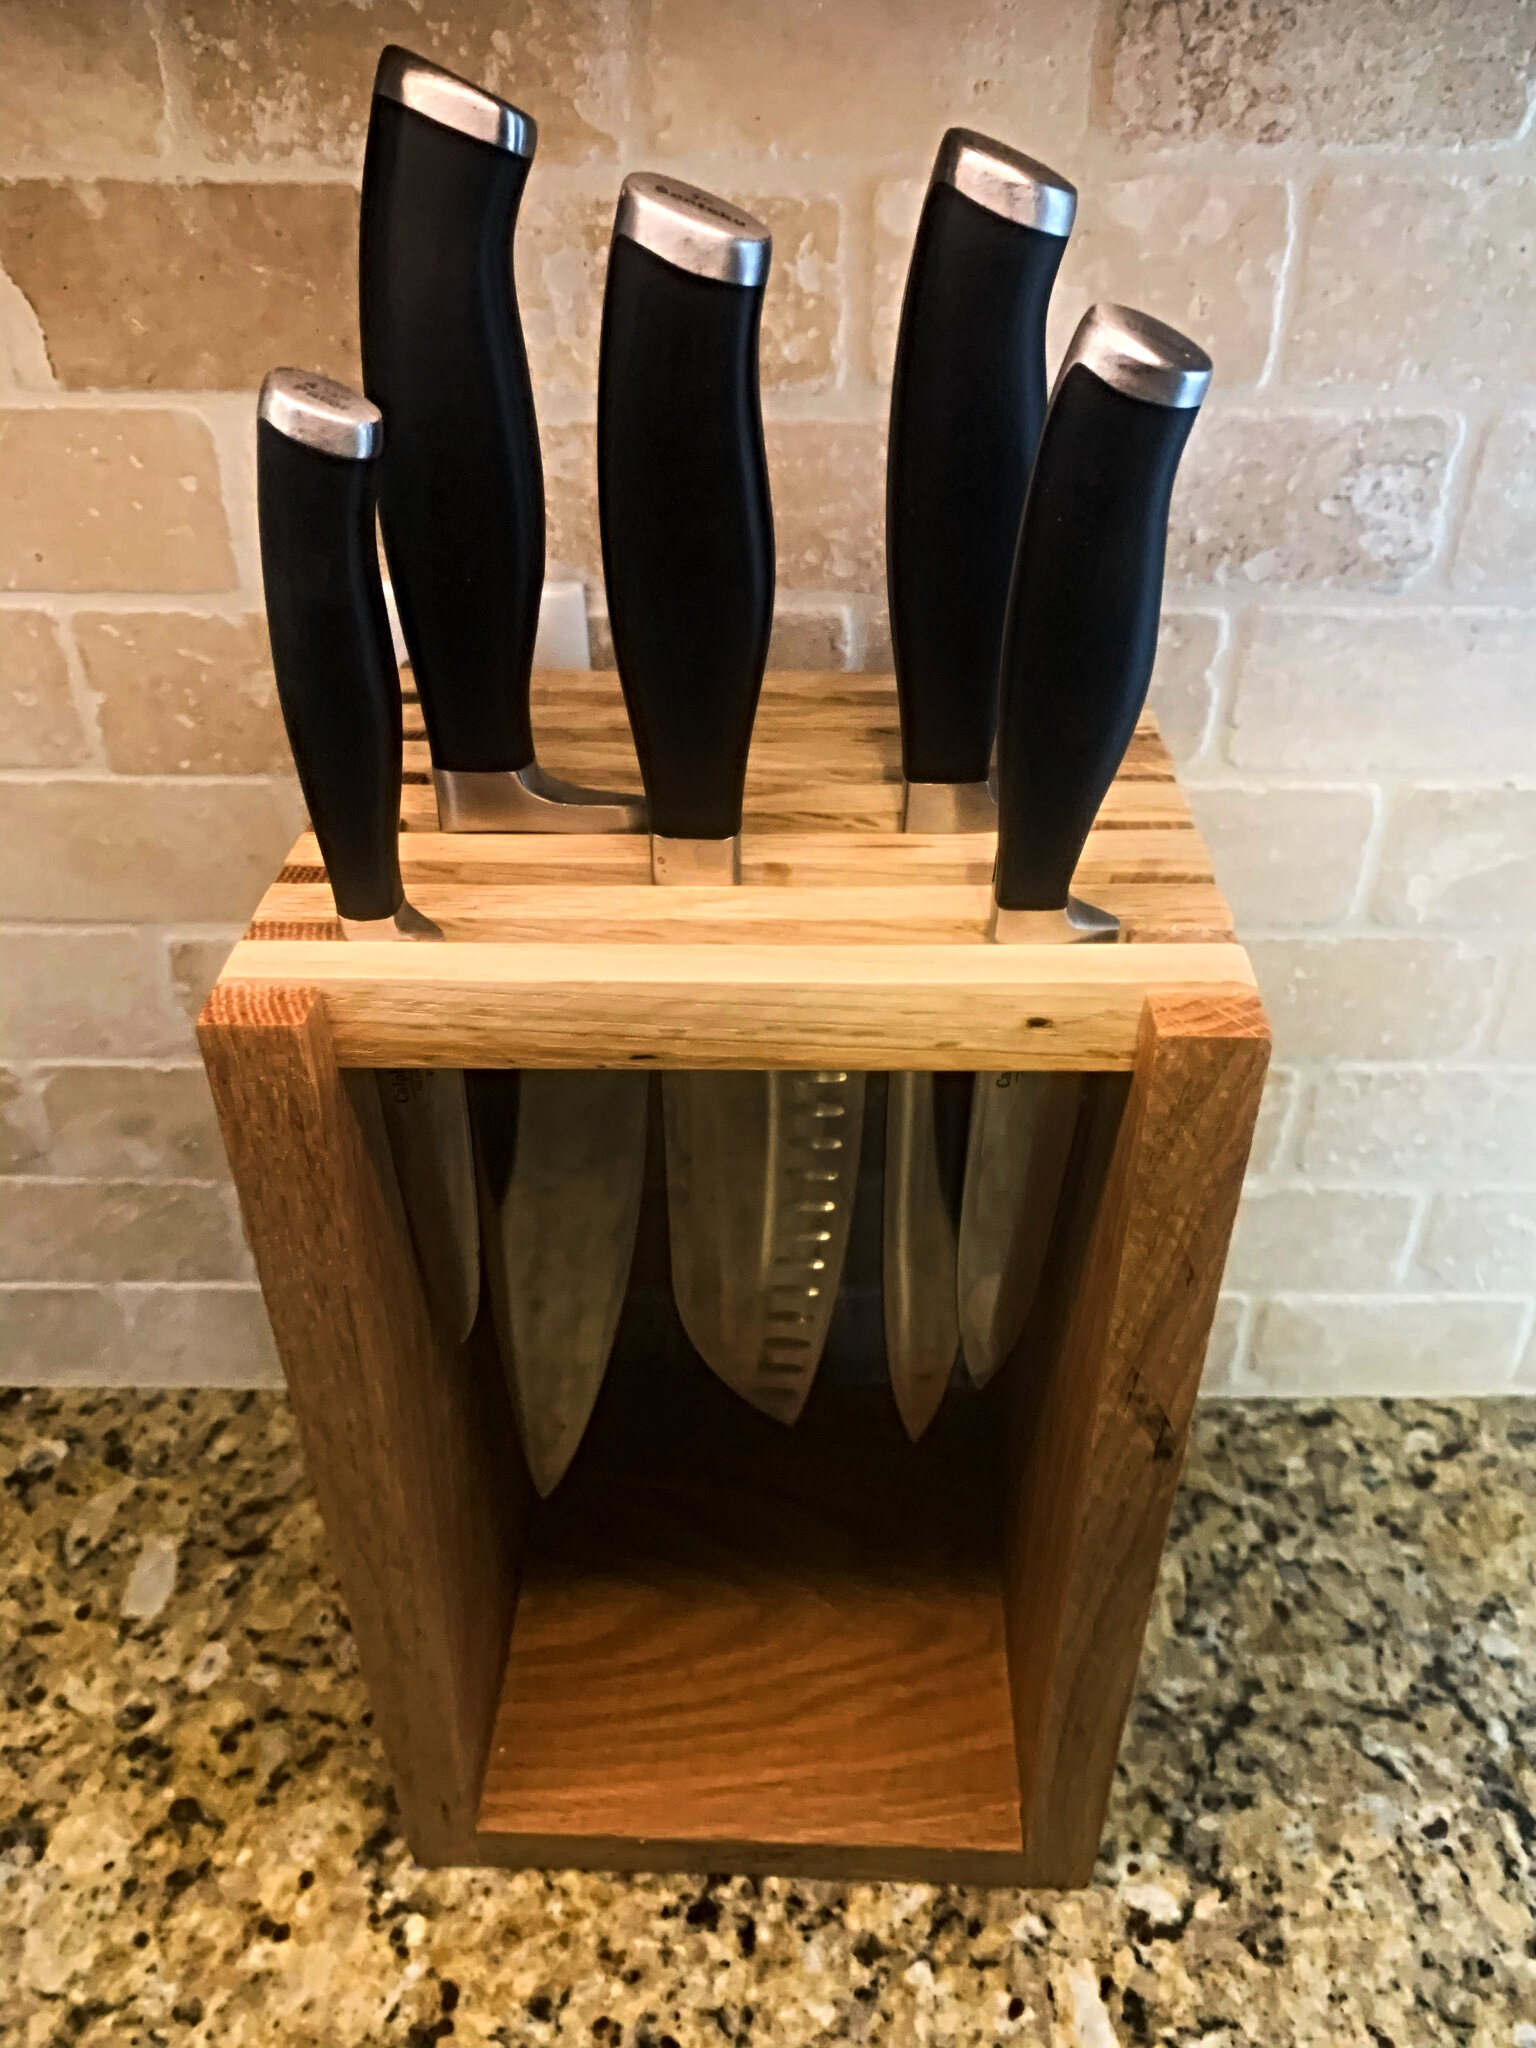
I started out in my kitchen with the knife block we already own. I measured that to get an idea of how big it might need to be. Soon, I realized that won't matter since my wife isn't going to let me keep this in the kitchen. All I needed to do is figure out how long my knives are so I can use them to take pictures when I'm finished. Oh, it says how long the blade is right on the knife. I guess I didn't need a tape measure at all.
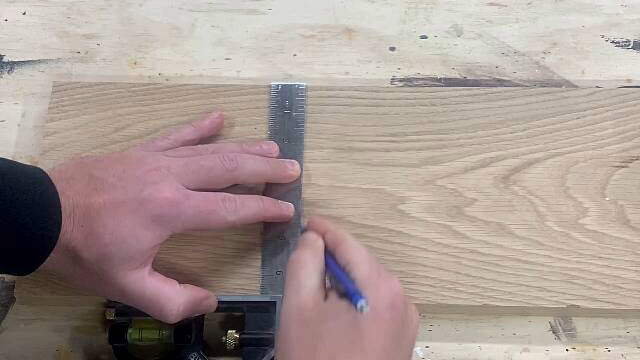
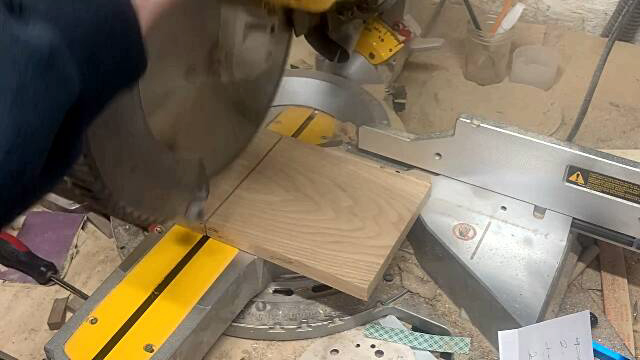
I'm using some white oak offcuts from a coffee table I made with a metal base I welded. I measured out my cuts to make sure the largest knife will fit in the block and then cut them down to size. Luckily there are offcuts so I can dial in the jig. Ideally you want to use the same wood you're using in your project to set up a box joint jig.
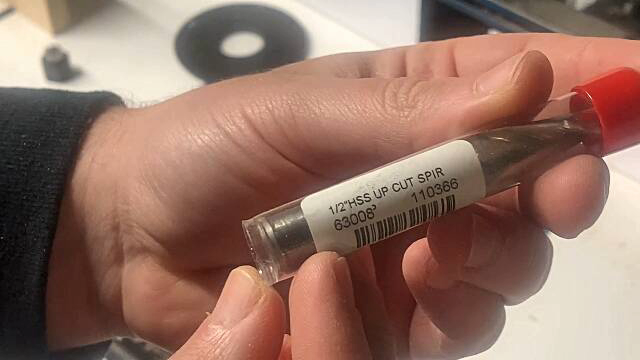
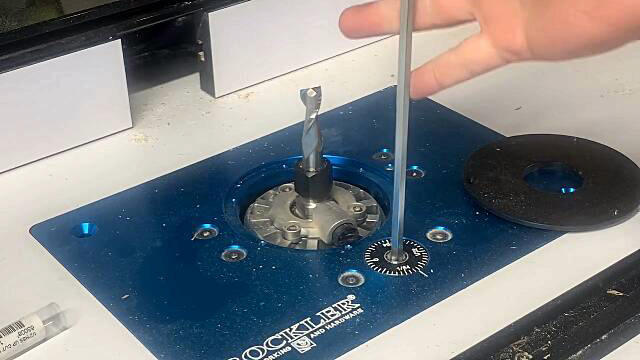
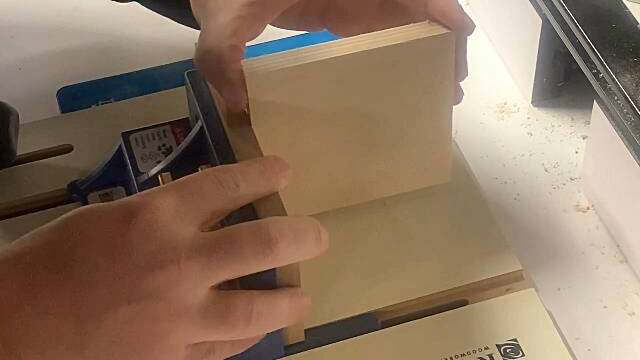
In order to make the box joints, I needed to switch out the collet on my router to the 1/2 collet since I'll be using a half inch spiral upcut bit. I've had some issues getting the bit low enough using the lift but I fixed that issue by mounting the router a bit lower in the lift this time. And here is me setting the height of the router bit and width of the jig. I have no idea how to explain it so if you buy a box joint jig for your router table, I suggest either finding a different video or reading the instructions.

Now that it's basically set up, the next step is to dial it in with some test pieces. Ideally you want to use the same wood you're using in your project.
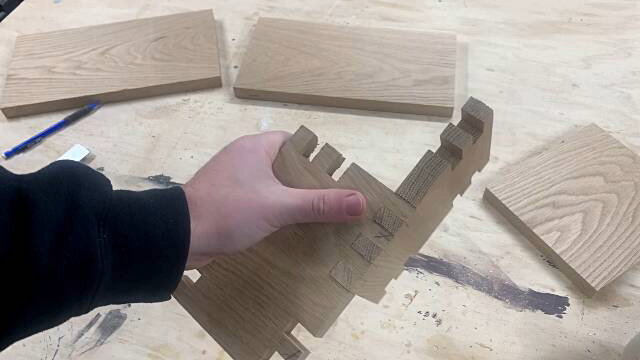
And we'll use the first piece as a spacer for the second piece. Then you can see how well your set up went. As you can see, the box joints are too loose. After about 3 test cuts, I had things good enough to where I could pound them together with a mallet. ]Here is a very important tip: It's better the have the router bit too high than too low. You can always cut or sand the "fingers" off after you glue up. If they're too short, you'll probably have to start over.


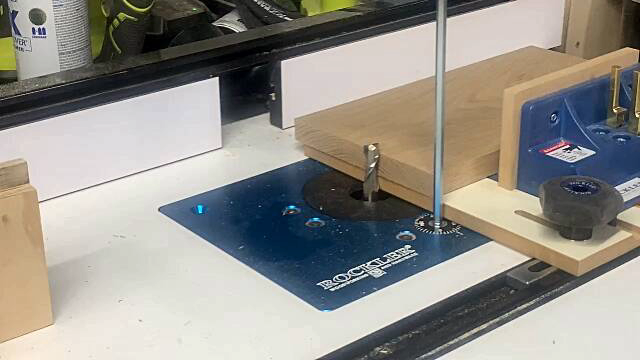
When cutting the box joint’s it just a matter of keeping things in place and pre-planning your cuts so each side fits into the other sides correctly.
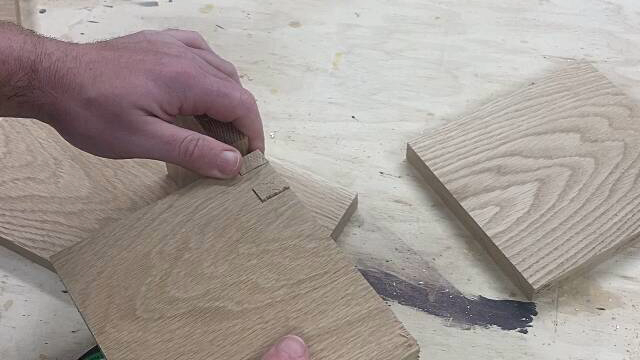
This test fit did not go well...I ended up sanding each opening for a looser fit.


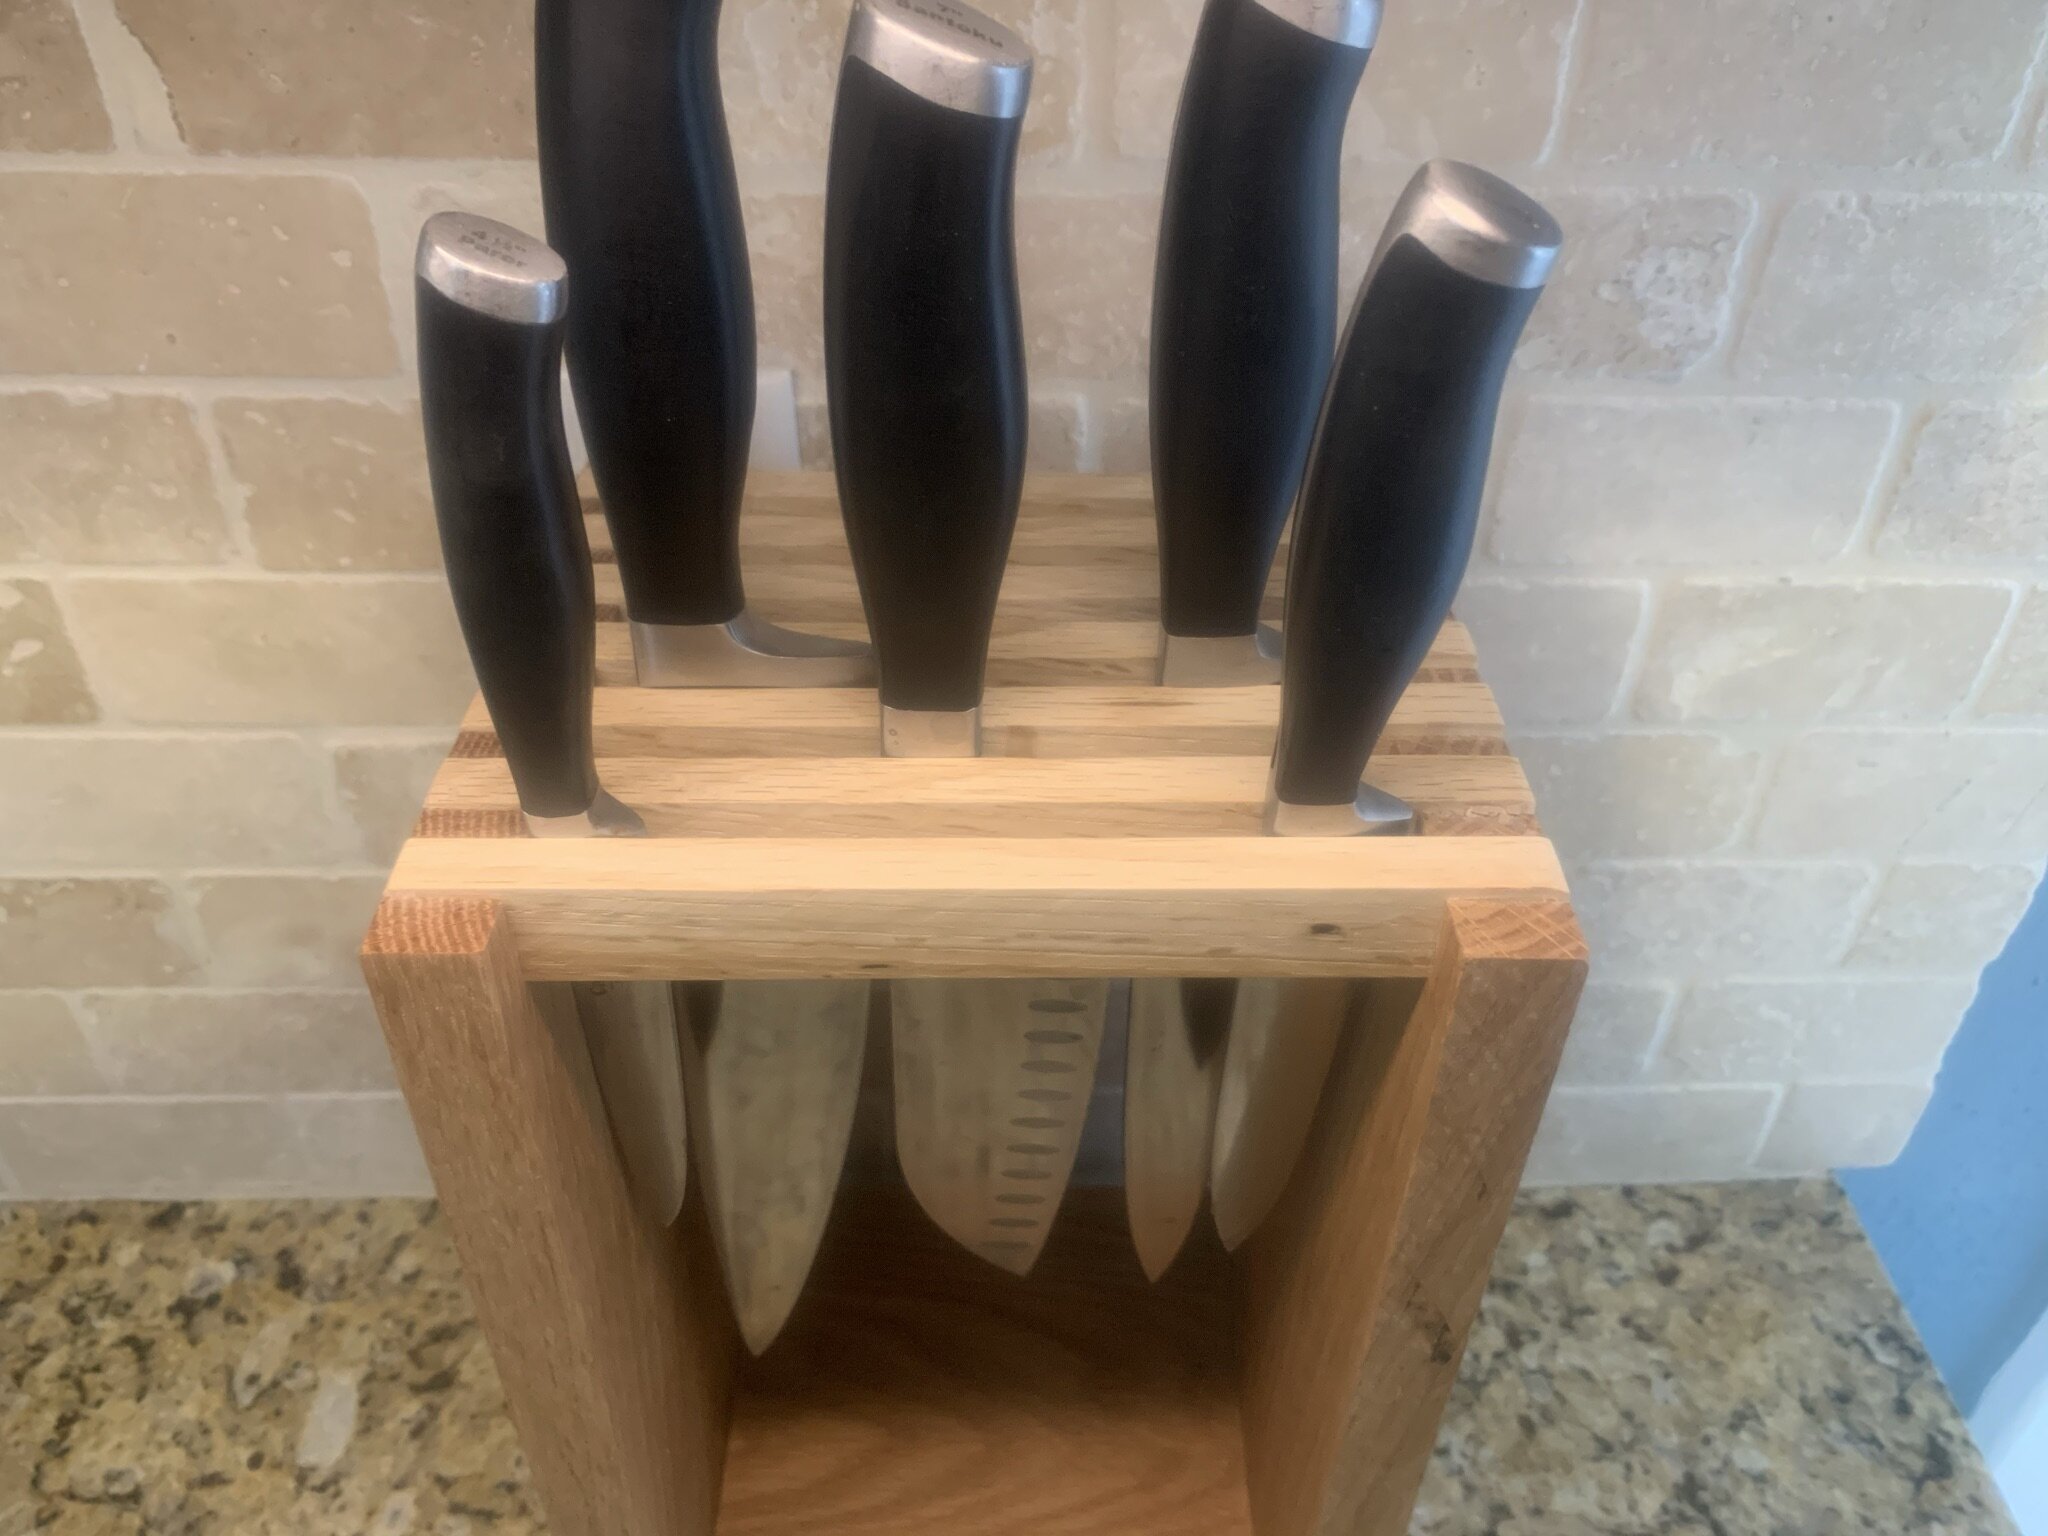
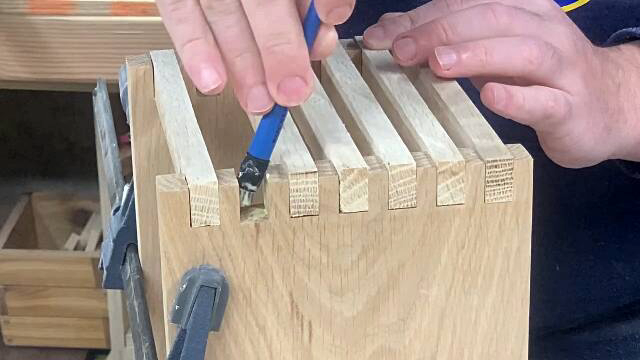
Next, it was time to decide how to space the top. A half inch spacing, like the sides, is too big and the shoulder of the blades won't sit properly. I ended up going with a quarter inch spacing.
So it was back over to the router table to make the cuts.
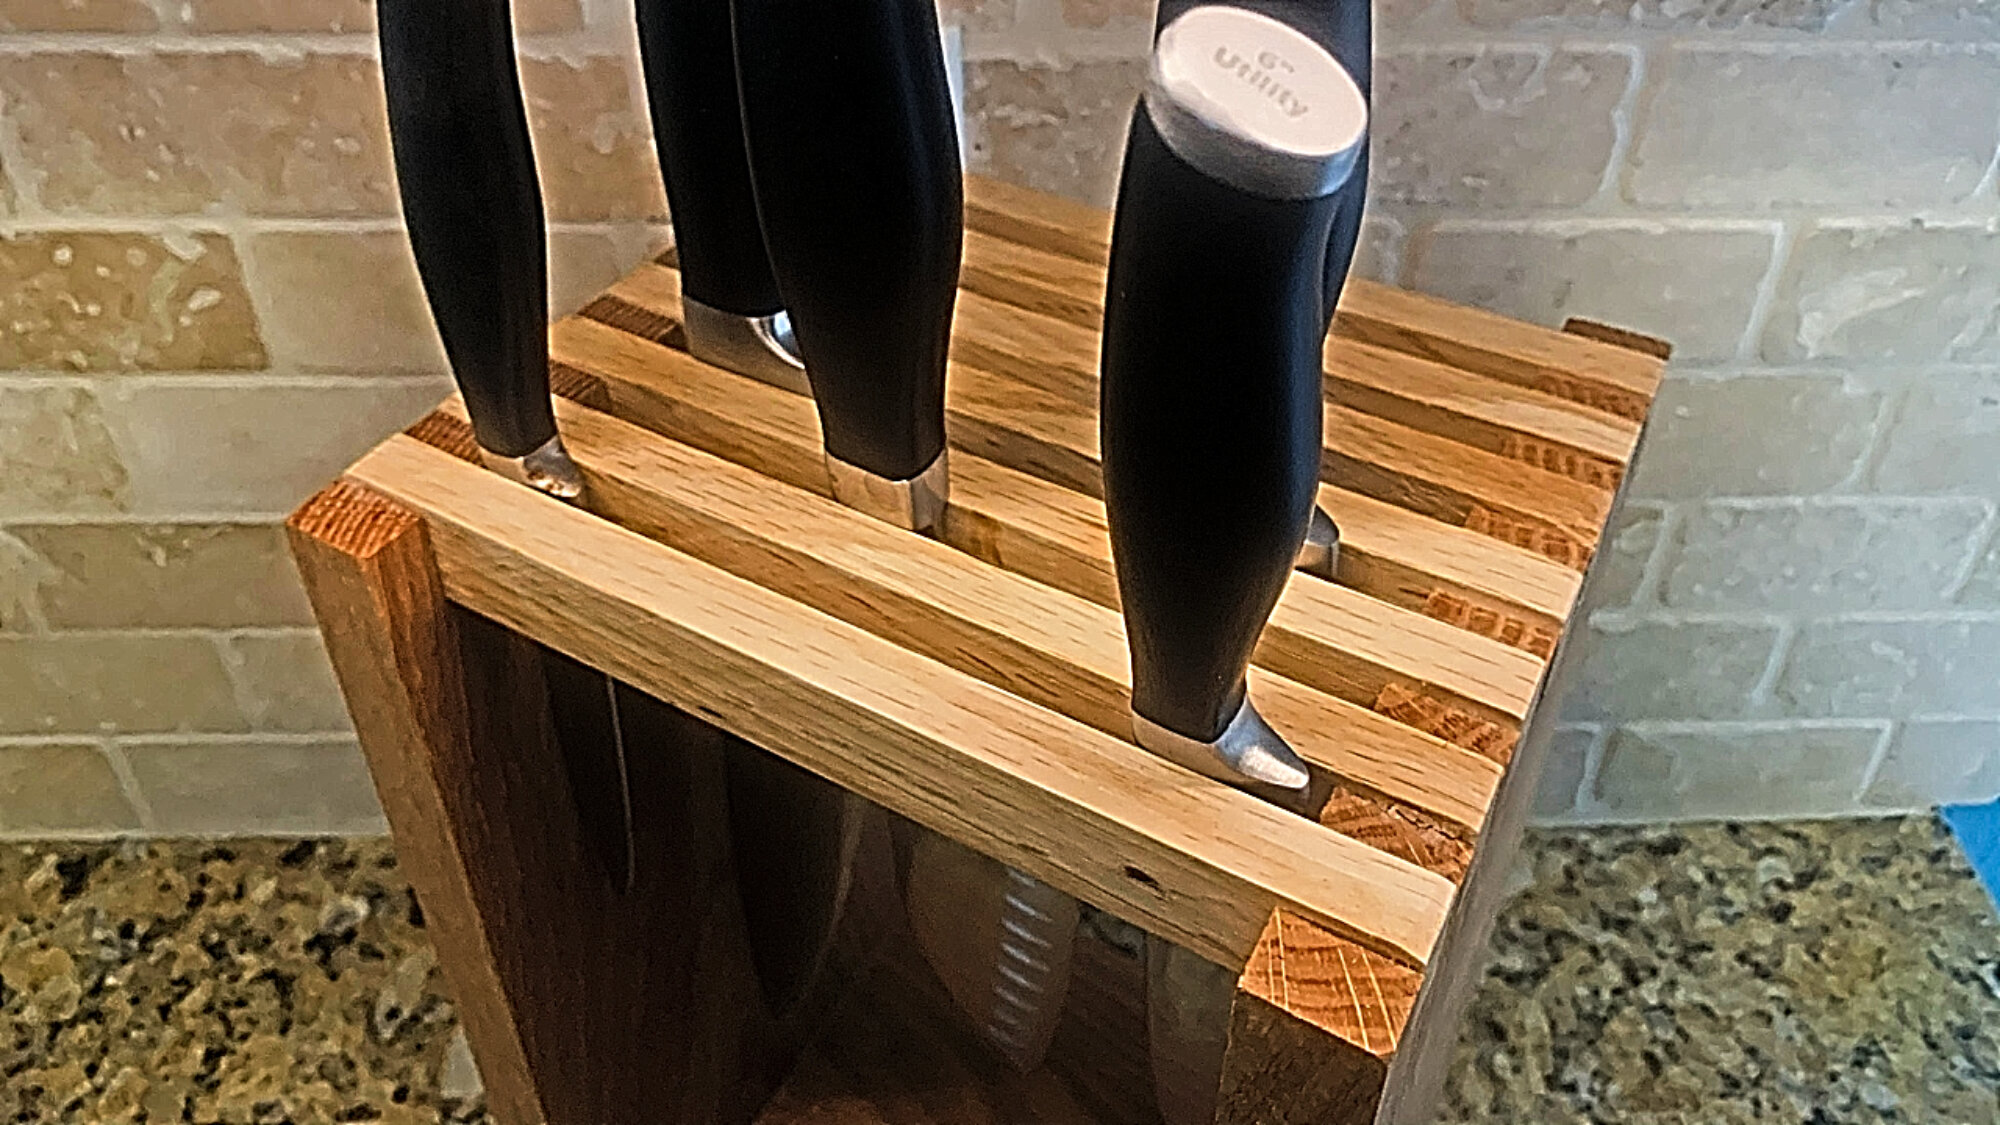
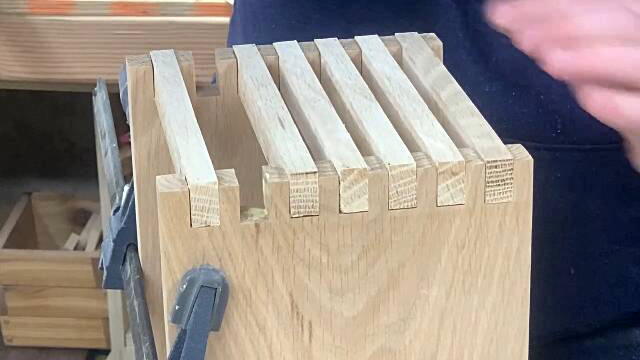
For the last step before glue up, I needed to cut some half inch strips to create the slots to insert the knives. I cut out a few pieces just to test it out. I probably should have made the slots a little more narrow but this will work.


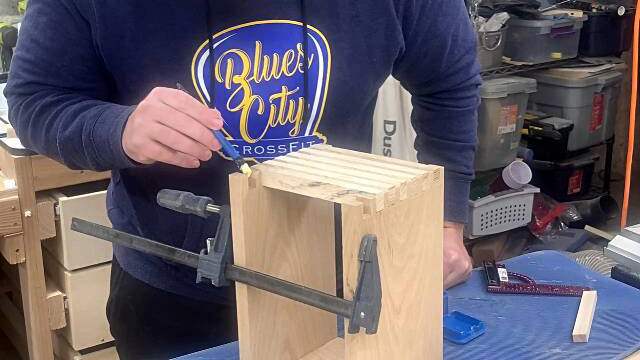
And finally it was time to glue everything up. Since the pieces are a little snug, I did it one section at a time.
In retrospect, I should have used a block of wood to apply more even pressure with the clamps.
Make sure to check for square.

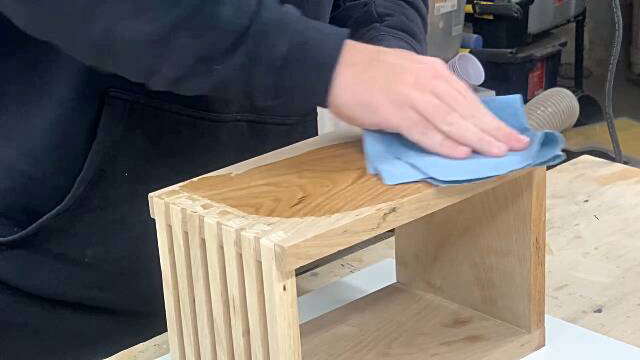
This is what I was talking about earlier. I thought my bit was higher than I wanted but it was actually lower. I wanted the fingers to sit proud so I could sand them back. The fingers aren't too low so I was able to hide it by sanding it flush and then removing a little thickness with the sander to make it transition nicely
And we'll just put those strips in place to glue up…
The sides wanted to bow out slightly so I have a clamp with very light pressure holding them in. Now I'm going to glue the strips in place. Just a couple brushes of glue and you get the idea.