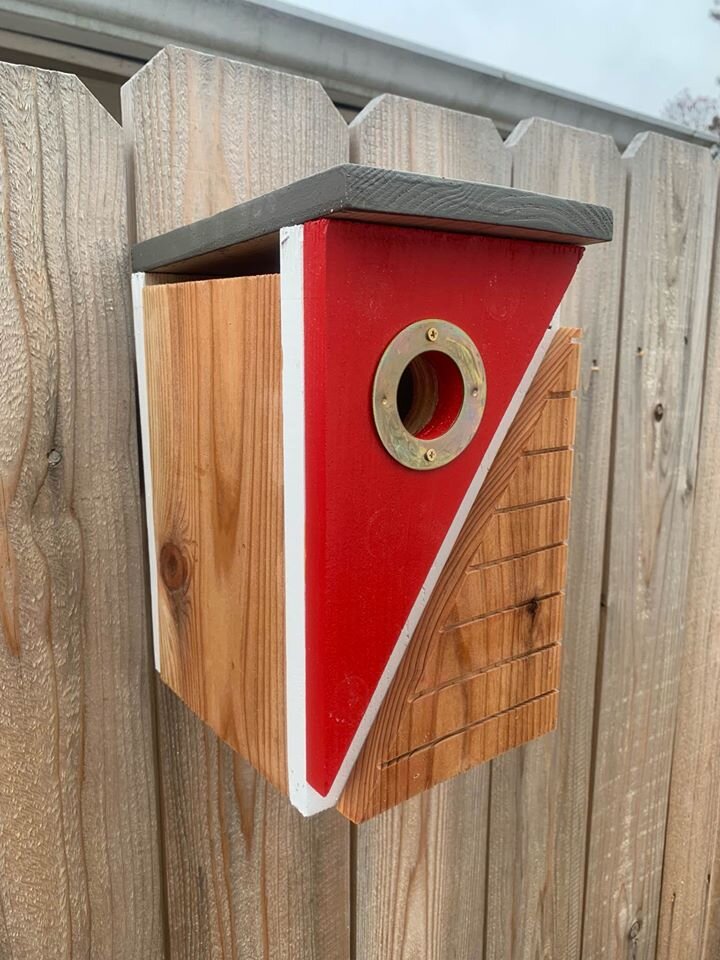
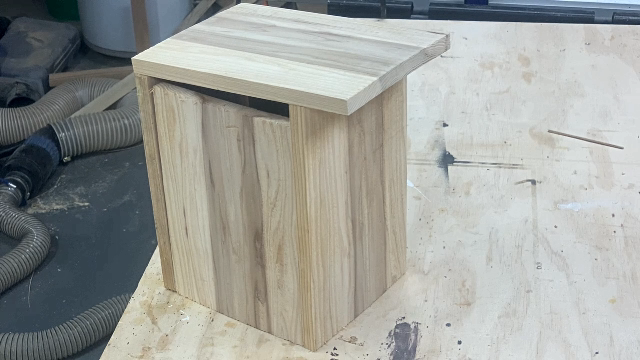
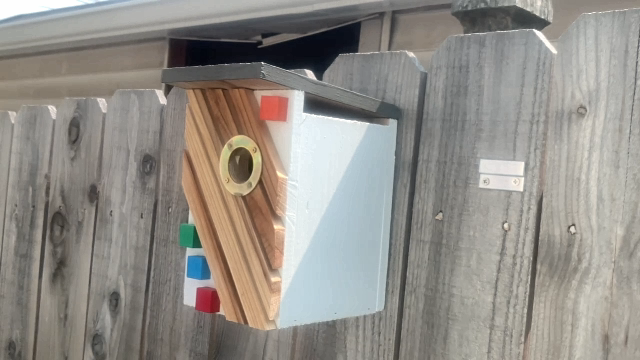
Mid Centry Modern Birdhouse from a Fence Picket
I also sell these in my ETSY STORE
Last year, or 2 years ago, I don’t remember…Time is all compacted together at this point in my life…I replaced a few sections of fence in my backyard. I had some leftover cedar fence pickets and started turning them into birdhouses. But not just any birdhouses, mid century modern birdhouses. I’ve seen some of these sell for over $150. All from a $3 fence picket. Here is how I did it.
Tools
Circular Saw, Mitersaw or Jig Saw
Random Orbital Sander or Sanding Block
Hammer or Nail Gun
Materials
6ft long Cedar Fence Picket – 6 inches wide
French Cleat or Bird House Post
Paint
Portal Protector (Optional)

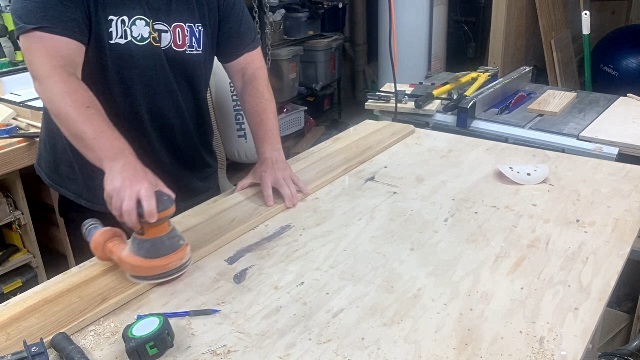
The first step in this process is too pick out one of the nice cedar fence pickets. Before cutting anything I sand the board to 220 grit to remove the rough surface. If you have a planer, you can run it through with a couple light passes but, it’s already 5/8 inch thick so you don’t want to remove too much thickness.

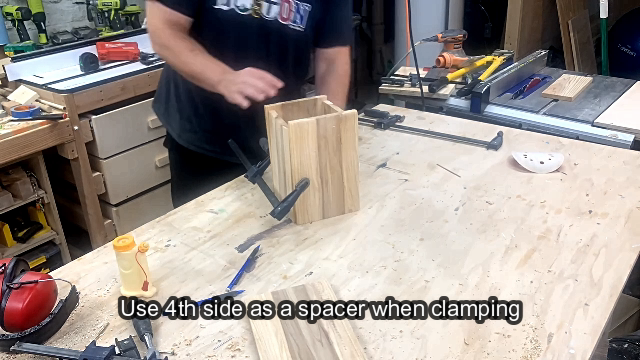
Cut out your pieces with what ever type of saw you have…a handsaw wouldn’t take too long with cedar. Make sure you use a stop block and then mark each piece after you cut it. The pieces are so similar in size that you’ll have to keep figuring out which piece is which. Then mock them up and clamp them together so you can flip it over and cut the bottom piece to fit. Since wood thickness and width will vary, you don’t want to pre-cut this piece and cut it the wrong size.


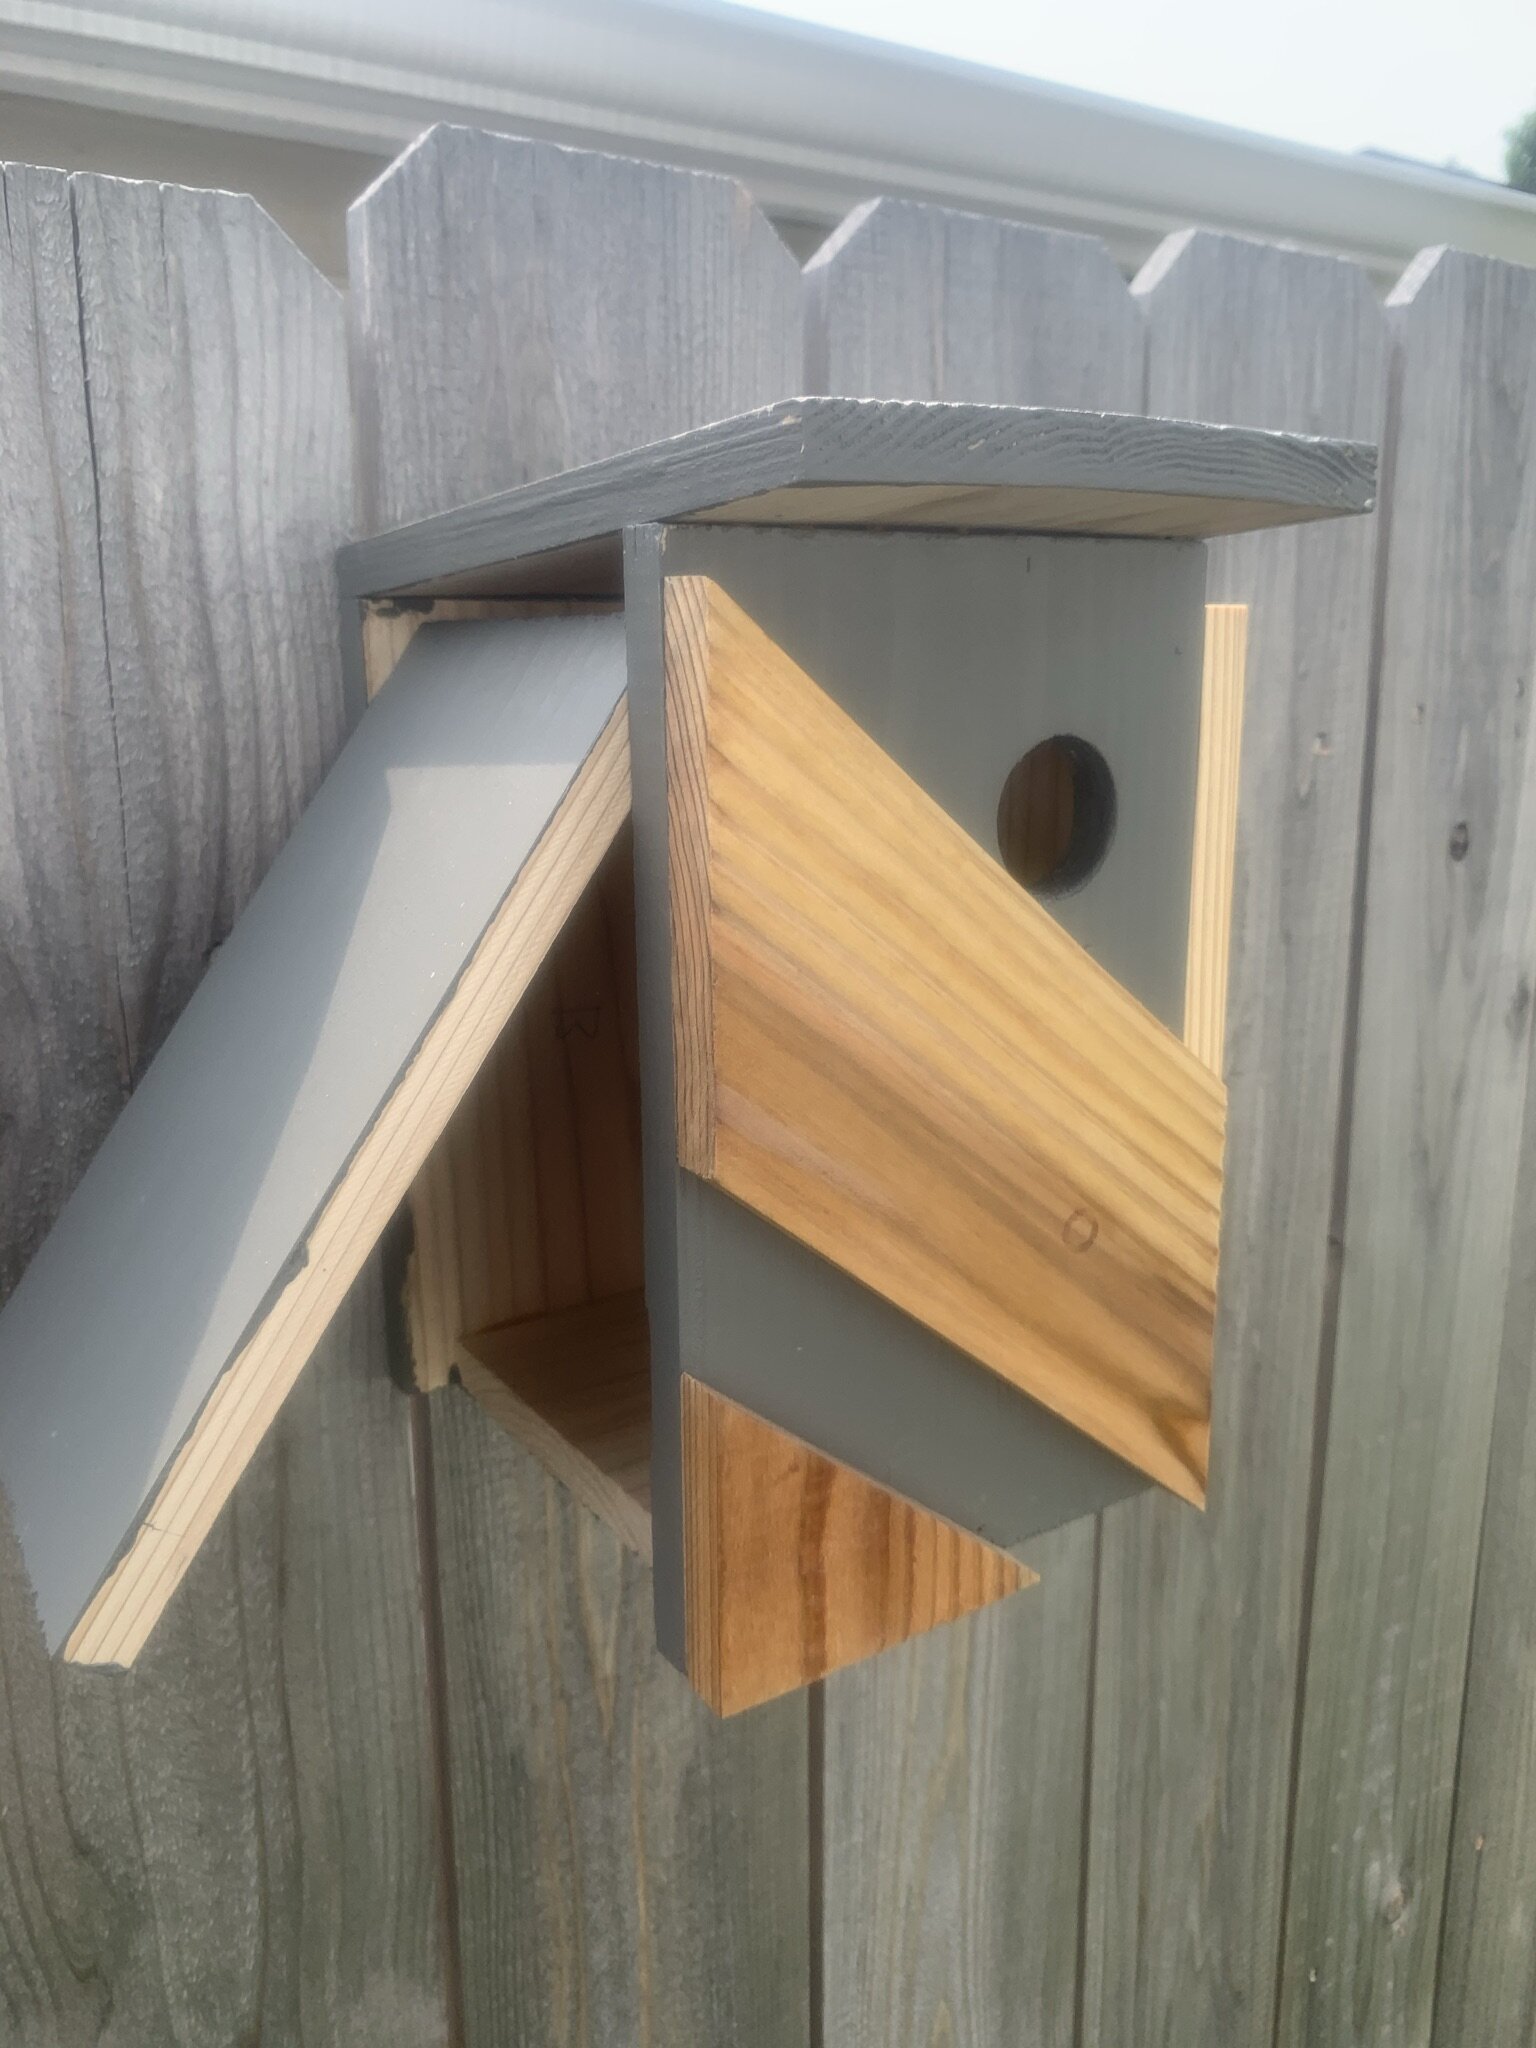
When attaching you can use glue and nails, I’m using a brad nailer. You can also use a hammer and short finishing nails. Or you can use exterior screws. If they’re not being painted over, while more expensive, stainless steel screws would look best. If you’d like to make one side hinge open for cleaning, do not attach that side, but use it as a spacer to attach the other side.
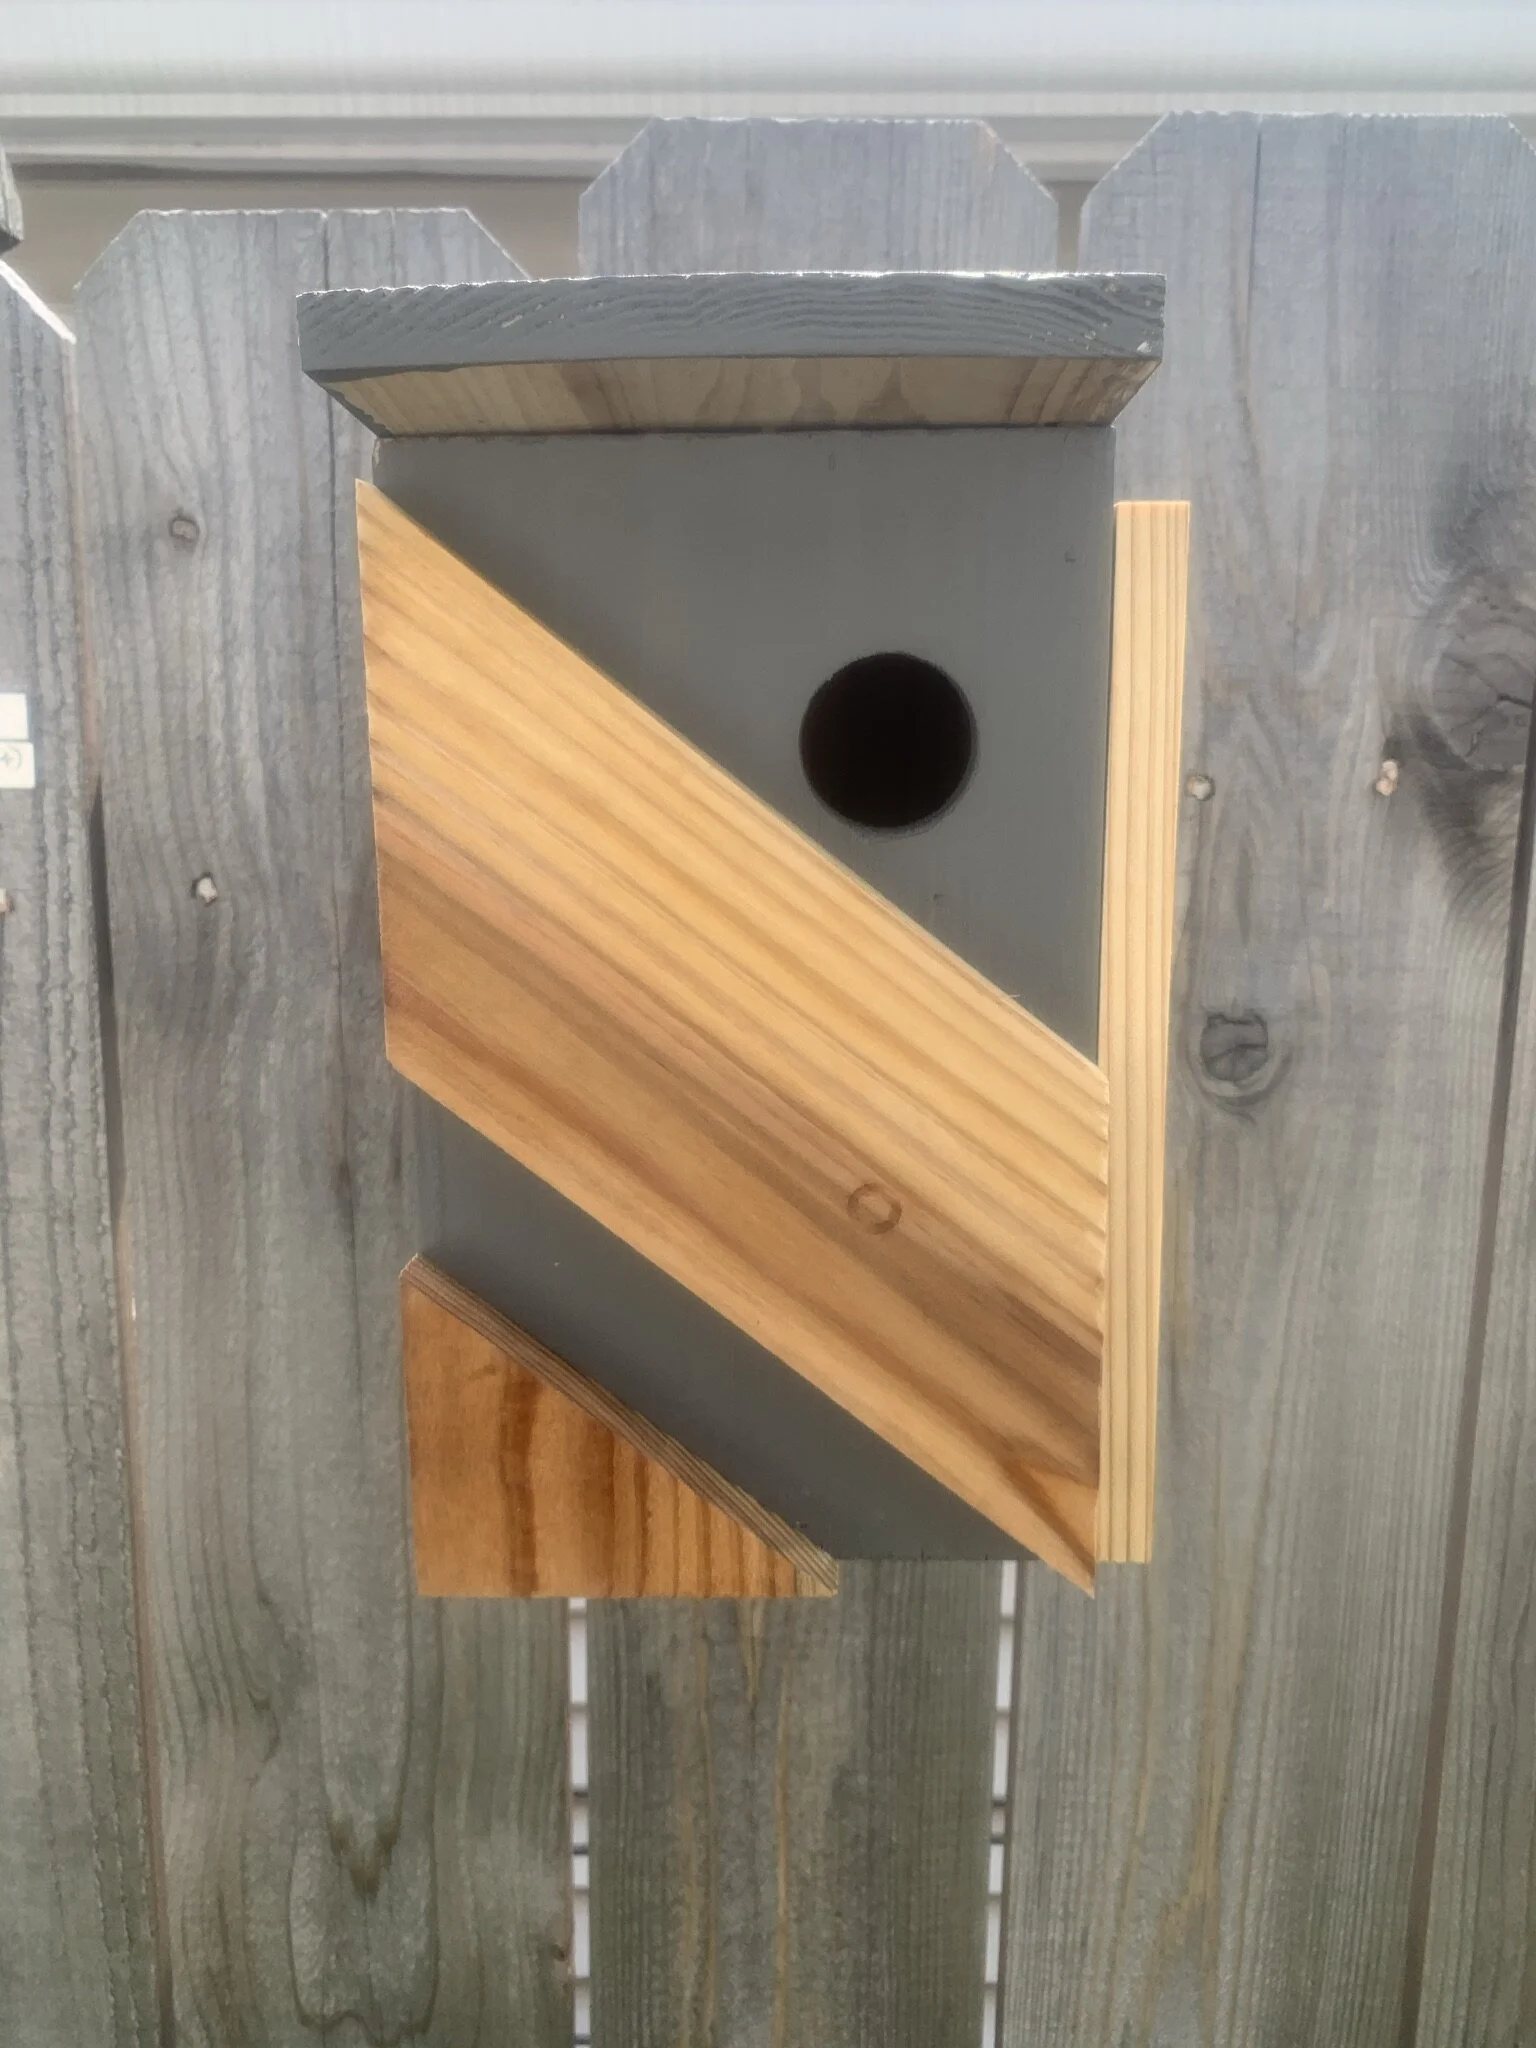
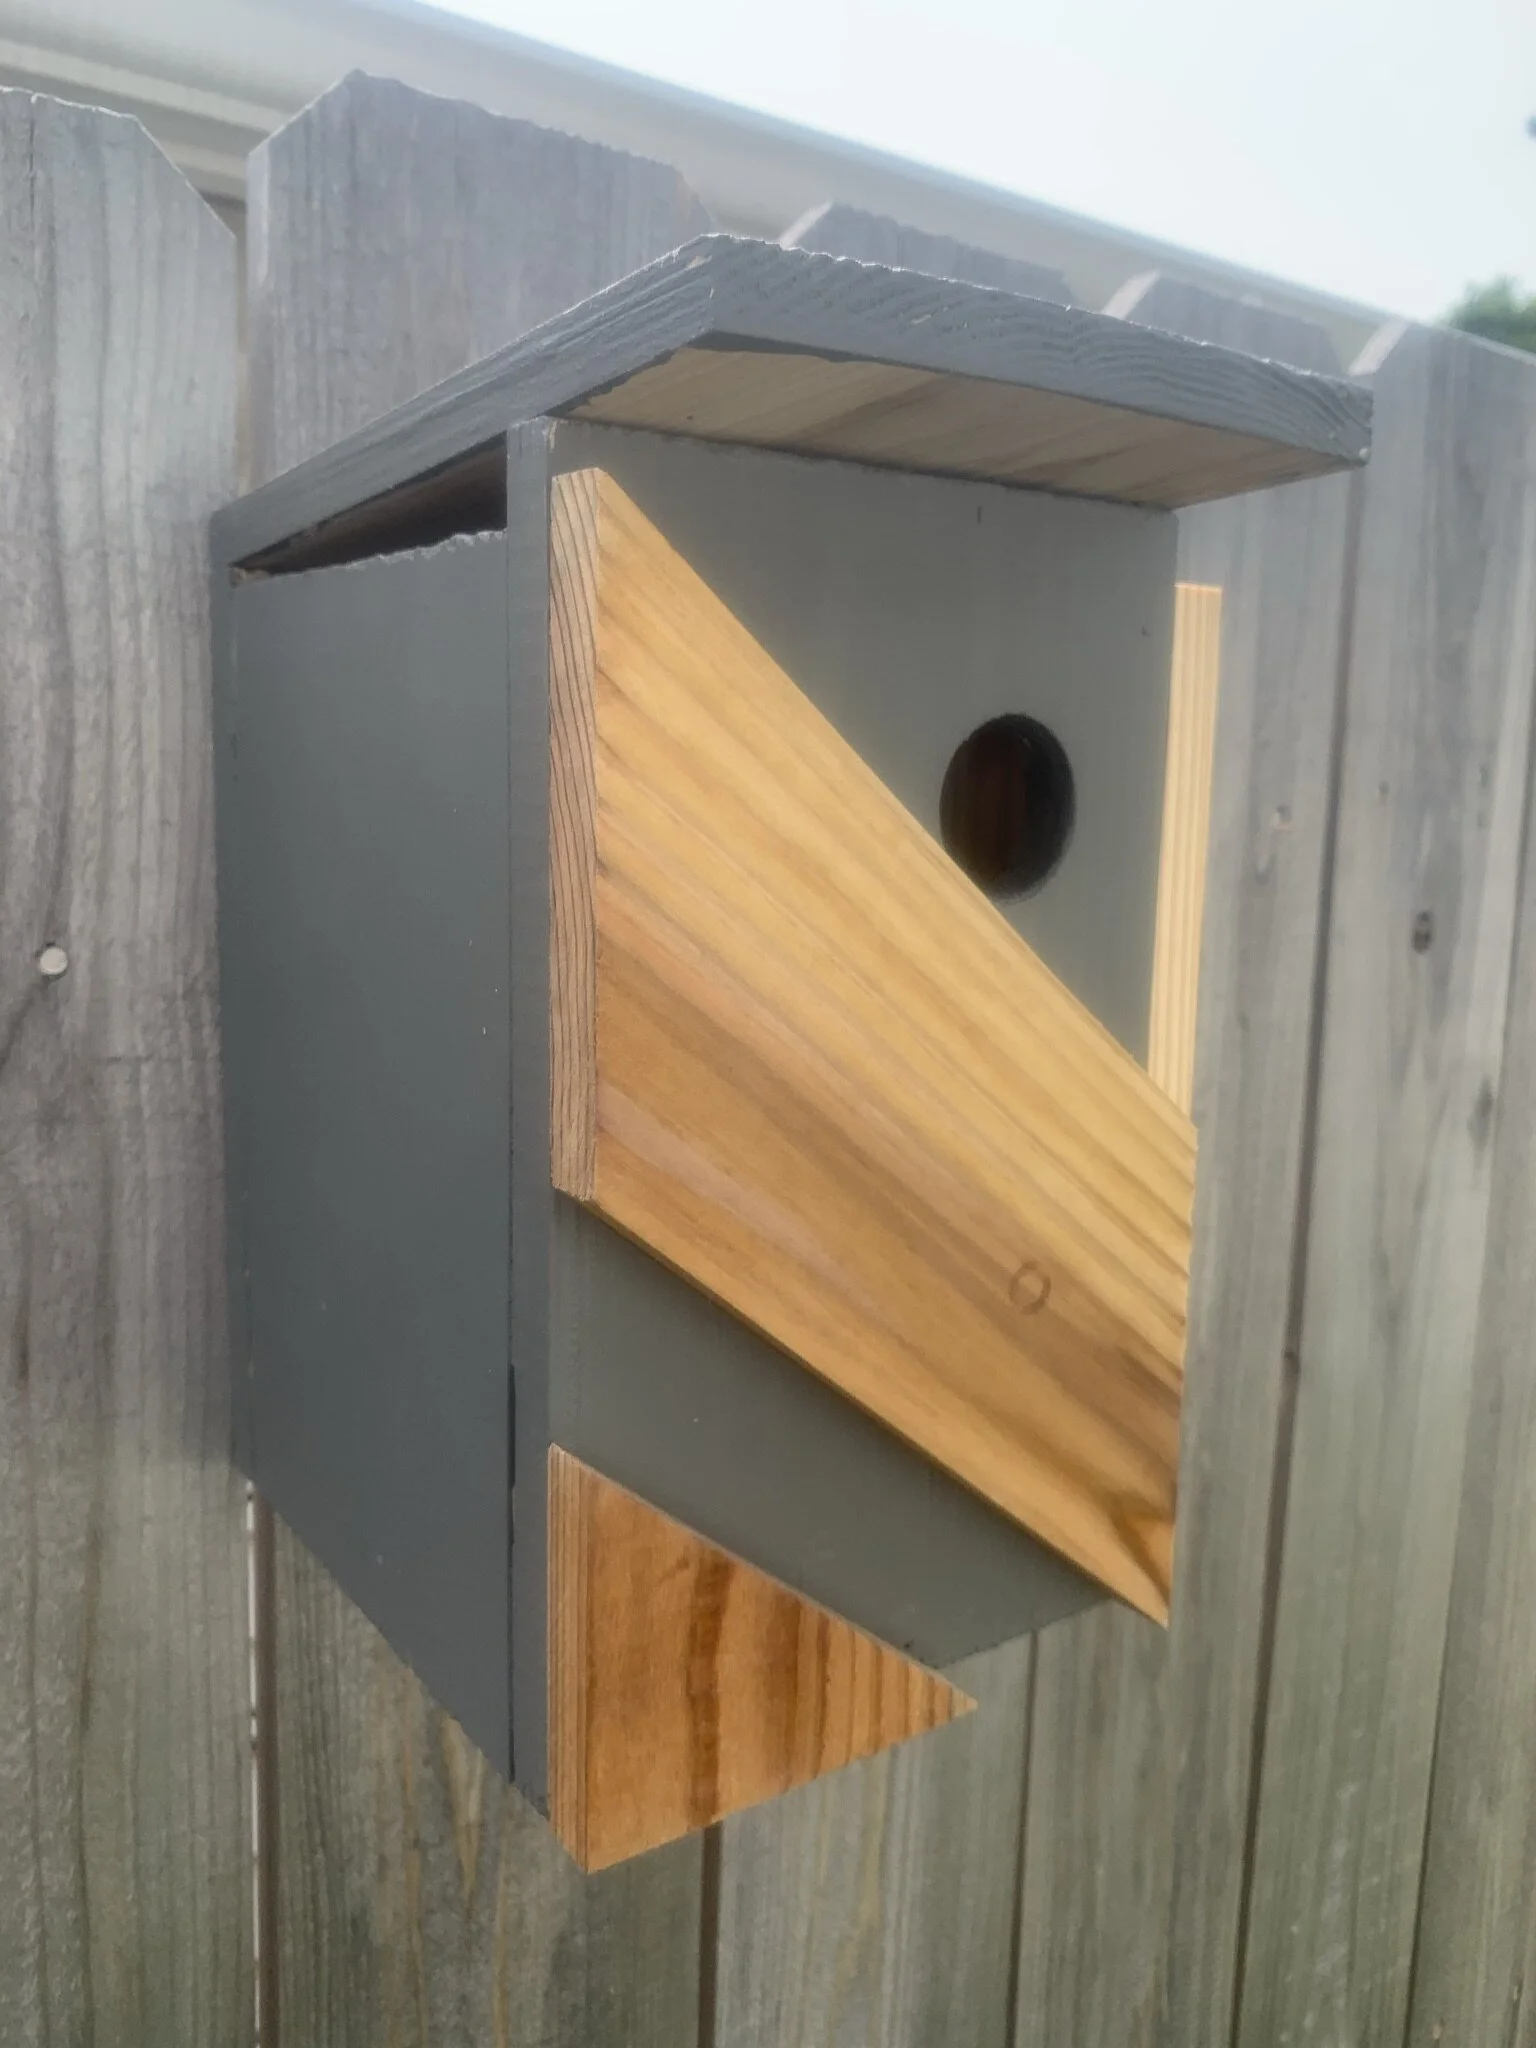
Since the roof is set at an angle, cutting the top of the front piece and back piece at a 5 degree angle would be ideal, but it doesn’t seem to be necessary.
I really like making these projects and sharing them with everyone. It takes a long time to make the video, write up the post and make a set of plans. If you like what I’m doing, please consider “Buying me a cup of coffee”. Or in this case, buying me more clamps because you can never have enough clamps.


To create a hinge for one side, mark a spot on the front at the back, the same distance from the top. Clamp everything together. This spot also needs to be spaced to drill through the side. Drill two holes, one through the back, and one through the front, continuing the hole about an inch into the side piece. I’m using a 1/4 inch metal rod with a 3/16 inch brad point drill bit.
I cut the rod with some bolt cutters and then hammered it in the hole. I’ve found that this doesn’t need any glue or epoxy.
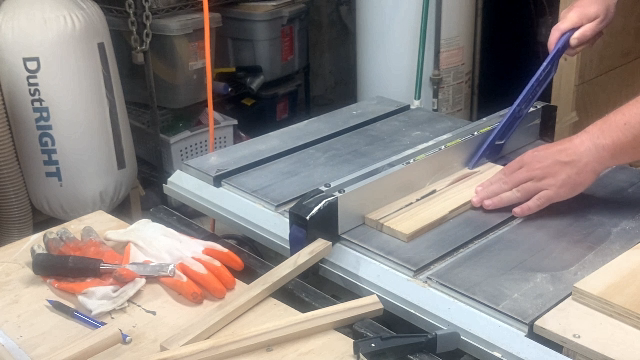
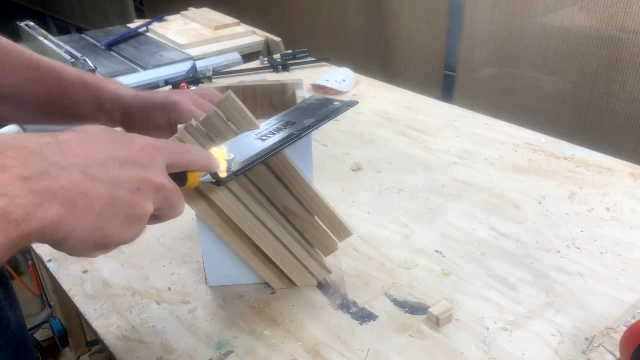
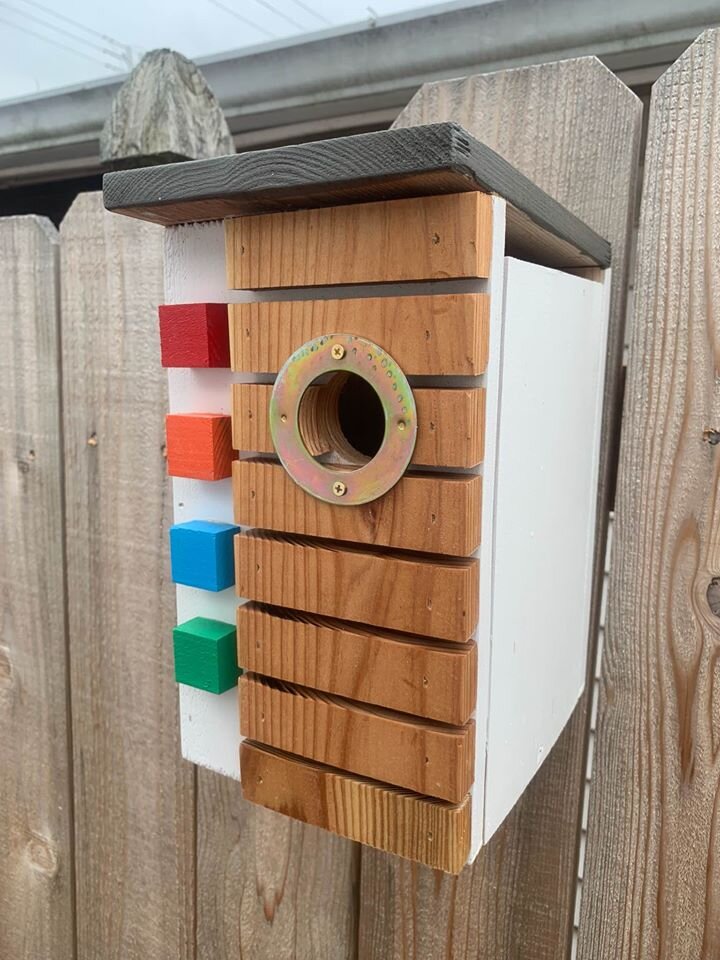
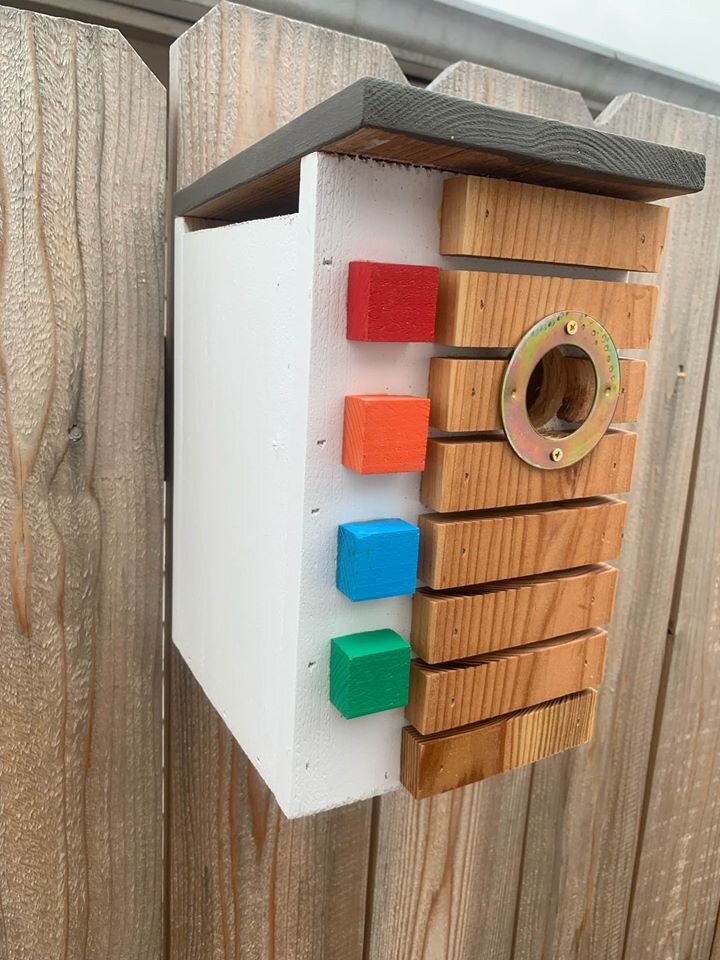
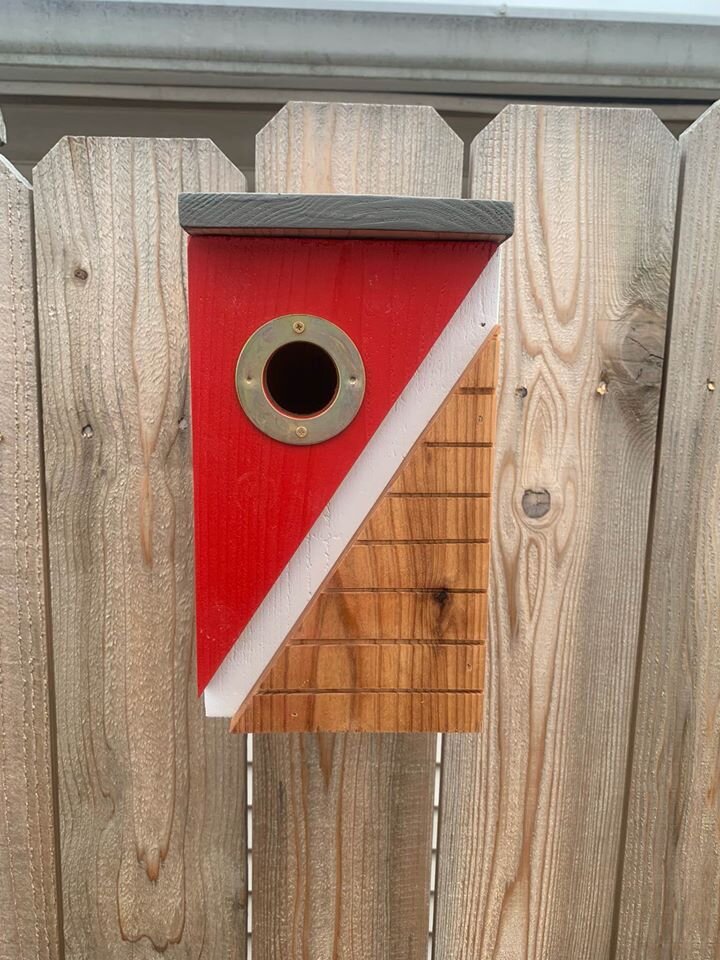
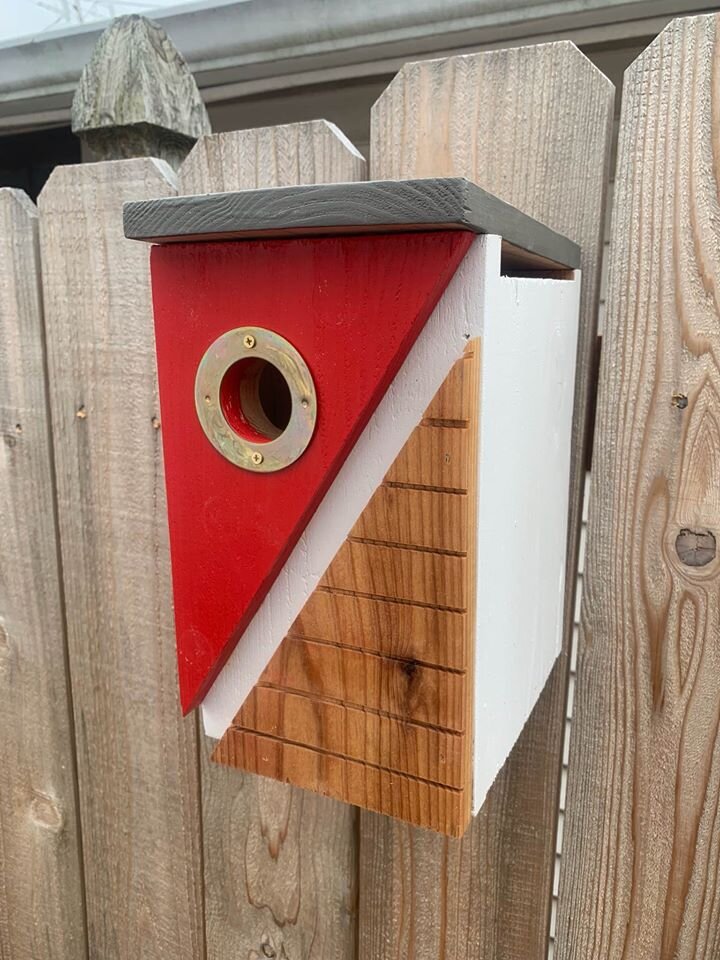
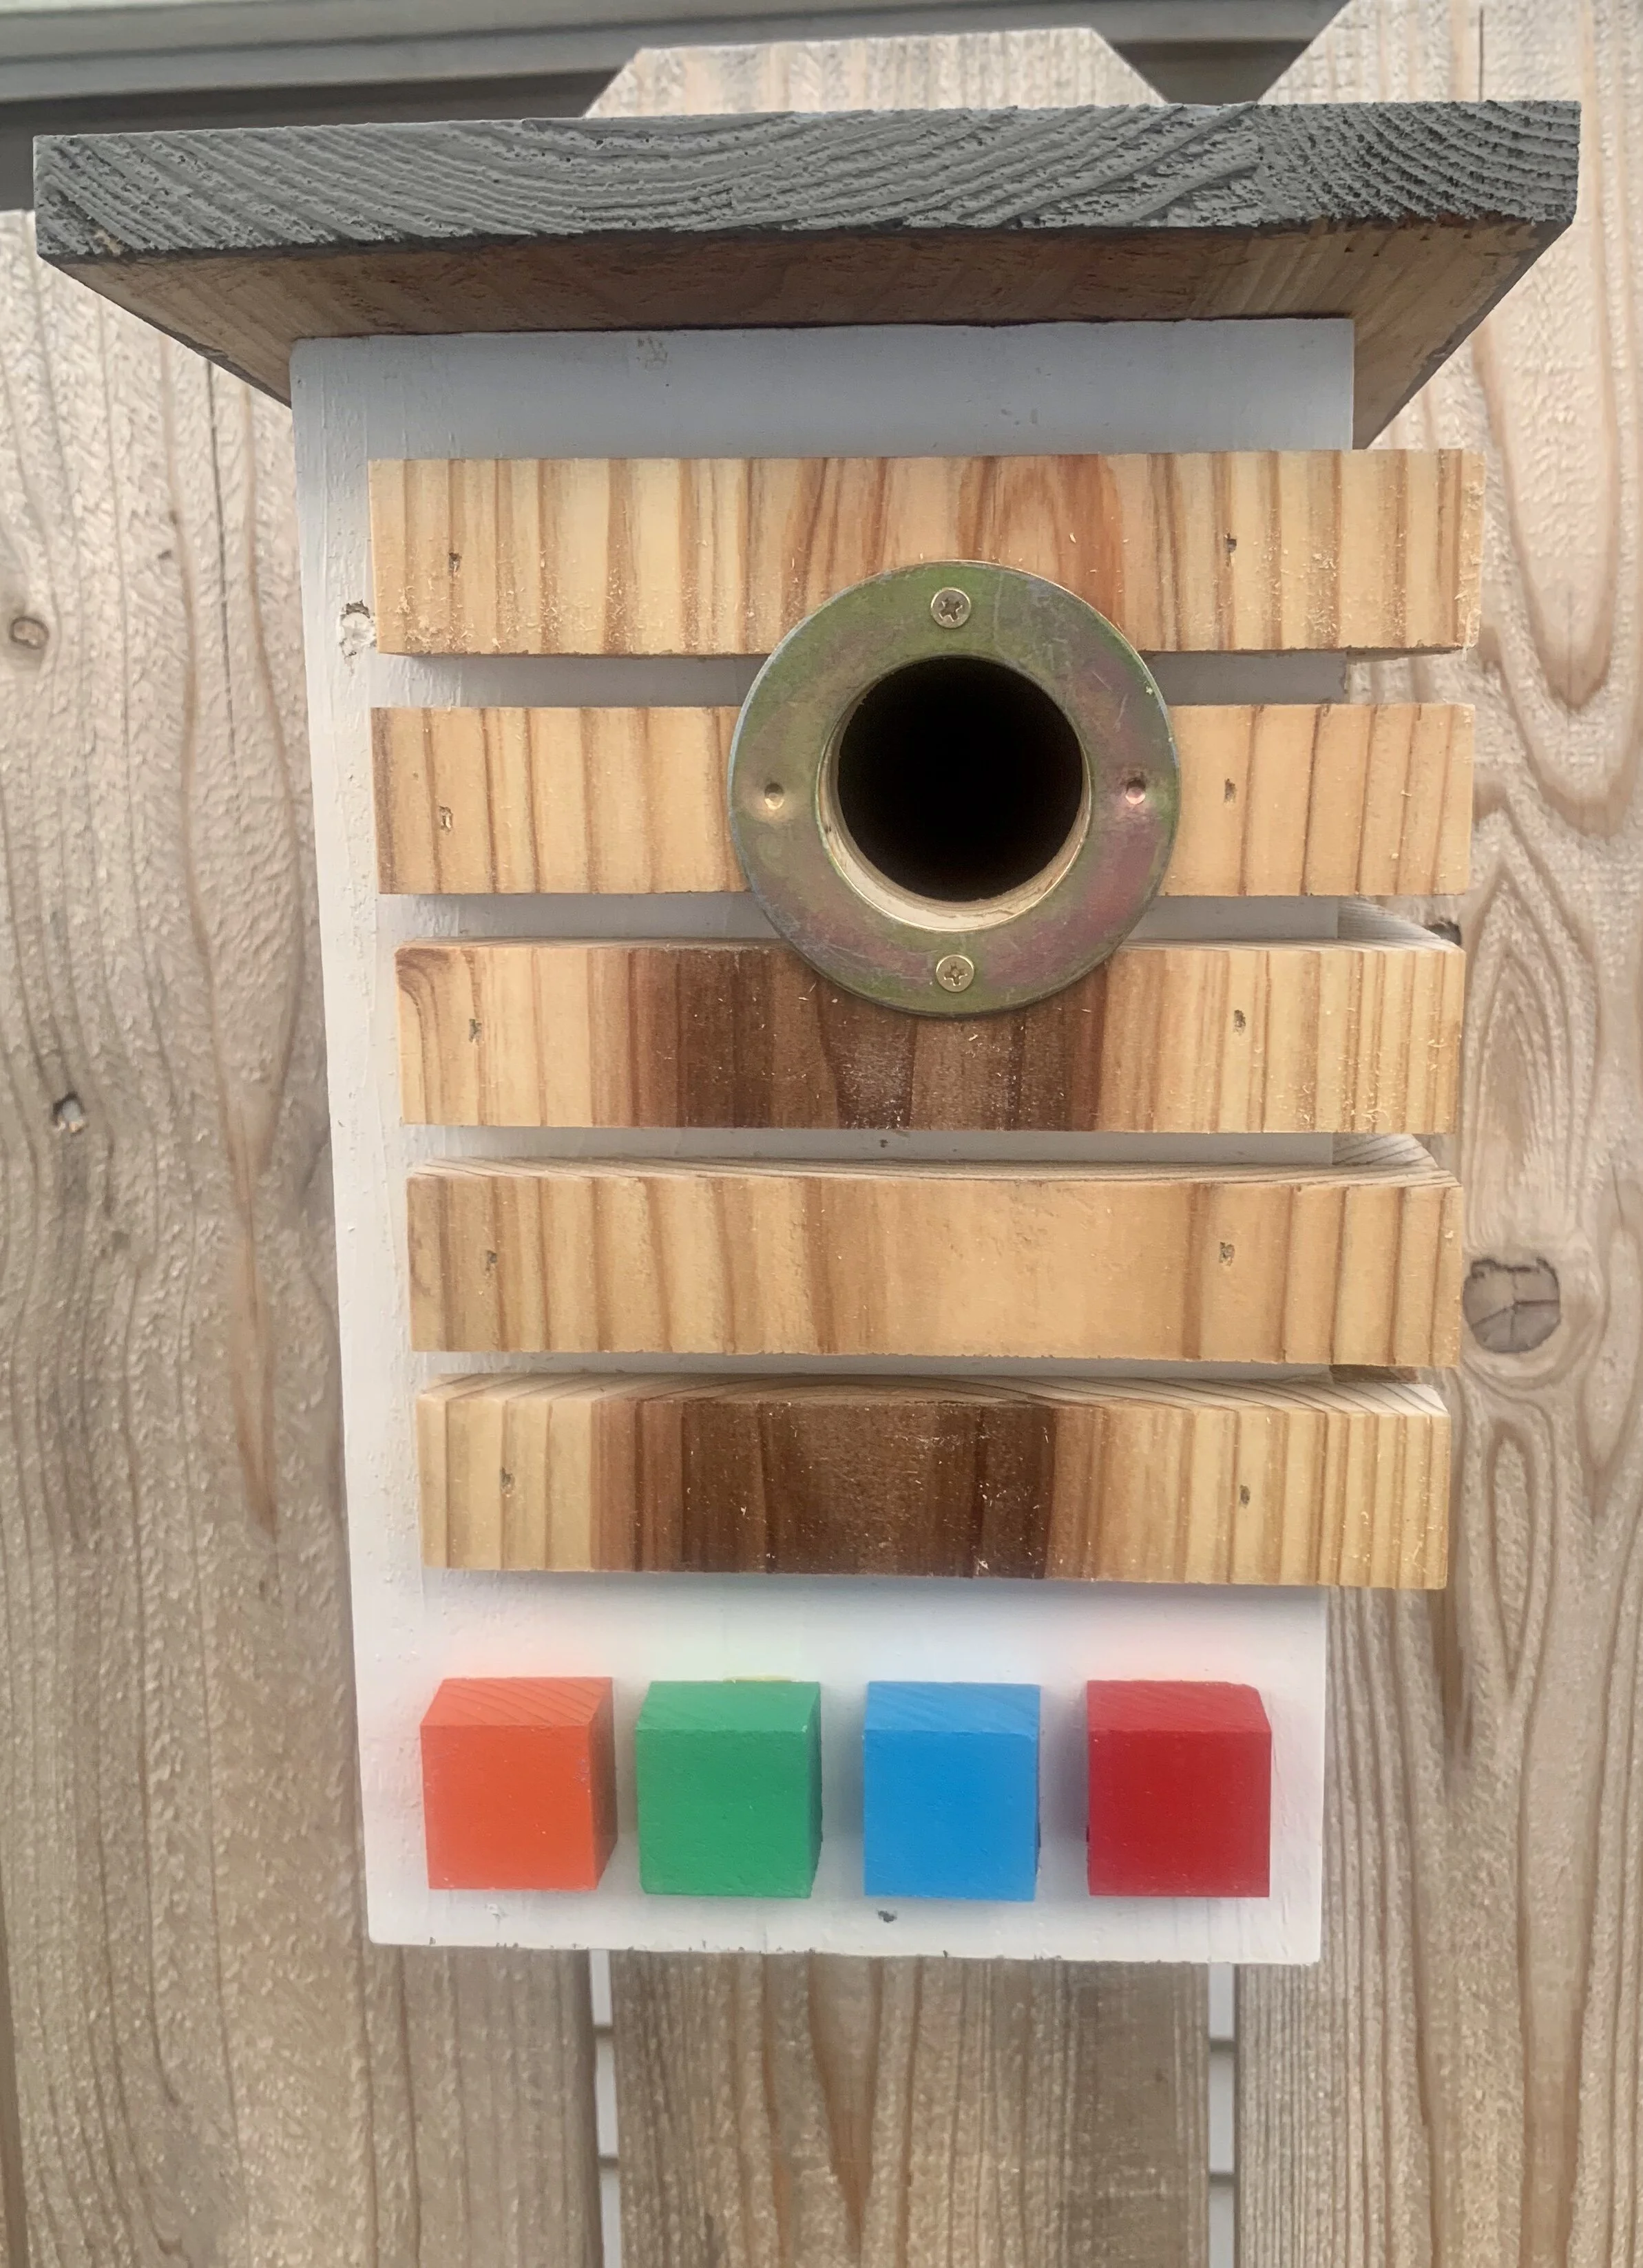
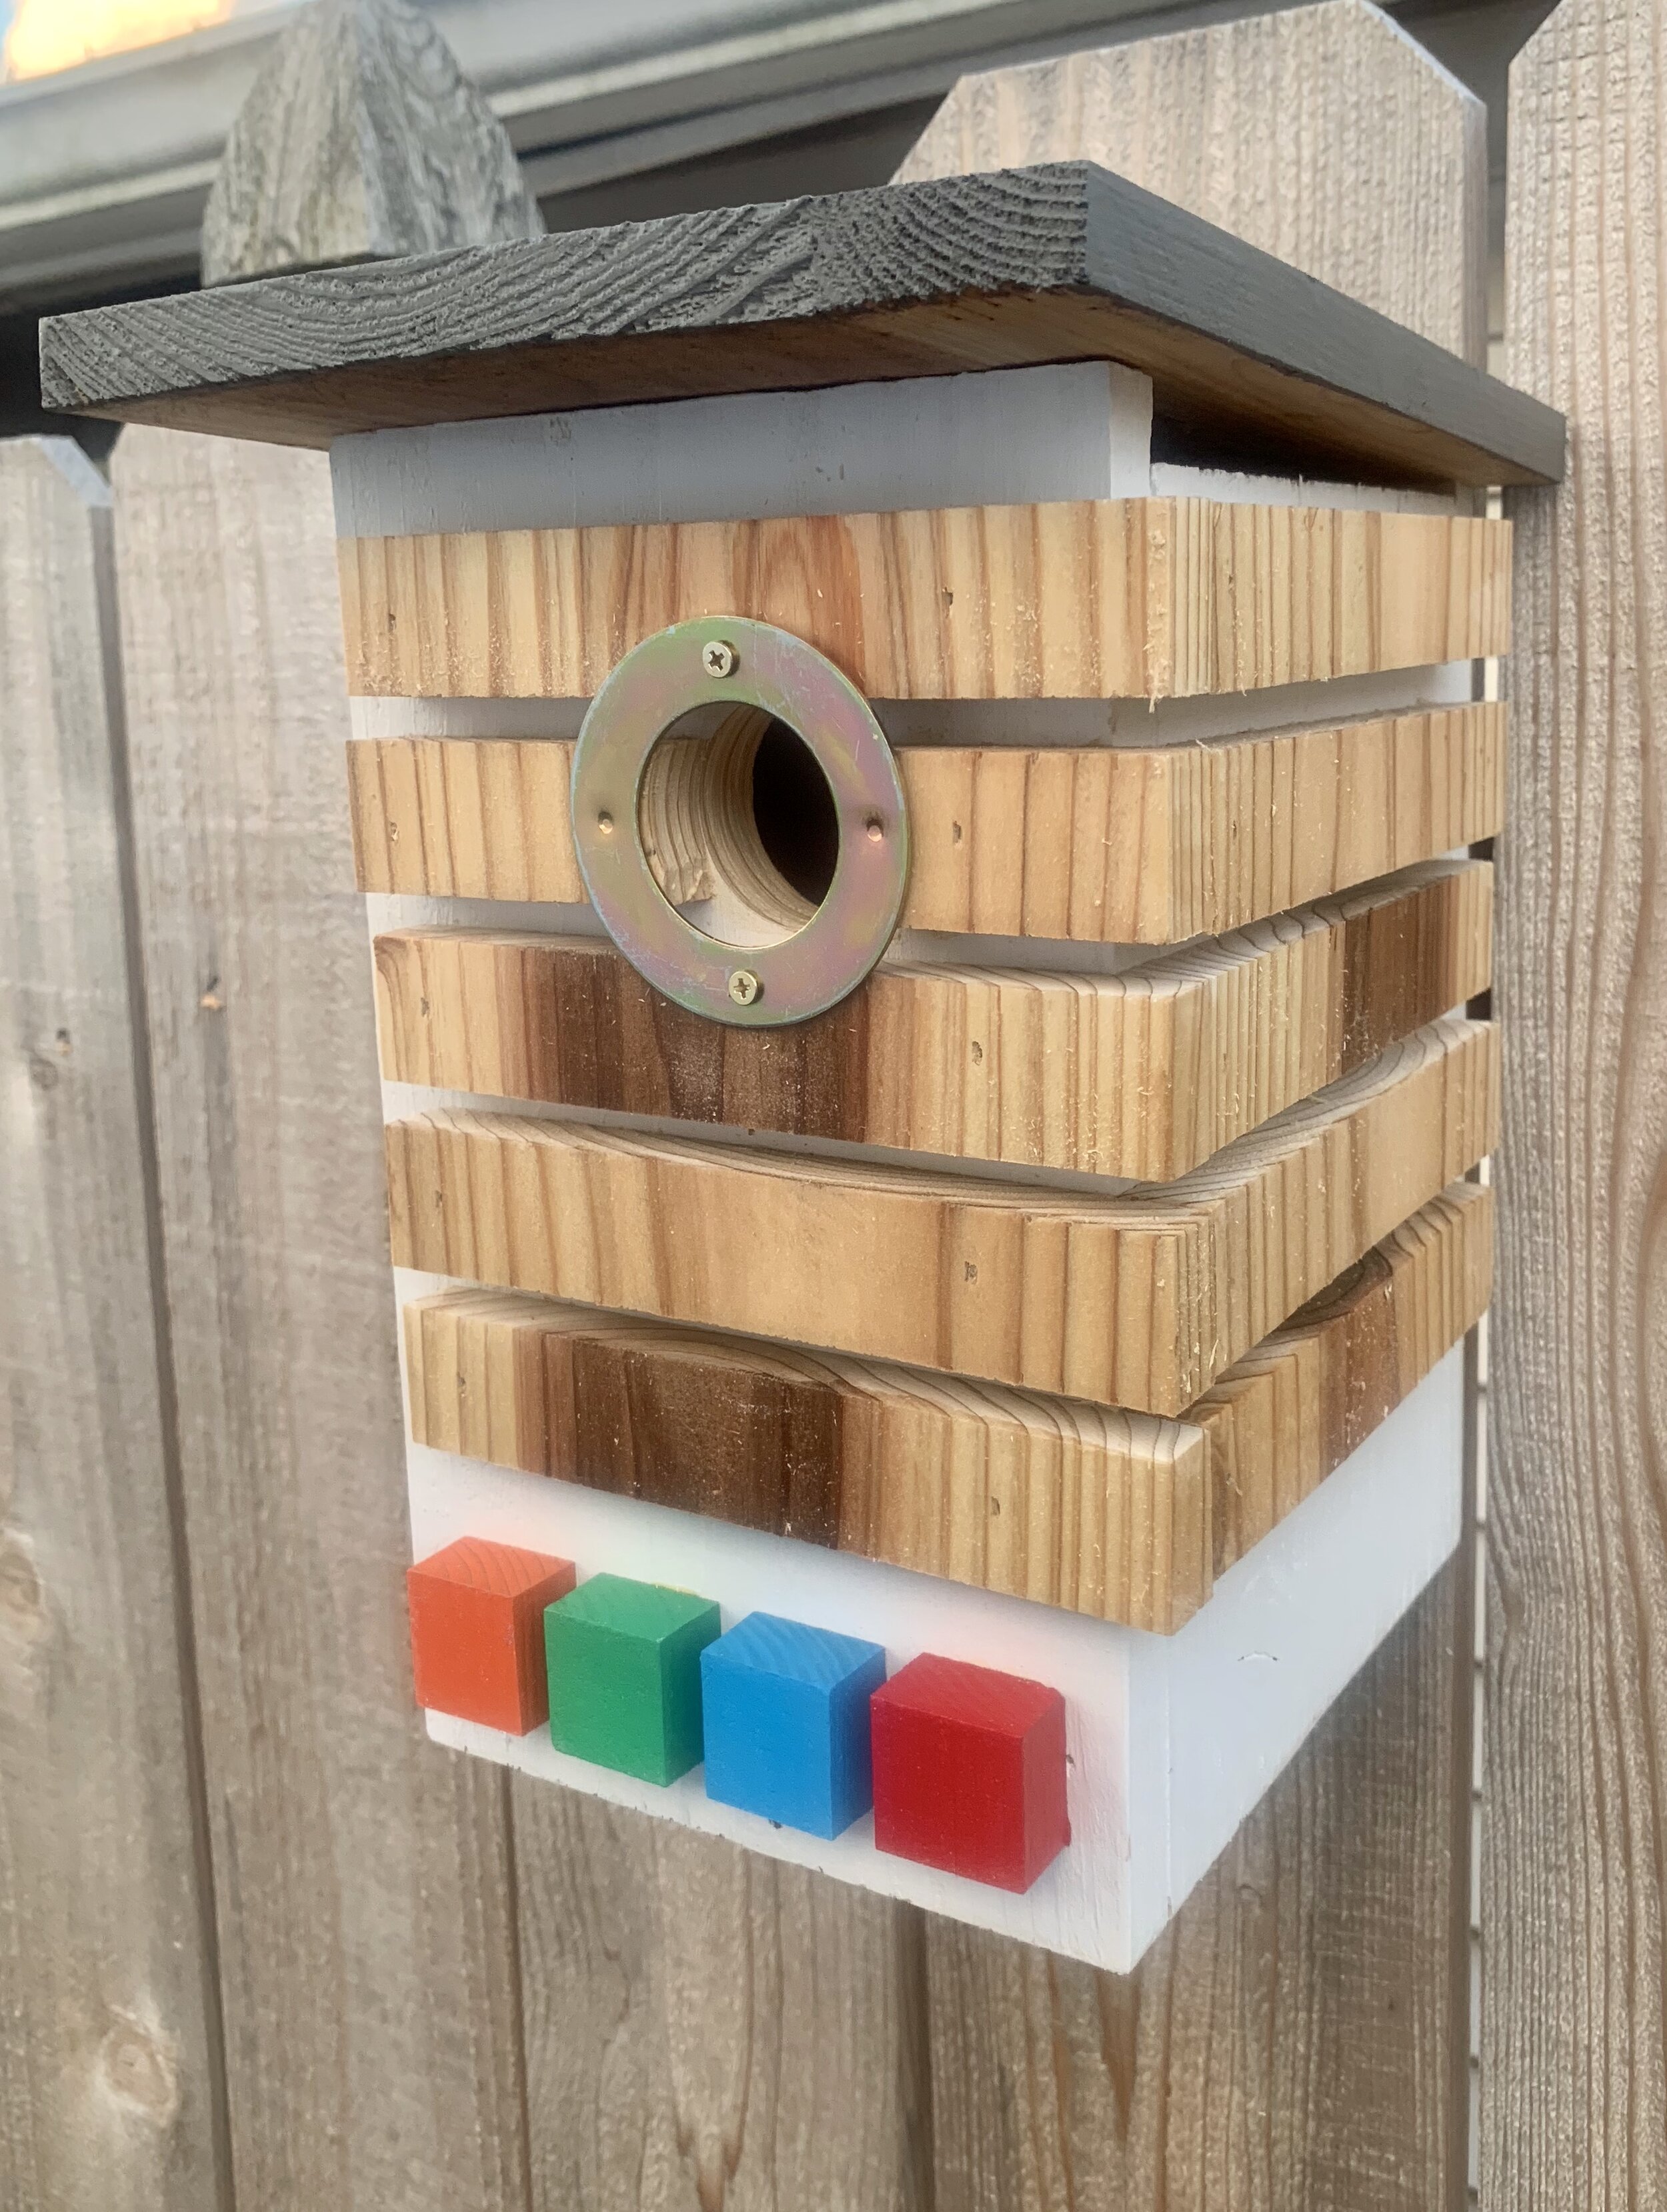
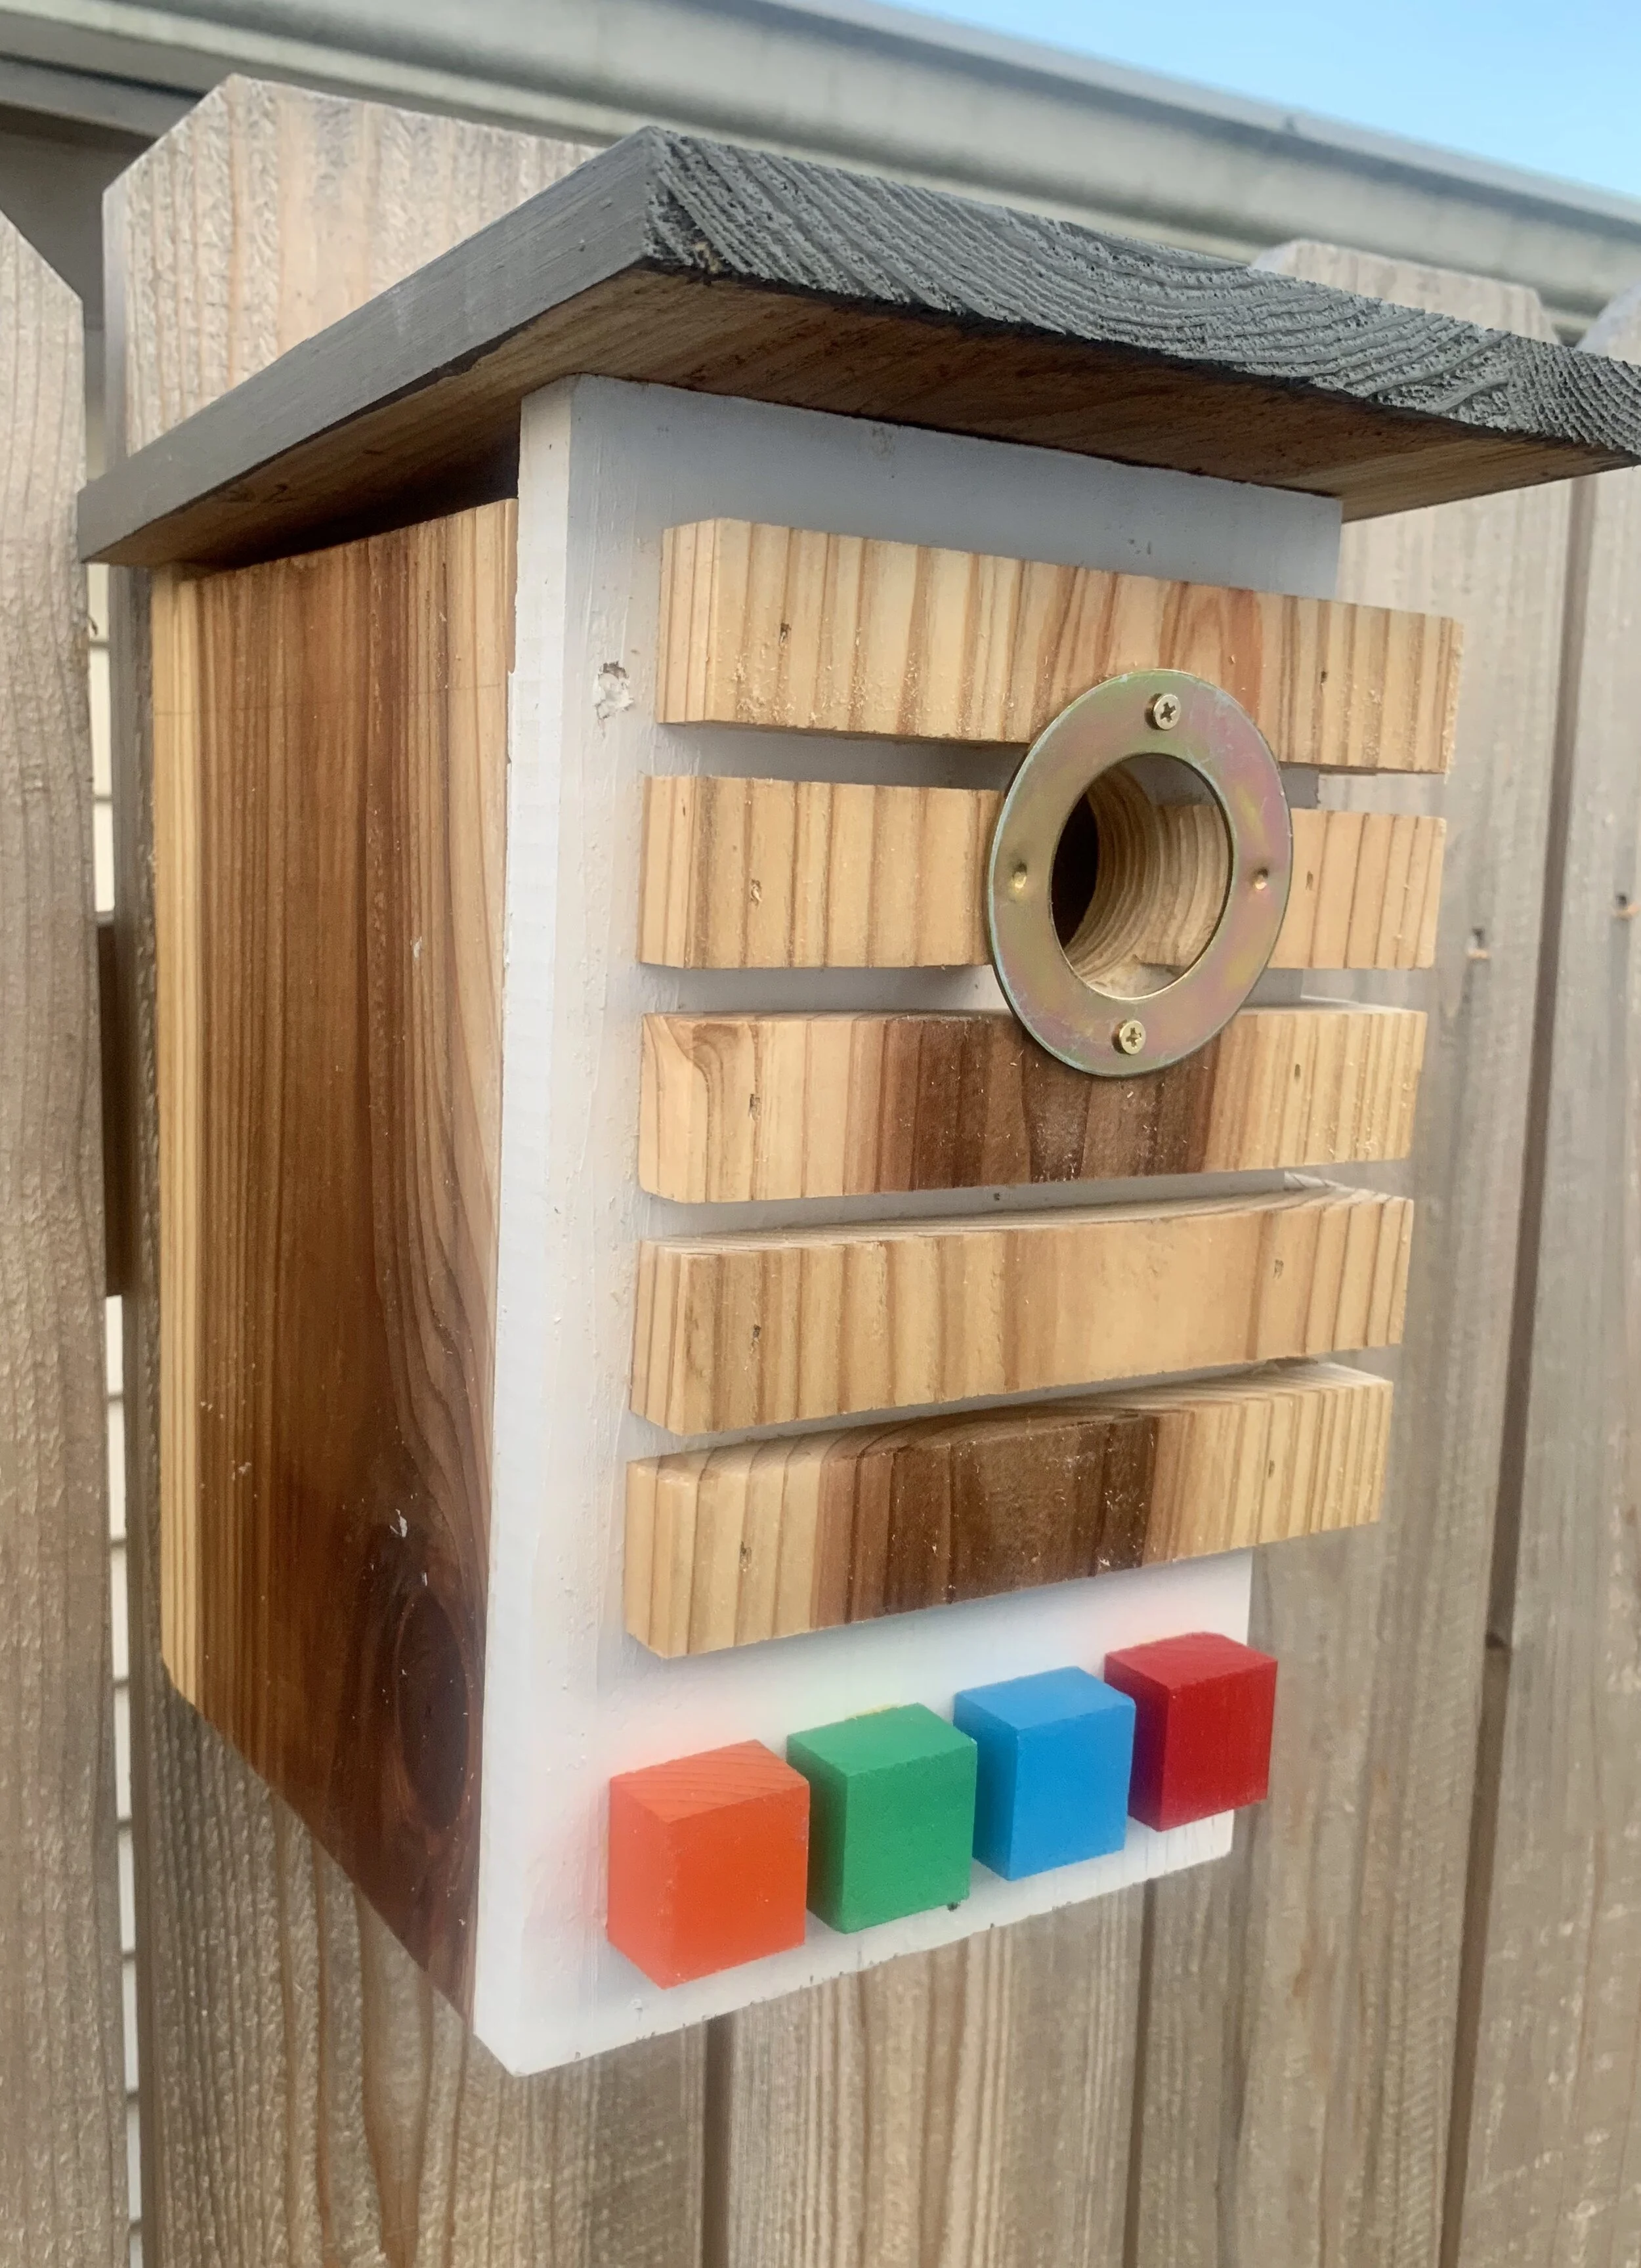
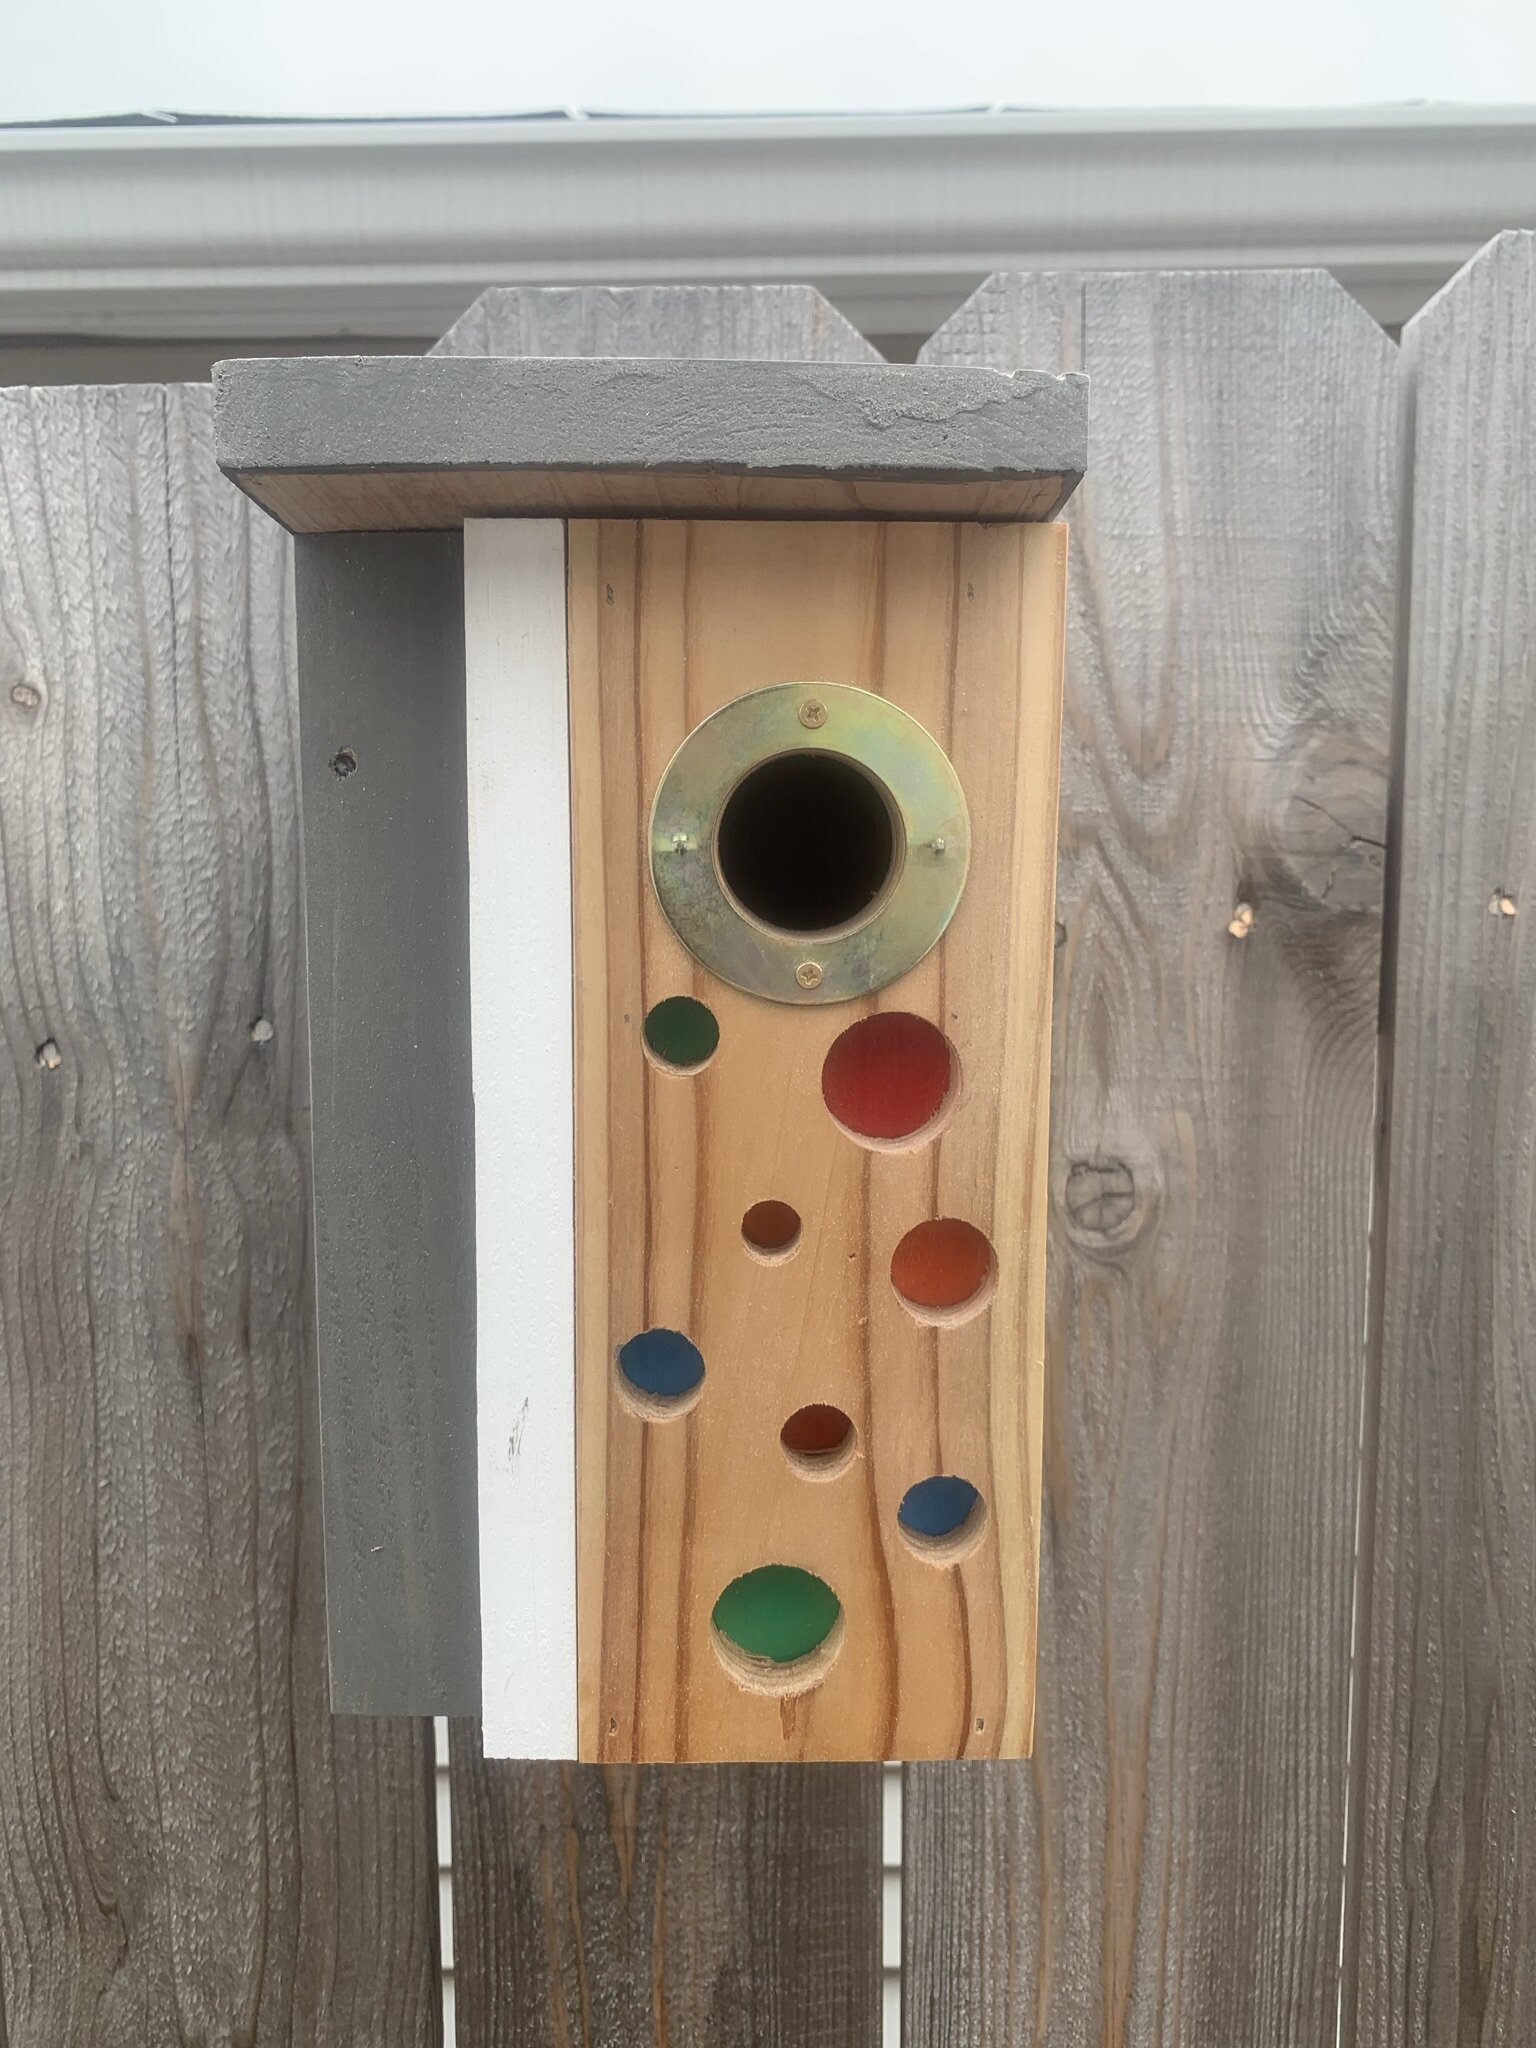
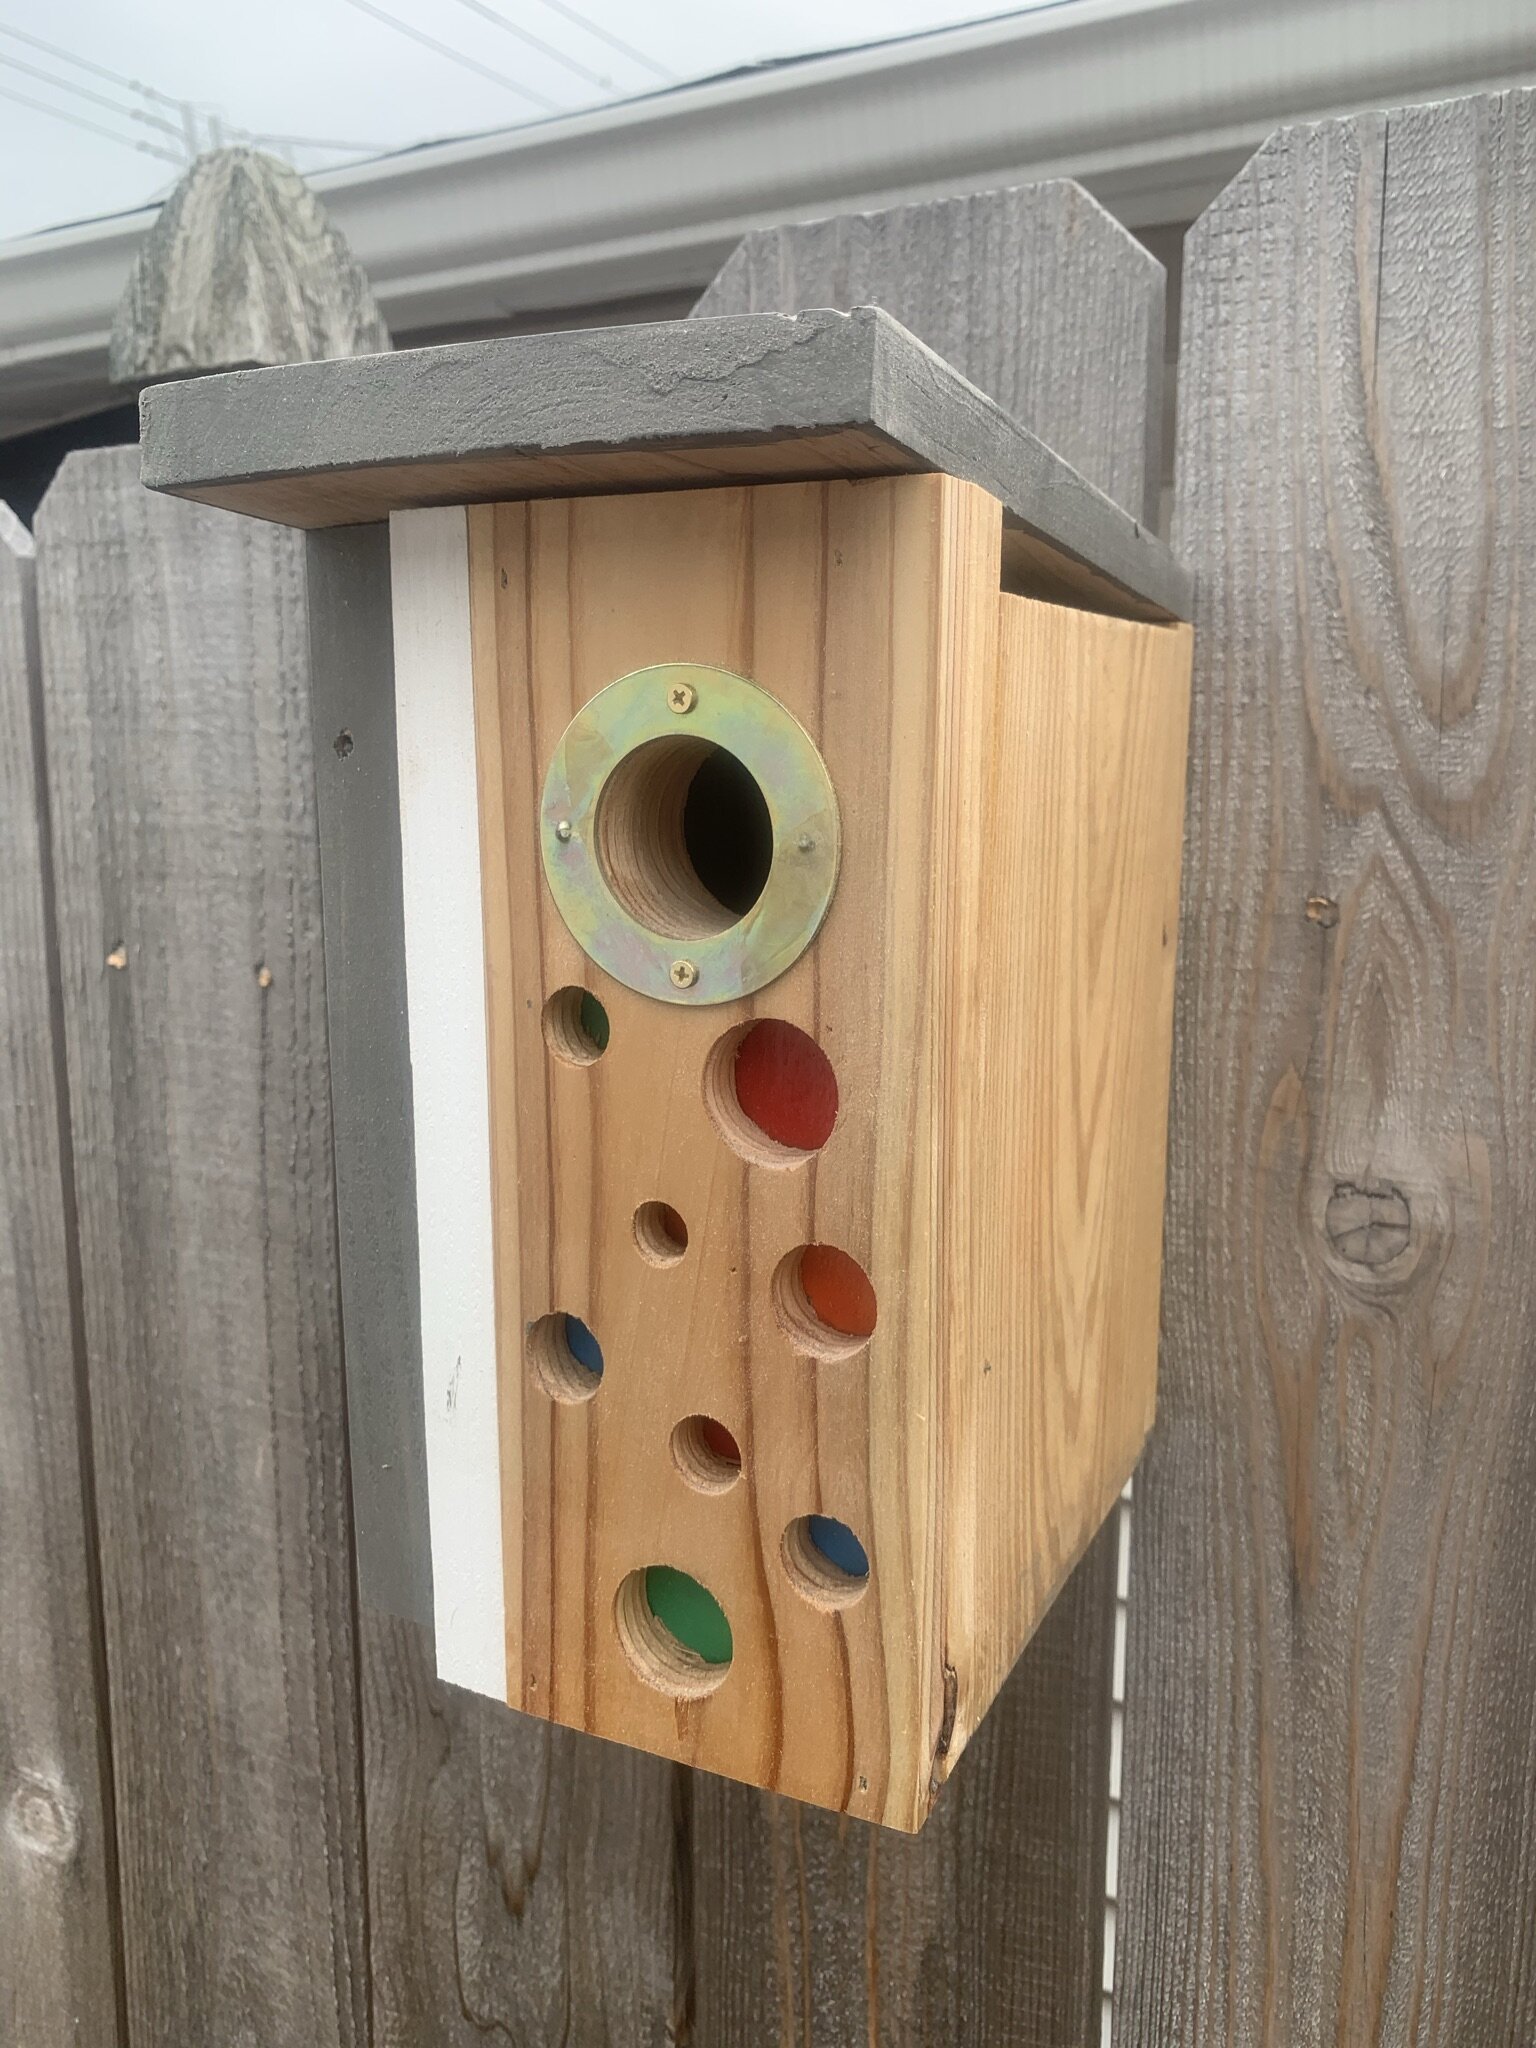
I ripped down the remaining pieces of the board into 1 inch wide strips. I attached them to the front of the house as shown and trimmed off the edges. I usually paint the roof with a grey outdoor stain and this house has the front painted with a high quality exterior paint…not something you’ll find at Home Depot.


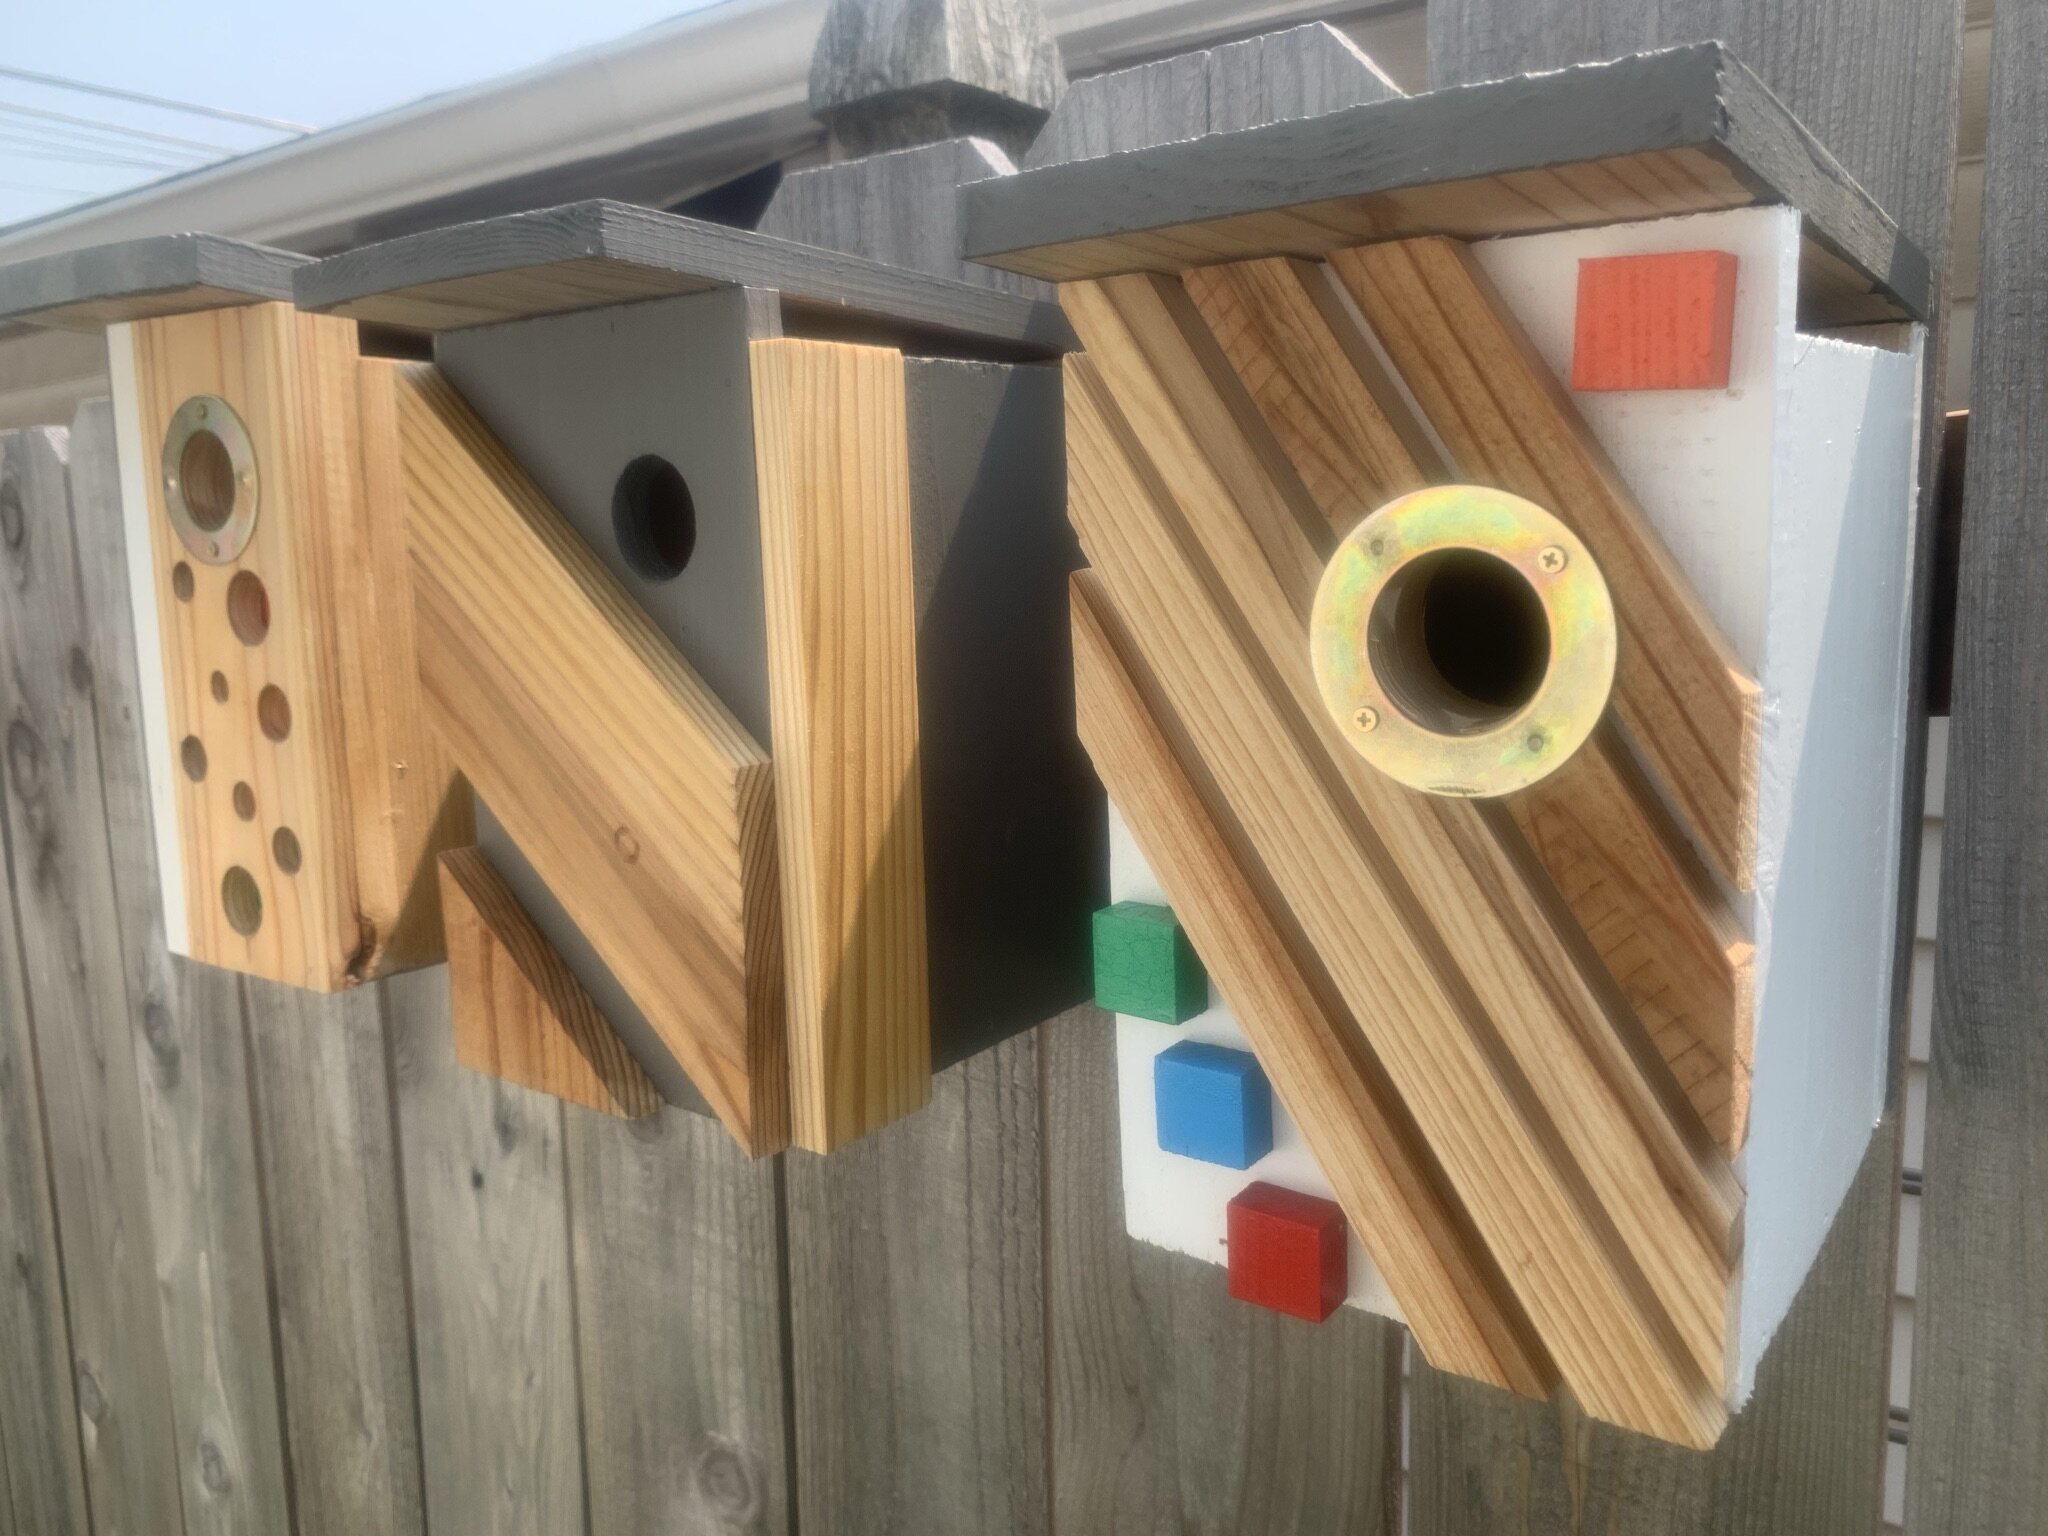
From what I understand, the size of the hole depends on the type of birdhouse you’re building. In this case I’m drilling out a 1 1/2 inch hole. You could drill it out before attaching the pieces together, if you’re not adding any decorative pieces to the front. Since I added the diagonal strips, I’m drilling the hole out at the end so everything lines up. In the picture on the left, you can see I marked out where I’m going to drill and added two more nails to reinforce the piece I’ll be drilling into. Next I added a portal protector which protects the hole from being chewed open by squirrels or any other animals. As an added benefit, it covers up any chip out, as well as the extra nails.
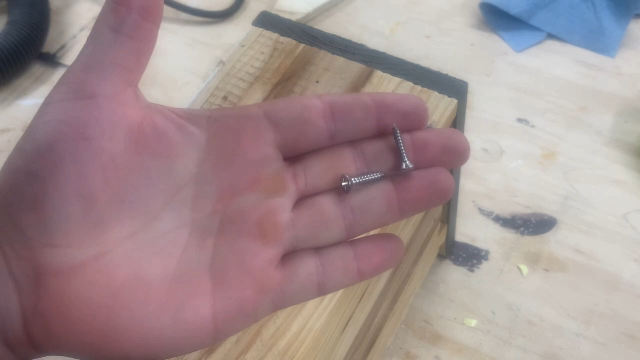

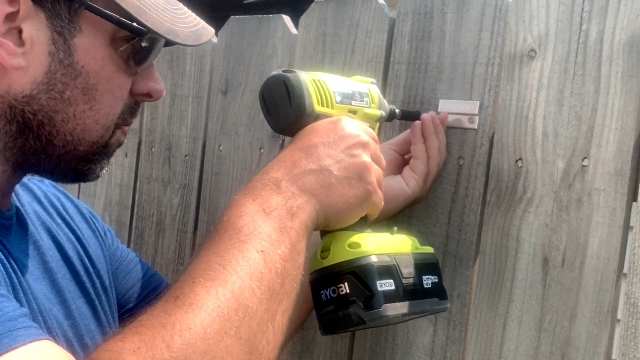
To attach the birdhouse to a fence or a tree, you can use a french cleat. Or if you prefer a birdhouse pole, you can use one of those. Just make sure you use either exterior screws or stainless steel screws since this will be outside.

There is the finished product and here are some other examples.