
How to Start Woodworking in a Small Space (Garage, Apartment, or Shed)
So you want to get into woodworking, but you don’t have a big fancy workshop? No problem. You’re actually in good company—many experienced woodworkers started out in small garages, on apartment balconies, or inside tiny sheds. All you really need is a bit of space, the right mindset, and a willingness to start where you are.
In fact, starting small can be a huge advantage. It teaches you to focus on what matters: planning your builds, using tools safely, and staying organized. And let’s be honest—having a huge workshop doesn’t automatically make someone a better builder. Skills come from doing, not from square footage.
Start by Choosing the Right Spot
The first step is finding a spot where you can work without getting in the way of daily life. If you have access to a garage, even if it’s just a single wall or corner, that’s an ideal place. Garages are great because they’re usually already built to handle heavier tools, power cords, and mess. Just clear a little space near a wall and set up a small table or fold-down bench. A single wall or fold-out workbench can go a long way. Try to keep your most-used tools nearby—like your drill, circular saw, or sander—and store the rest in drawers or bins. Use shelves above your work area or a pegboard for tools to keep your workspace clear.
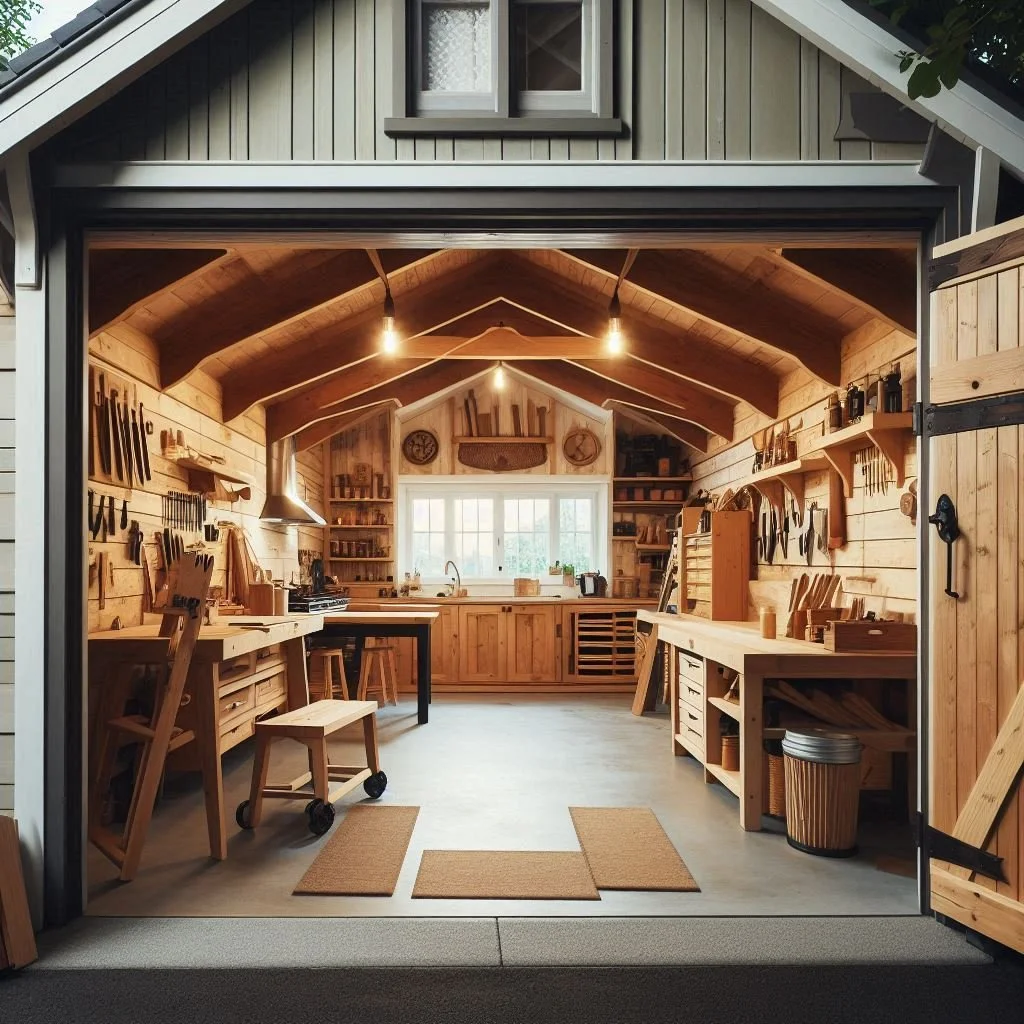
If you’re working out of a shed, make sure it’s dry and weatherproof. Rain and humidity can warp your wood and rust your tools, so insulation or at least a tarp over the roof can help a lot. If your shed has limited light, hang a few LED shop lights. You can get bright, energy-efficient lighting for under $30, and they’ll make a huge difference in visibility and accuracy when you're working.
Recommended: Best Lighting for Shop: BARRINA LED SHOP LIGHTS
Now, for apartment dwellers—yes, you can still do woodworking. You’ll just have to think a little smaller. Focus on smaller-scale projects and quieter tools. Work on projects like cutting boards, wall shelves, picture frames, or storage crates. A hand saw, small drill, and clamp-on work surface can be enough to build things like shelves, boxes, or even furniture. Choose materials that are easy to manage and cut indoors, like pine or plywood. And always be mindful of dust and noise—lay down a drop cloth, vacuum regularly, and consider working during the day when neighbors are less likely to mind. A sturdy table (like a dining table or fold-out craft table) can double as your workspace. Look for tools that are quiet, compact, and don’t create too much dust. And if you have access to a balcony, that’s an excellent place to do the cutting or sanding while keeping the mess outside.
Think Portable, Foldable, and Multi-Use
When space is limited, every tool or surface needs to earn its place. One of the best investments for a small space is a fold-down workbench. You can mount it to a wall or even to the side of a cabinet, and fold it up when not in use. This gives you a strong, flat work surface without permanently taking up floor space.
You’ll also want to use portable tools whenever possible. A cordless drill, compact circular saw, and handheld sander are great starter tools that don’t need permanent setups. You can pull them out when it’s time to work, then store them in a drawer or plastic bin when you’re done.
Even your storage can be mobile. A rolling tool cart or even a plastic bin with handles lets you keep all your supplies together and move them easily from one room to another. If you’re working in a shared space—like a garage that also stores a car—you can roll your tools out of the way when you’re done.
Make your own: DIY 1-Hour WorkBench
Get Creative with Tool Storage
Keeping your tools organized is one of the biggest challenges in a small space. But it can also be fun to figure out creative solutions. Hang pegboards on the wall for tools you use often, like hammers, screwdrivers, clamps, or measuring tape. Add a few shelves or bins above your workspace to hold wood glue, sandpaper, and drill bits.
If you don’t have wall space, consider using the back of a closet door or the inside of a cabinet. Over-the-door organizers, tackle boxes, and small tool bags can go a long way in keeping things neat and easy to find.
Also, label everything. It might sound unnecessary at first, but in a tight space, knowing exactly where your tools are will save you a lot of time and frustration.
Choose the Right Projects for Your Space
When you're starting out, it’s tempting to jump into big, exciting builds like a farmhouse table or an elaborate shelving system. But in a small space, it’s best to start small. You’ll have more control, make less mess, and learn faster.
Try projects like:
A small bookshelf or spice rack
A basic toolbox or crate
A step stool
A wall-mounted coat rack
A laptop stand or desktop organizer
These types of builds don’t require a huge workspace or a full range of tools, and you can usually finish them in a weekend. Plus, they teach you essential skills like cutting, joining, sanding, and finishing—skills you’ll use on every project going forward. This is not to say that you can’t build a farmhouse table, it’s just not something to consider starting right away.
Control Dust and Noise
One challenge with woodworking indoors or in a shared space is controlling dust and sound. Saws and sanders can get loud, and fine dust can settle everywhere, including electronics, furniture, or clothing.
If you're in a garage or shed, keep a shop vacuum nearby and clean as you go. You can also add a simple dust collection attachment to most power tools. If you’re inside an apartment, sand near an open window and lay down an old sheet or drop cloth to catch debris. A small fan blowing outward can help vent dust outside.
As for noise, work during daytime hours to avoid disturbing neighbors. And wear ear protection yourself—power tools can be loud even for short projects.
Work With What You Have
Here’s the truth: you don’t need every fancy tool to be a woodworker. You can get started with just a drill, a circular saw, and a few clamps. Over time, you can slowly add more tools as your skills (and budget) grow.
7 Must Have Tools for Beginner Woodworkers
Use scrap wood to practice cuts and joins. Try building your own jigs or measuring guides from leftover pieces. Watch YouTube tutorials. Follow makers on Instagram. The more you engage with the craft, the more you'll learn—and the more you'll want to build.
Start Small, Stay Consistent
Woodworking in a small space may seem limiting at first, but it actually teaches you to be more efficient, creative, and intentional with everything you do. You’ll learn how to plan ahead, organize your tools, and make the most out of each project.
Don’t let the size of your space stop you from building things you’re proud of. Everyone starts somewhere—and your tiny workshop could be the beginning of something big.
So whether it’s a garage corner, a backyard shed, or your apartment kitchen table, claim your spot, grab your tools, and start building.


Every garage owner needs a few essential tools to make car maintenance and DIY projects easier, safer, and more efficient. From the comfort of a foldable mechanic creeper to the reliability of a scissor jack, the right gear transforms your garage into a true workshop. Discover the top five tools you should have on hand and why they’re must-haves for any well-equipped garage.