
Find studs (and More) the easy way with the Walabot DIY 2 M - Installing bathroom floating shelves
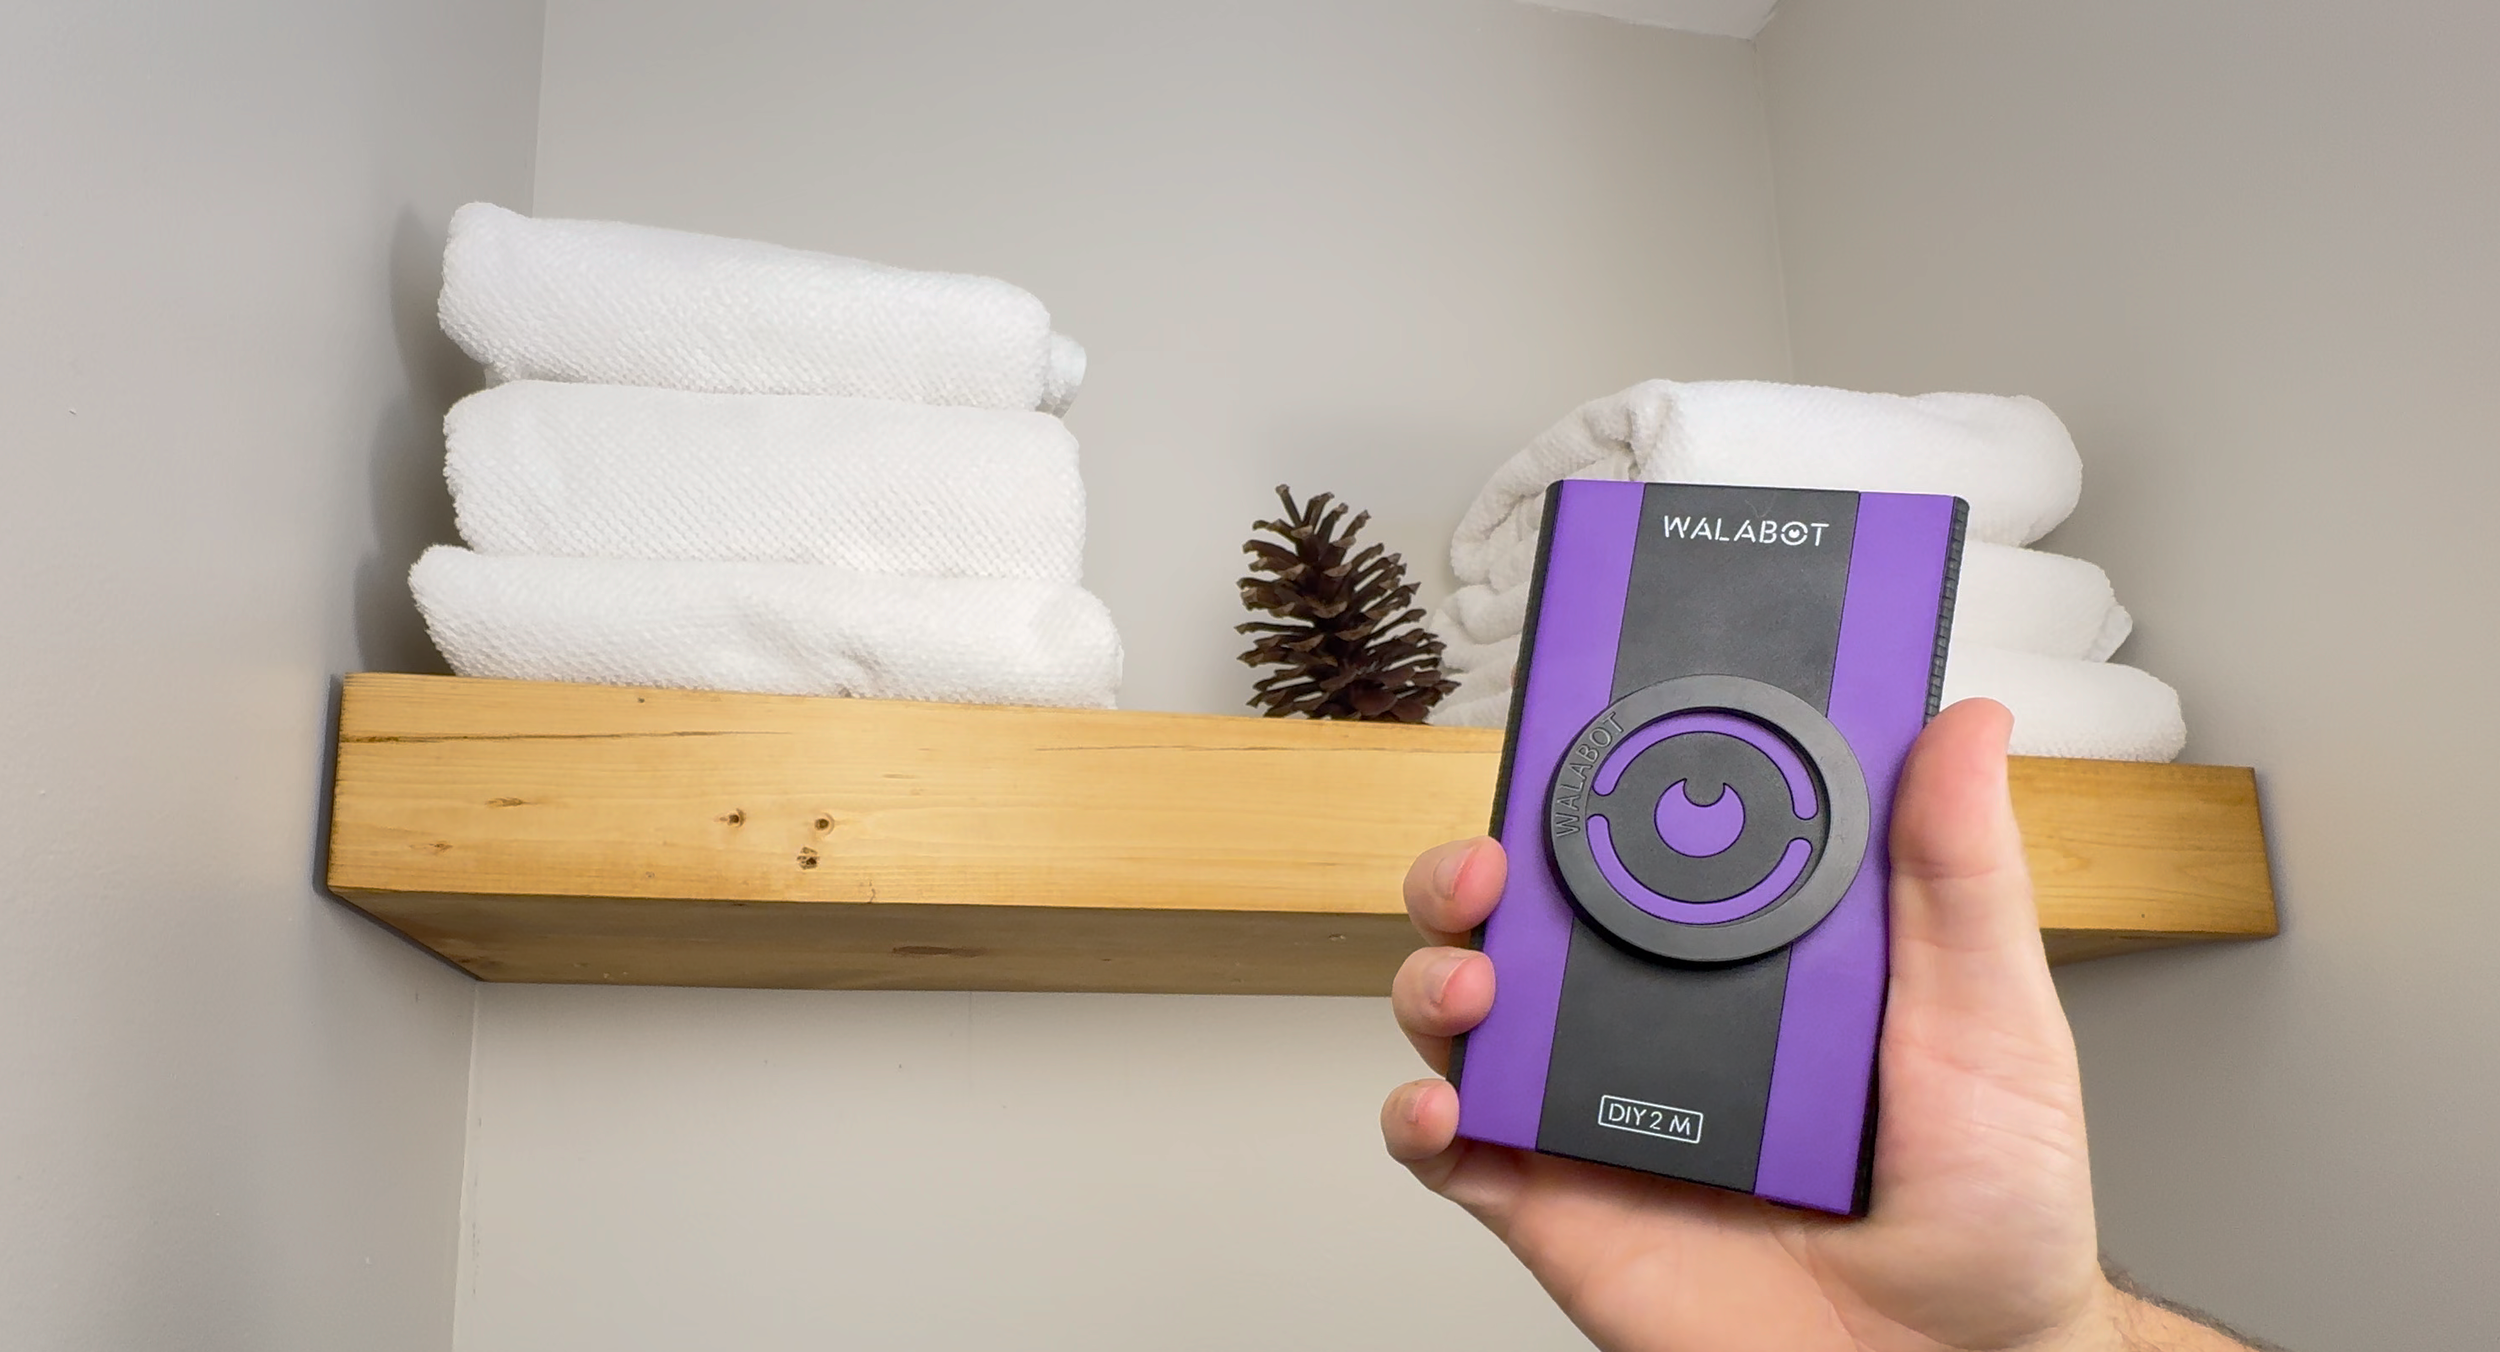
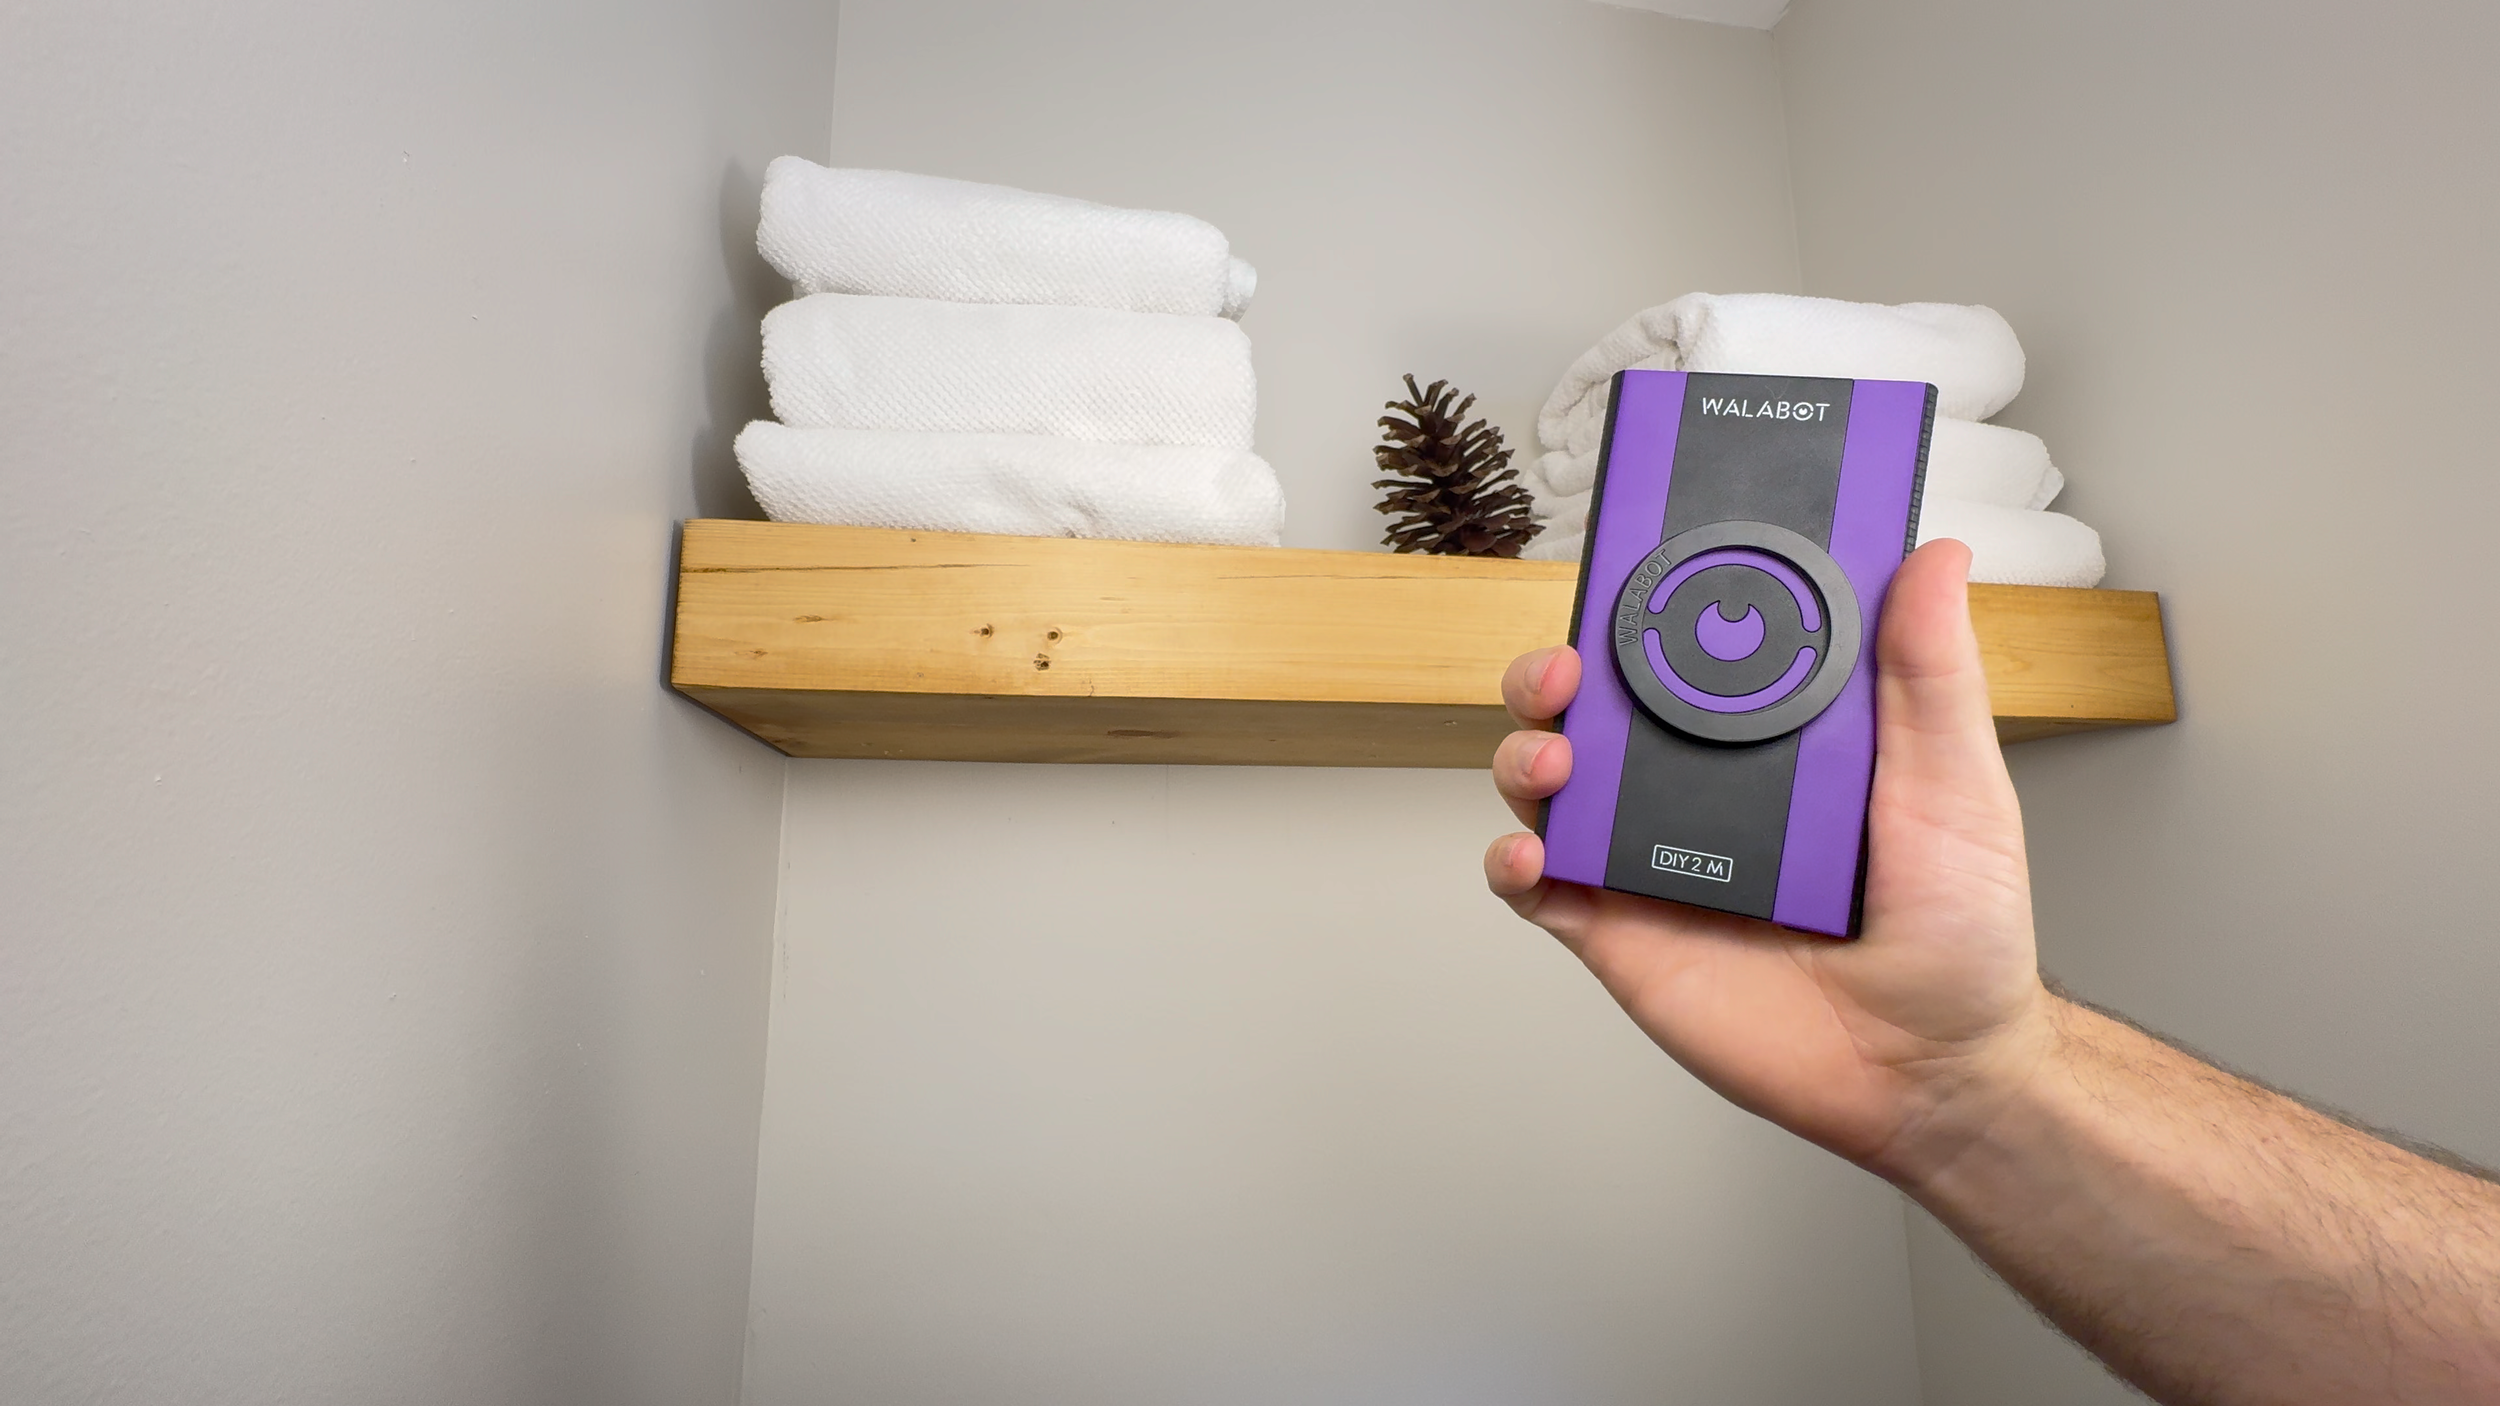
Walabot DIY 2 M with floating shelves successfully installed in a bathroom.
Sponsored Post*
I’ve been woodworking for over about 15 years. I also have a degree in electrical engineering. I came across the Walabot fairly early on in it’s development and was intrigued. To me, it was pretty clear what they were doing, but it still seemed like a gimmick or a novelty that was too early, so I dismissed it. Over the years I kept seeing it advertised and saw more people use the device. It looked like they had improved a lot and the tests I saw worked very well. It seemed like something that was overkill for my needs. As you’ll read, I ended up being wrong about that. I had all but forgot about it, when this opportunity came across my desk. After using it, I’m glad I have it and I wish I bought it sooner. I’ll use this thing even if I’m hanging a picture.
Installing Floating Shelves in the Bathroom: How I Used the Walabot to Avoid Drilling Into a Pipe (or Worse)
I recently took on a small project that's deceptively risky: installing floating shelves in my bathroom, above a toilet. Bathrooms are potentially one of the most dangerous rooms in the house to blindly drill into. You're not just trying to find a stud, you've got electrical for light fixtures, switches near the toilet for l, copper, possibly galvanized supply pipes running through the walls, and a vent stack running up through the roof that you absolutely do not want to hit. So instead of guessing, I used the Walabot DIY 2 M, a device the company sent me to try out, to scan the wall before I ever picked up a drill.
What the Walabot Is
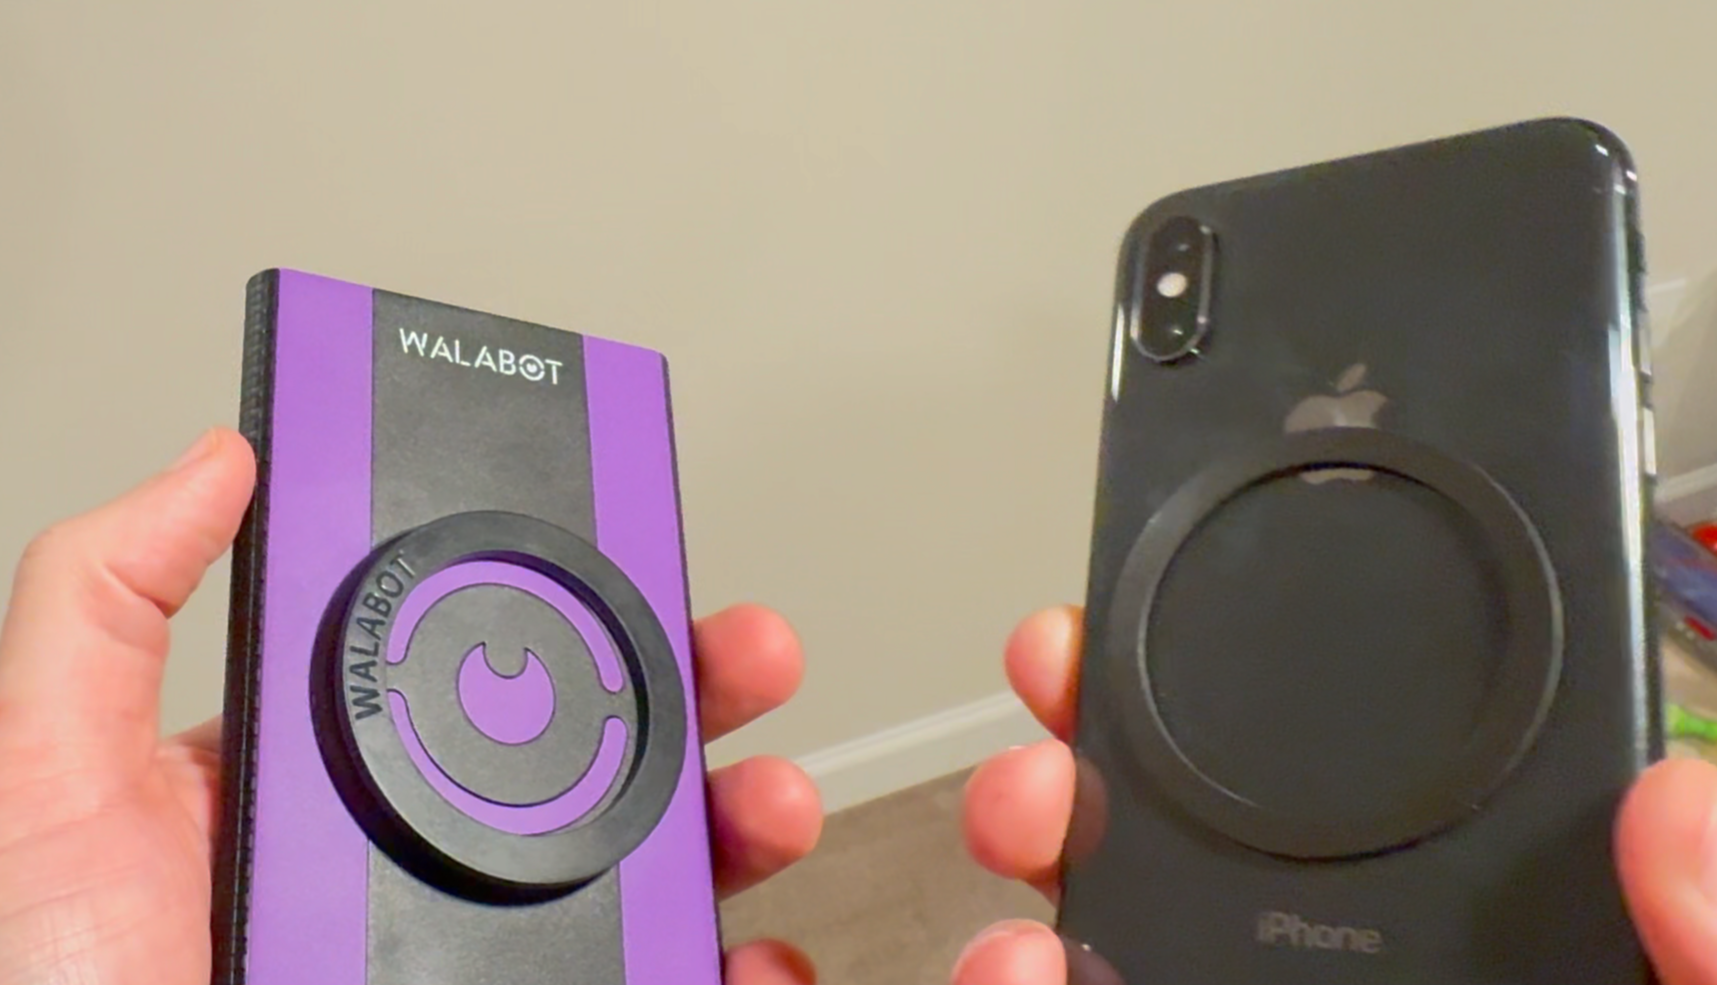
The Walabot isn't just an app it's its own standalone scanning device that pairs with your phone.
Mine came with a mount that attaches via MagSafe, so you can either dock your phone right to the scanner or set your phone down separately and run the Walabot along the wall on its own. For older phones without MagSafe, it also includes a magnetic adhesive ring so you can mount it to the phone and scan one-handed.
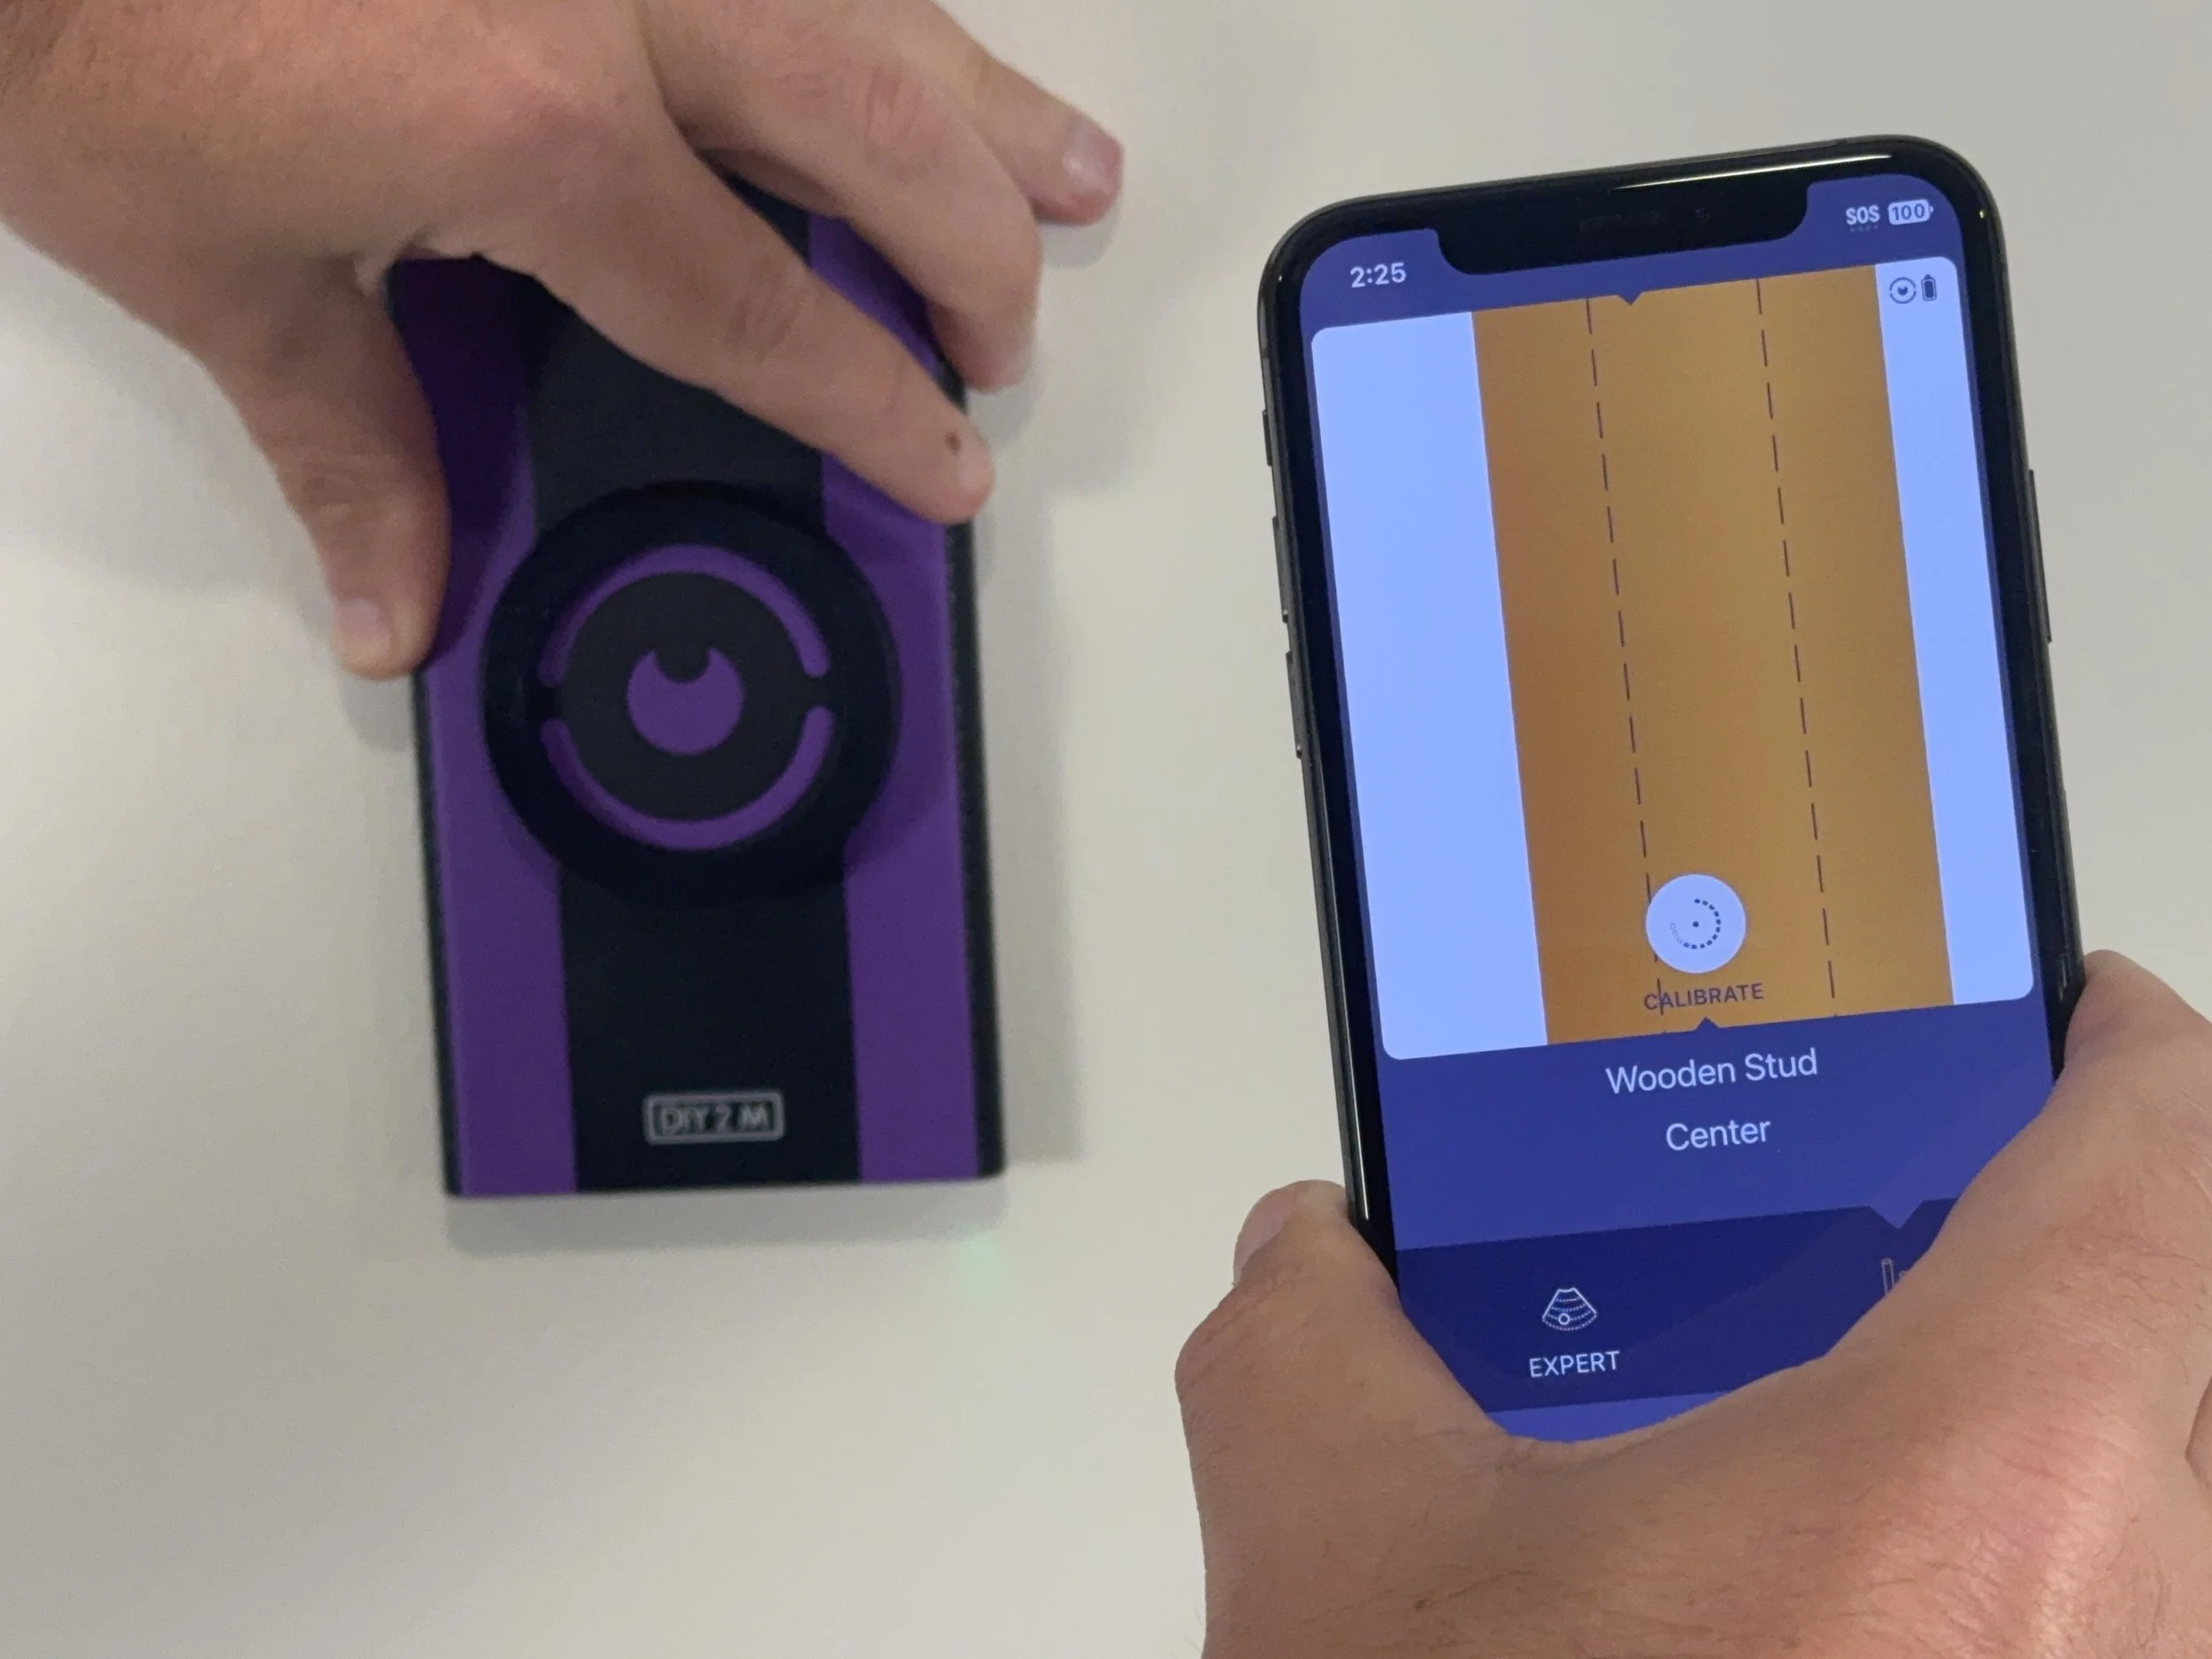
Before testing it on the actual bathroom project, I wanted to prove how well works, so I took it down to my basement first.
I have a section of basement wall that's exposed on one side and finished drywall on the other, which made it the perfect place to test the Walabot. This wasn't a small wall built specifically for a demonstration, it's part of a house that's roughly 40 years old, with real wiring and plumbing already in place. On the exposed side, I can see exactly where the electrical wires and pipes actually run, then go to the finished side and see if the Walabot found them in the same spots.
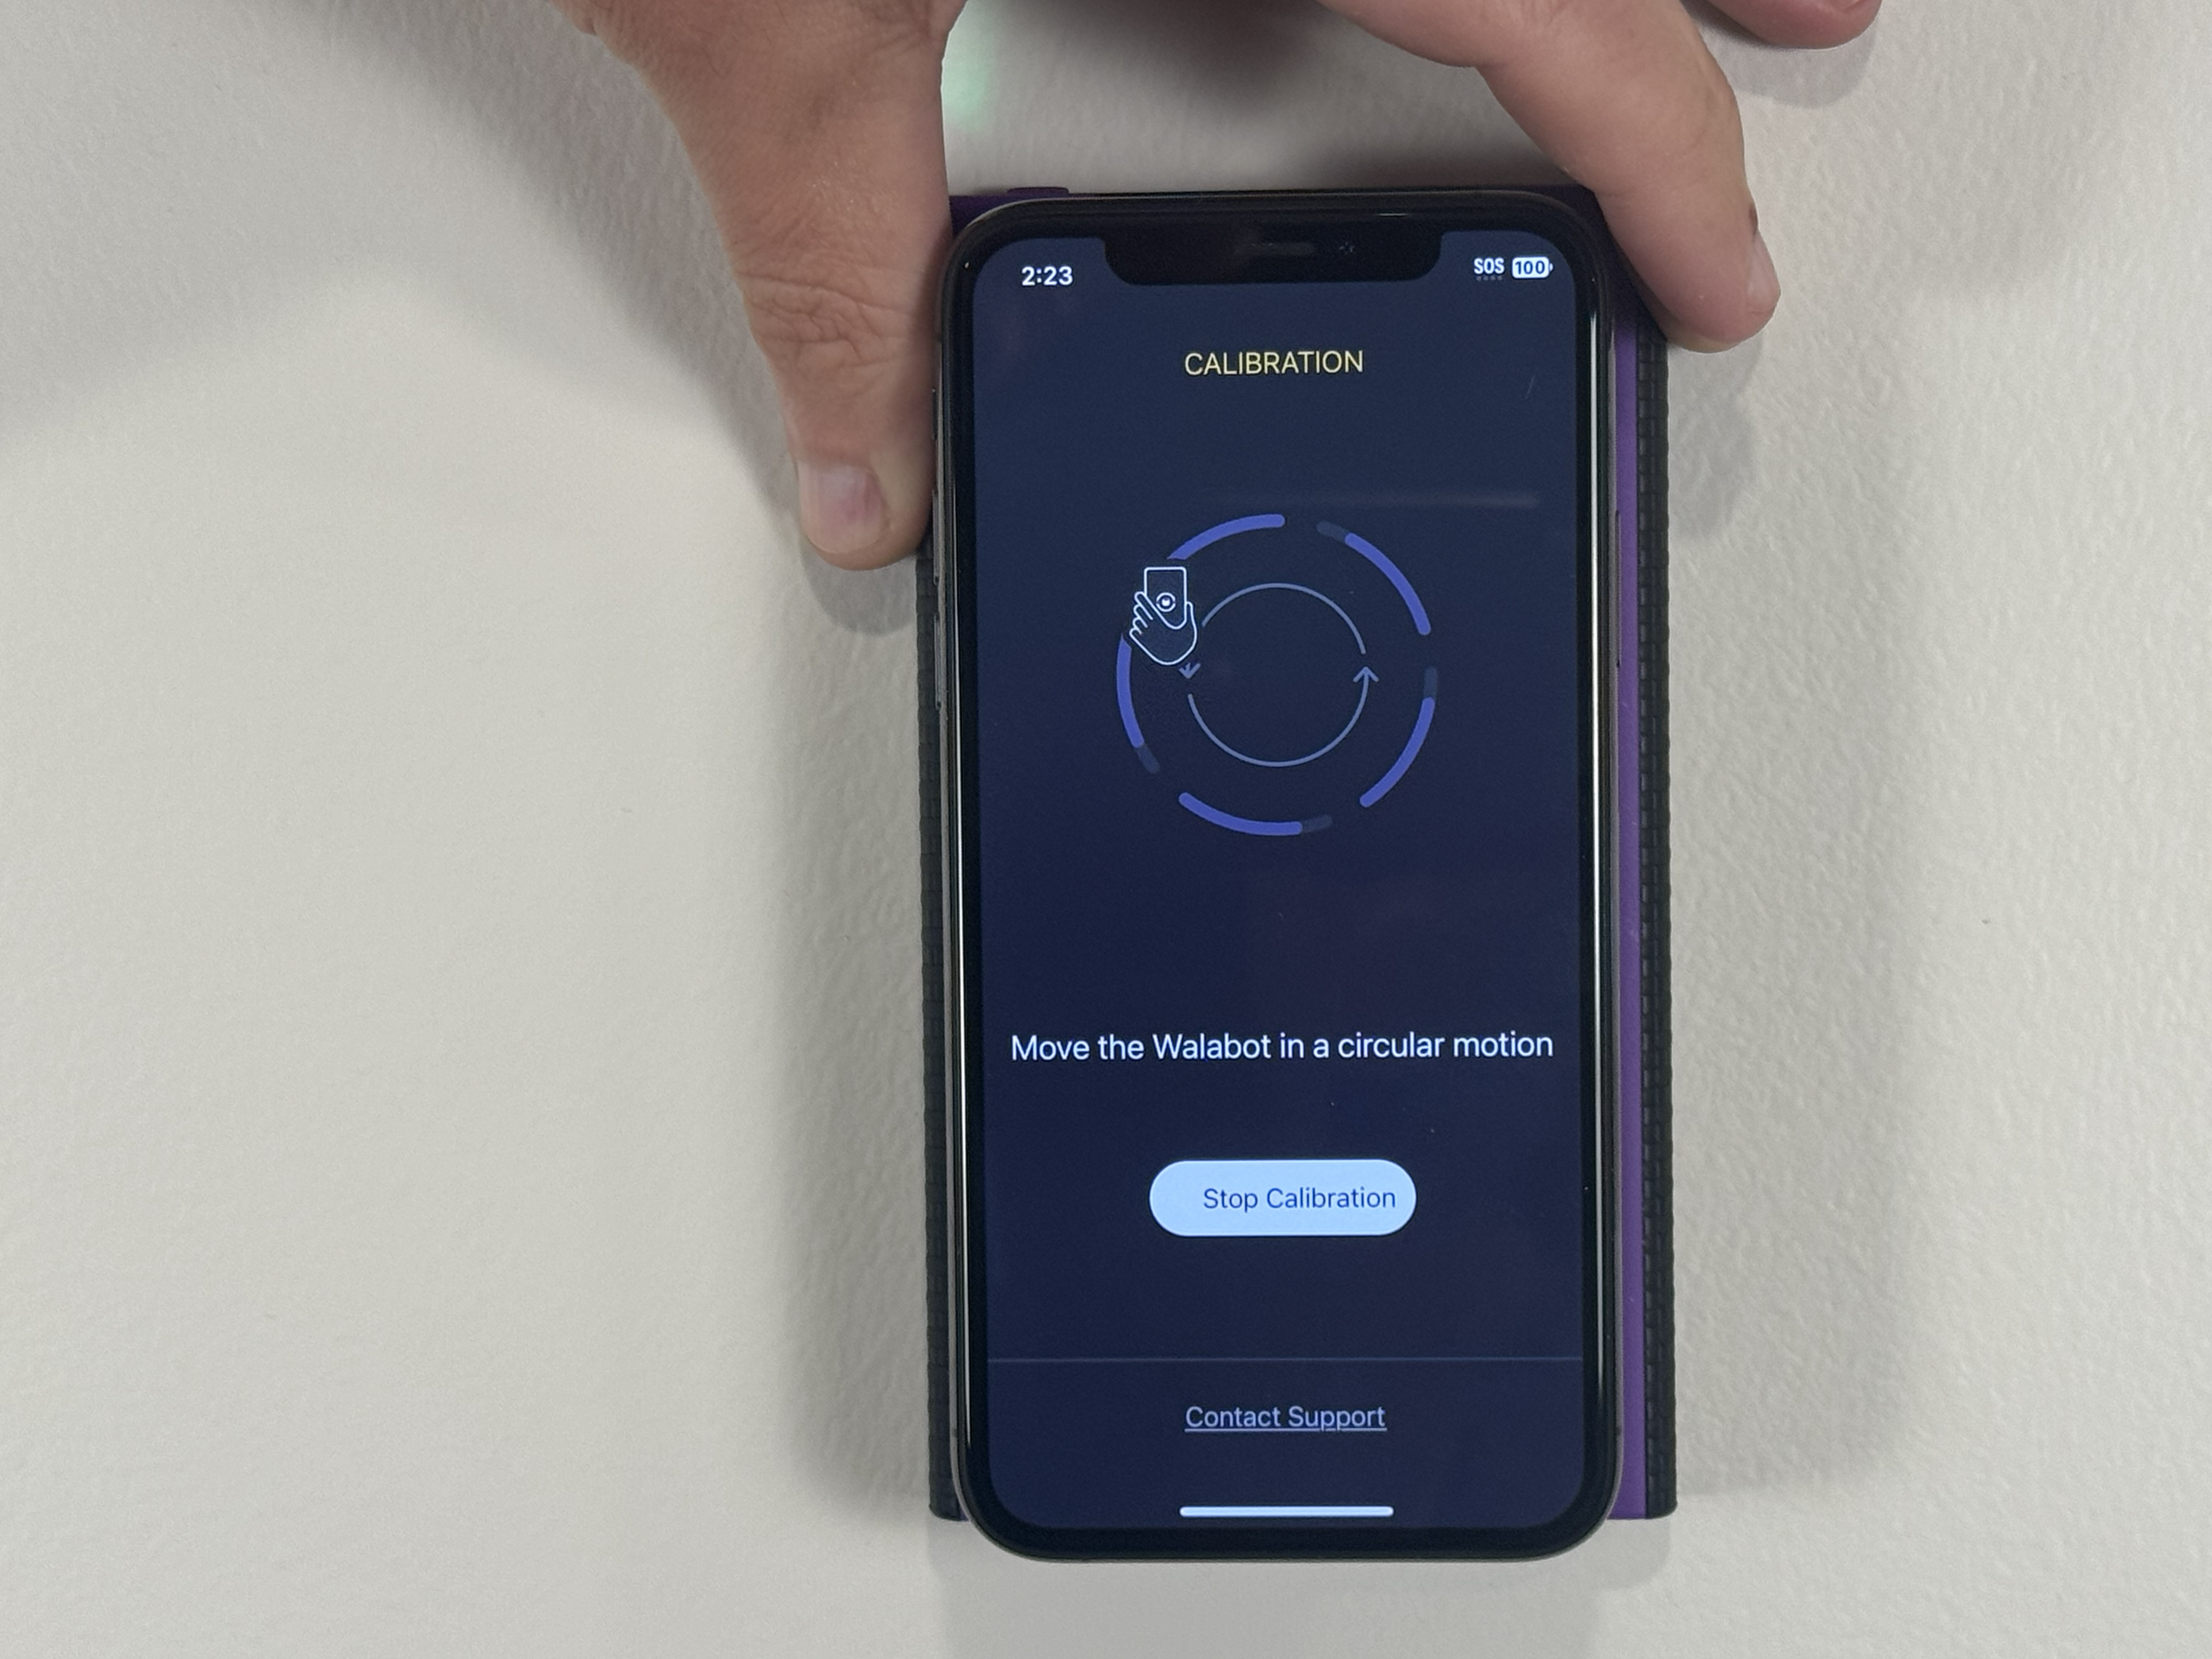
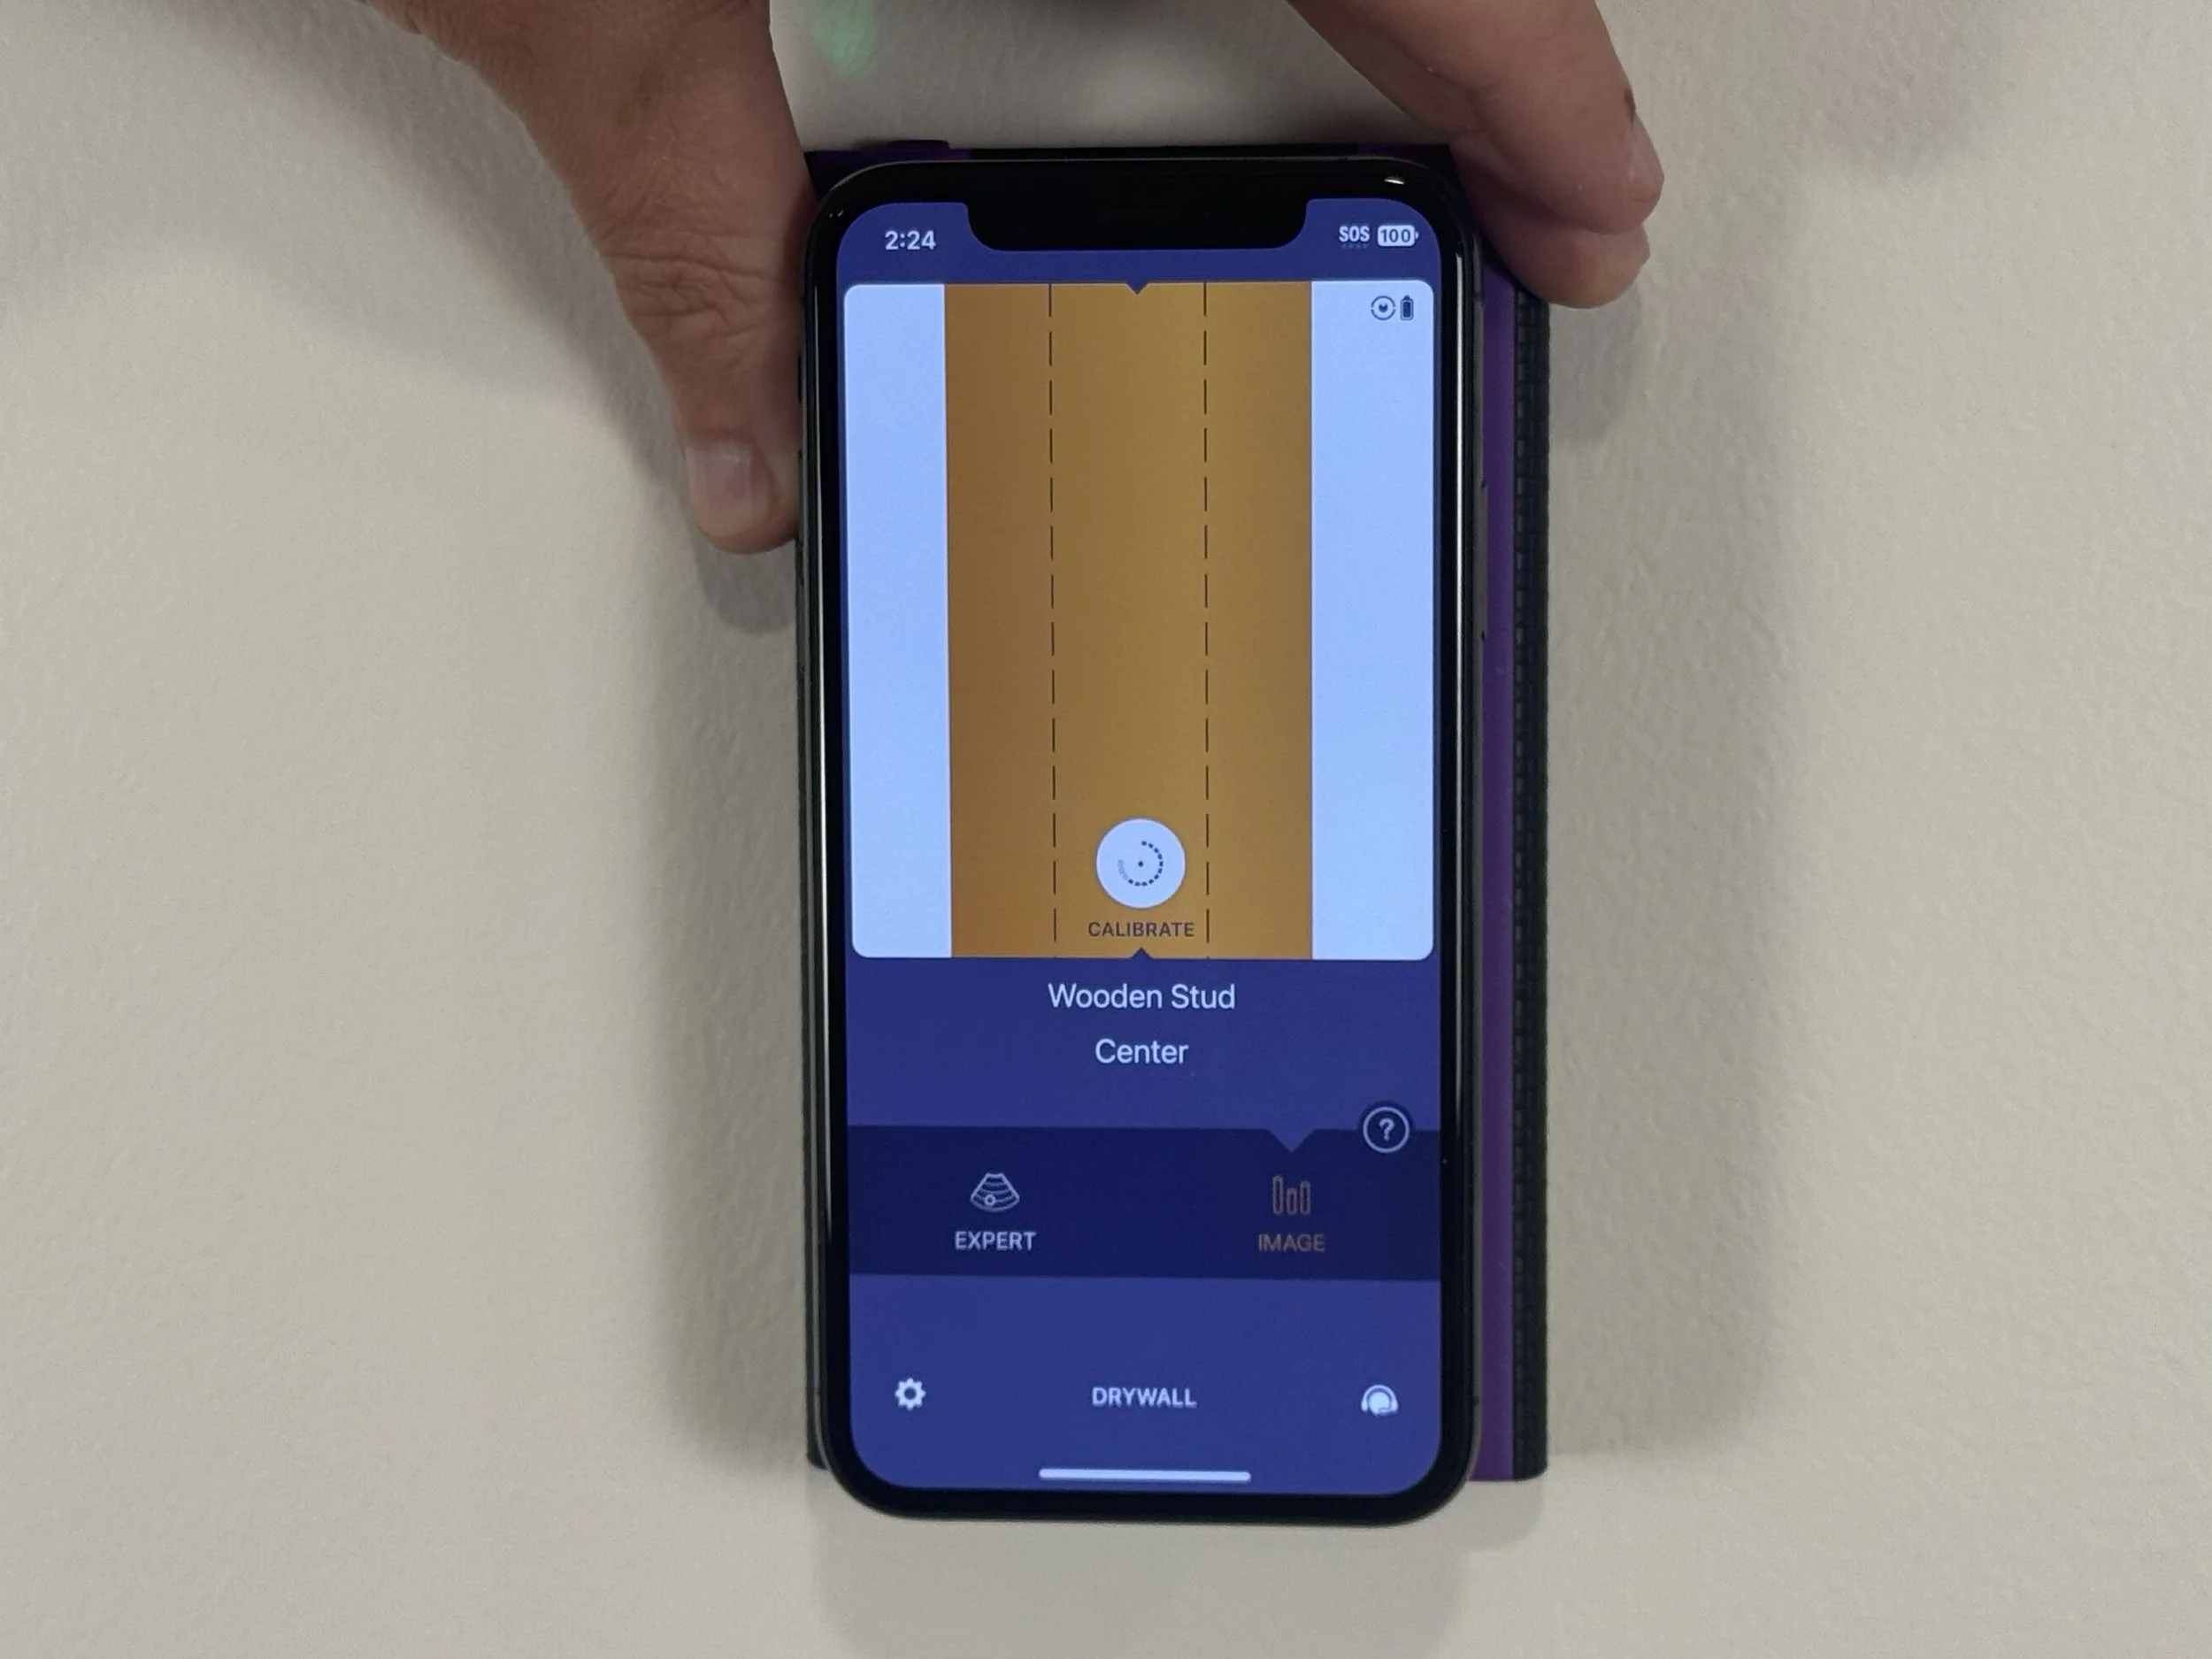
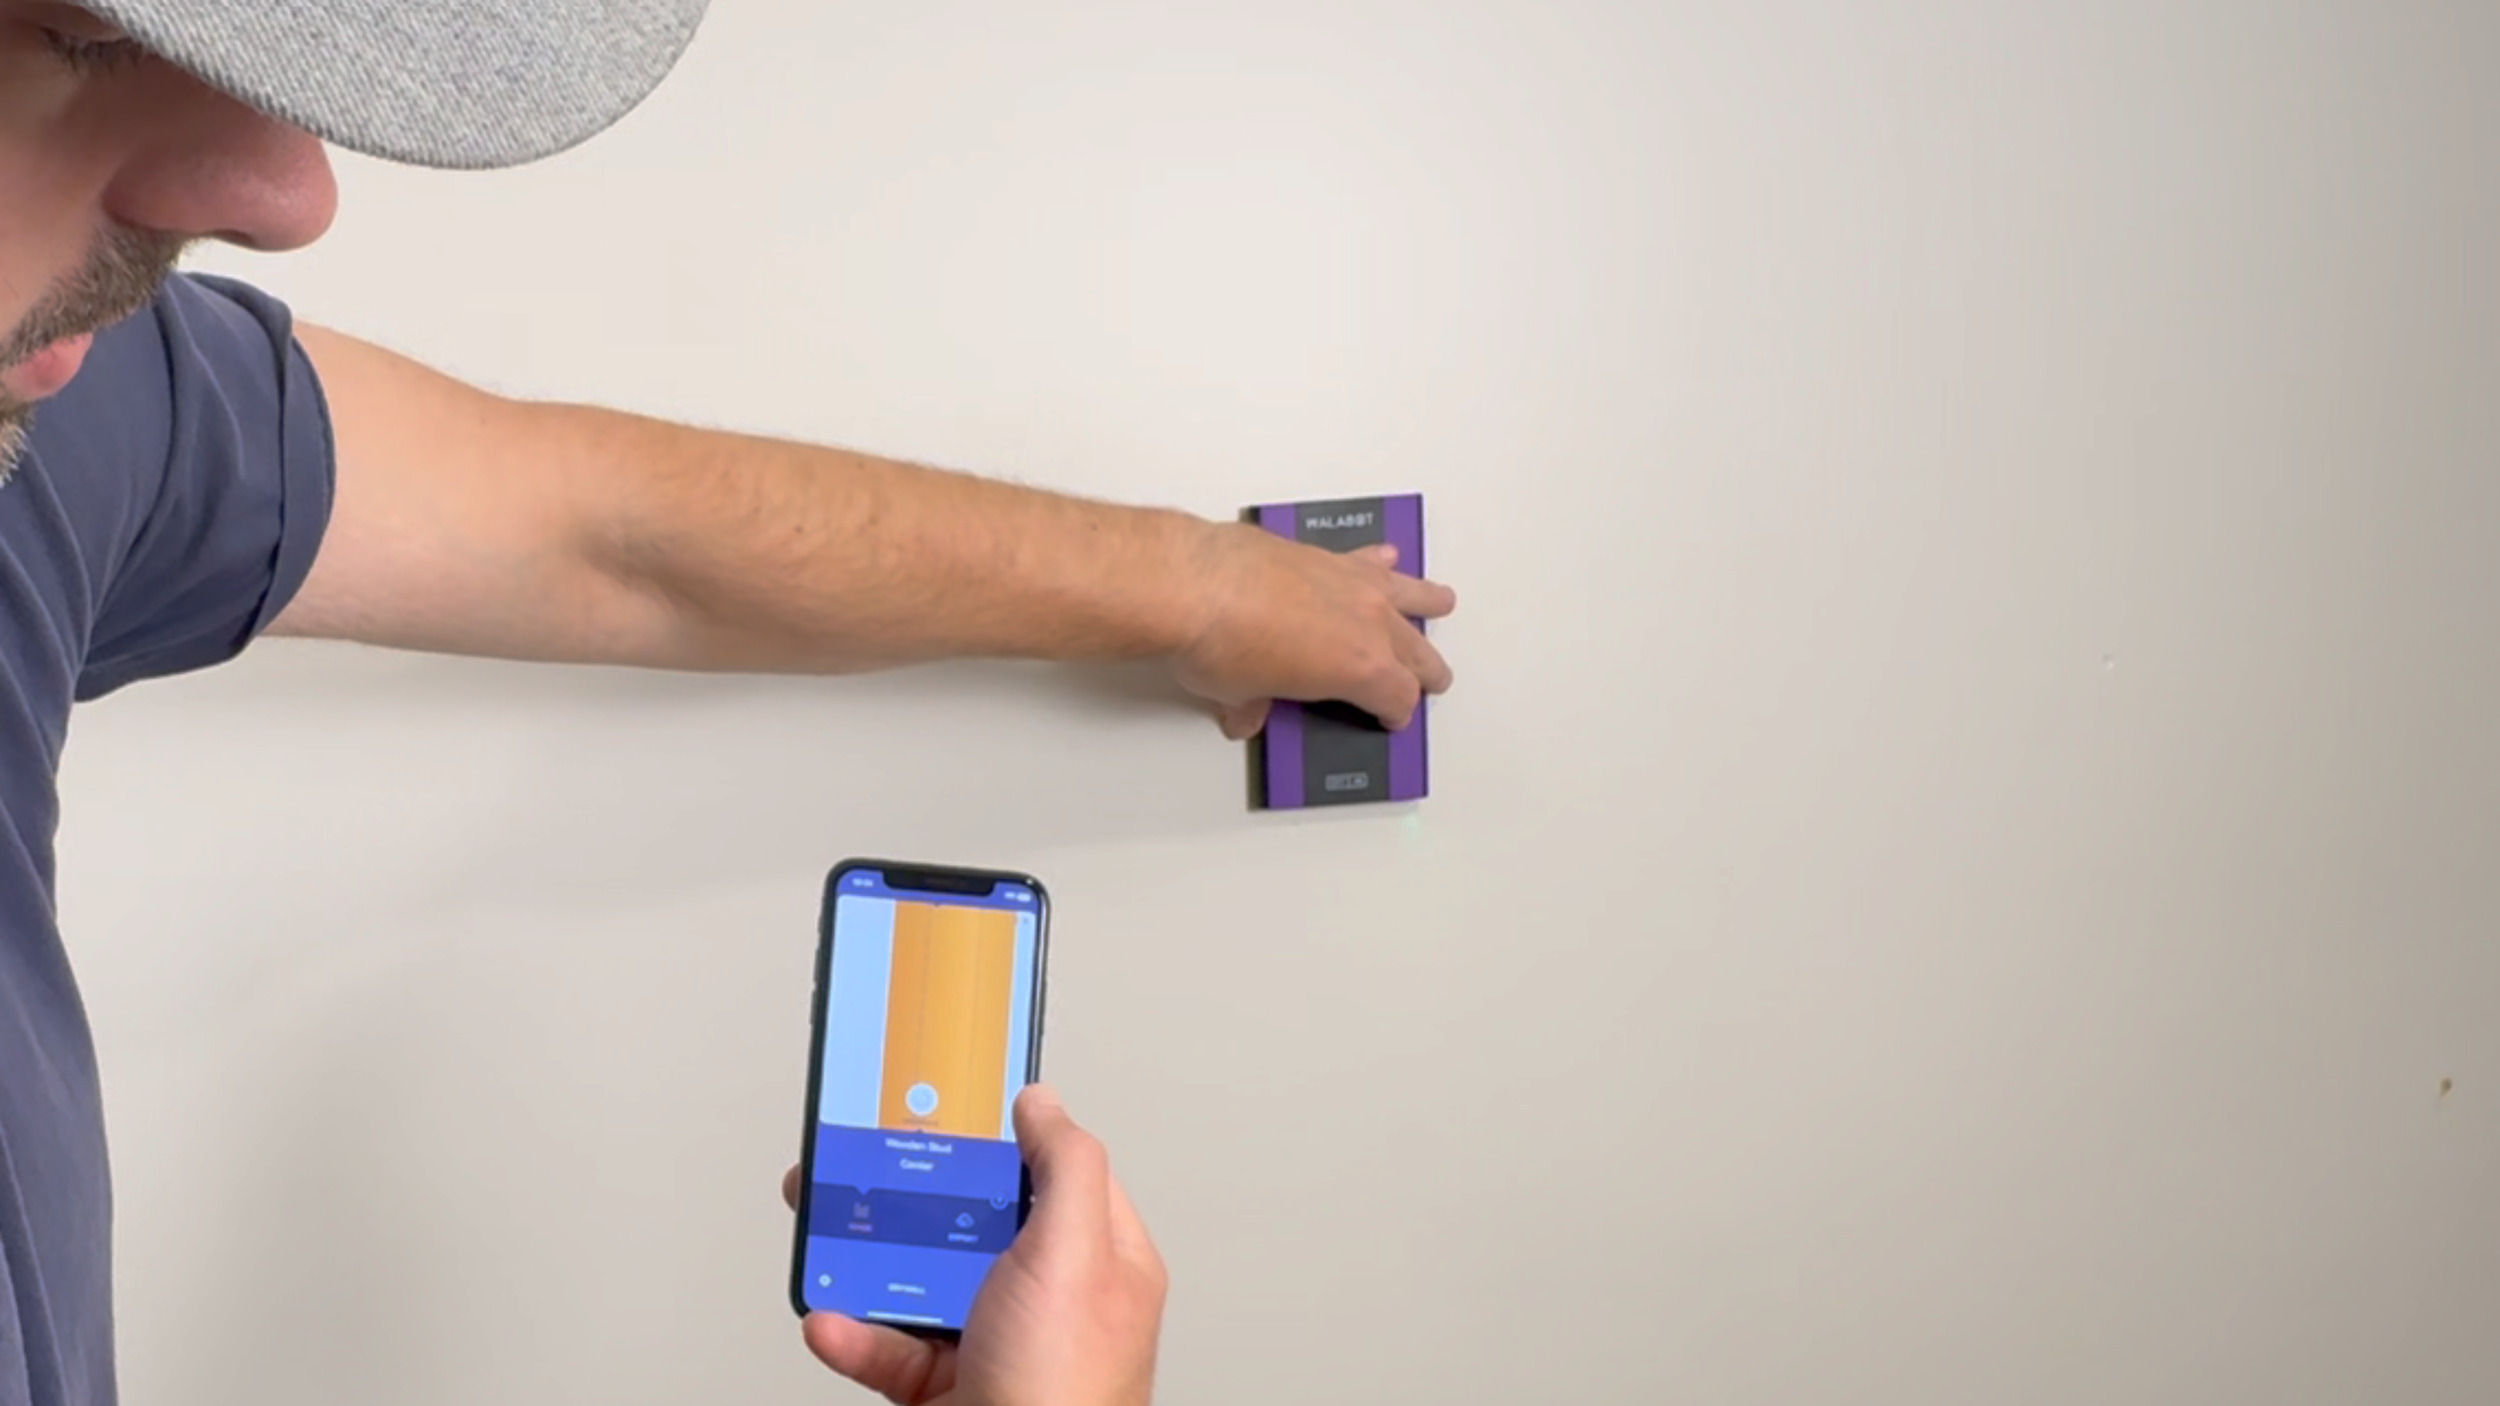
Setup and calibration: In the app, you select your wall type, and it walks you through calibration. You hold the device firmly against the wall, hit "start calibration," and move it in expanding circles for about 5 to 10 seconds until it tells you to stop. Once it's calibrated, it seems to be good for the whole wall, not just that one spot.
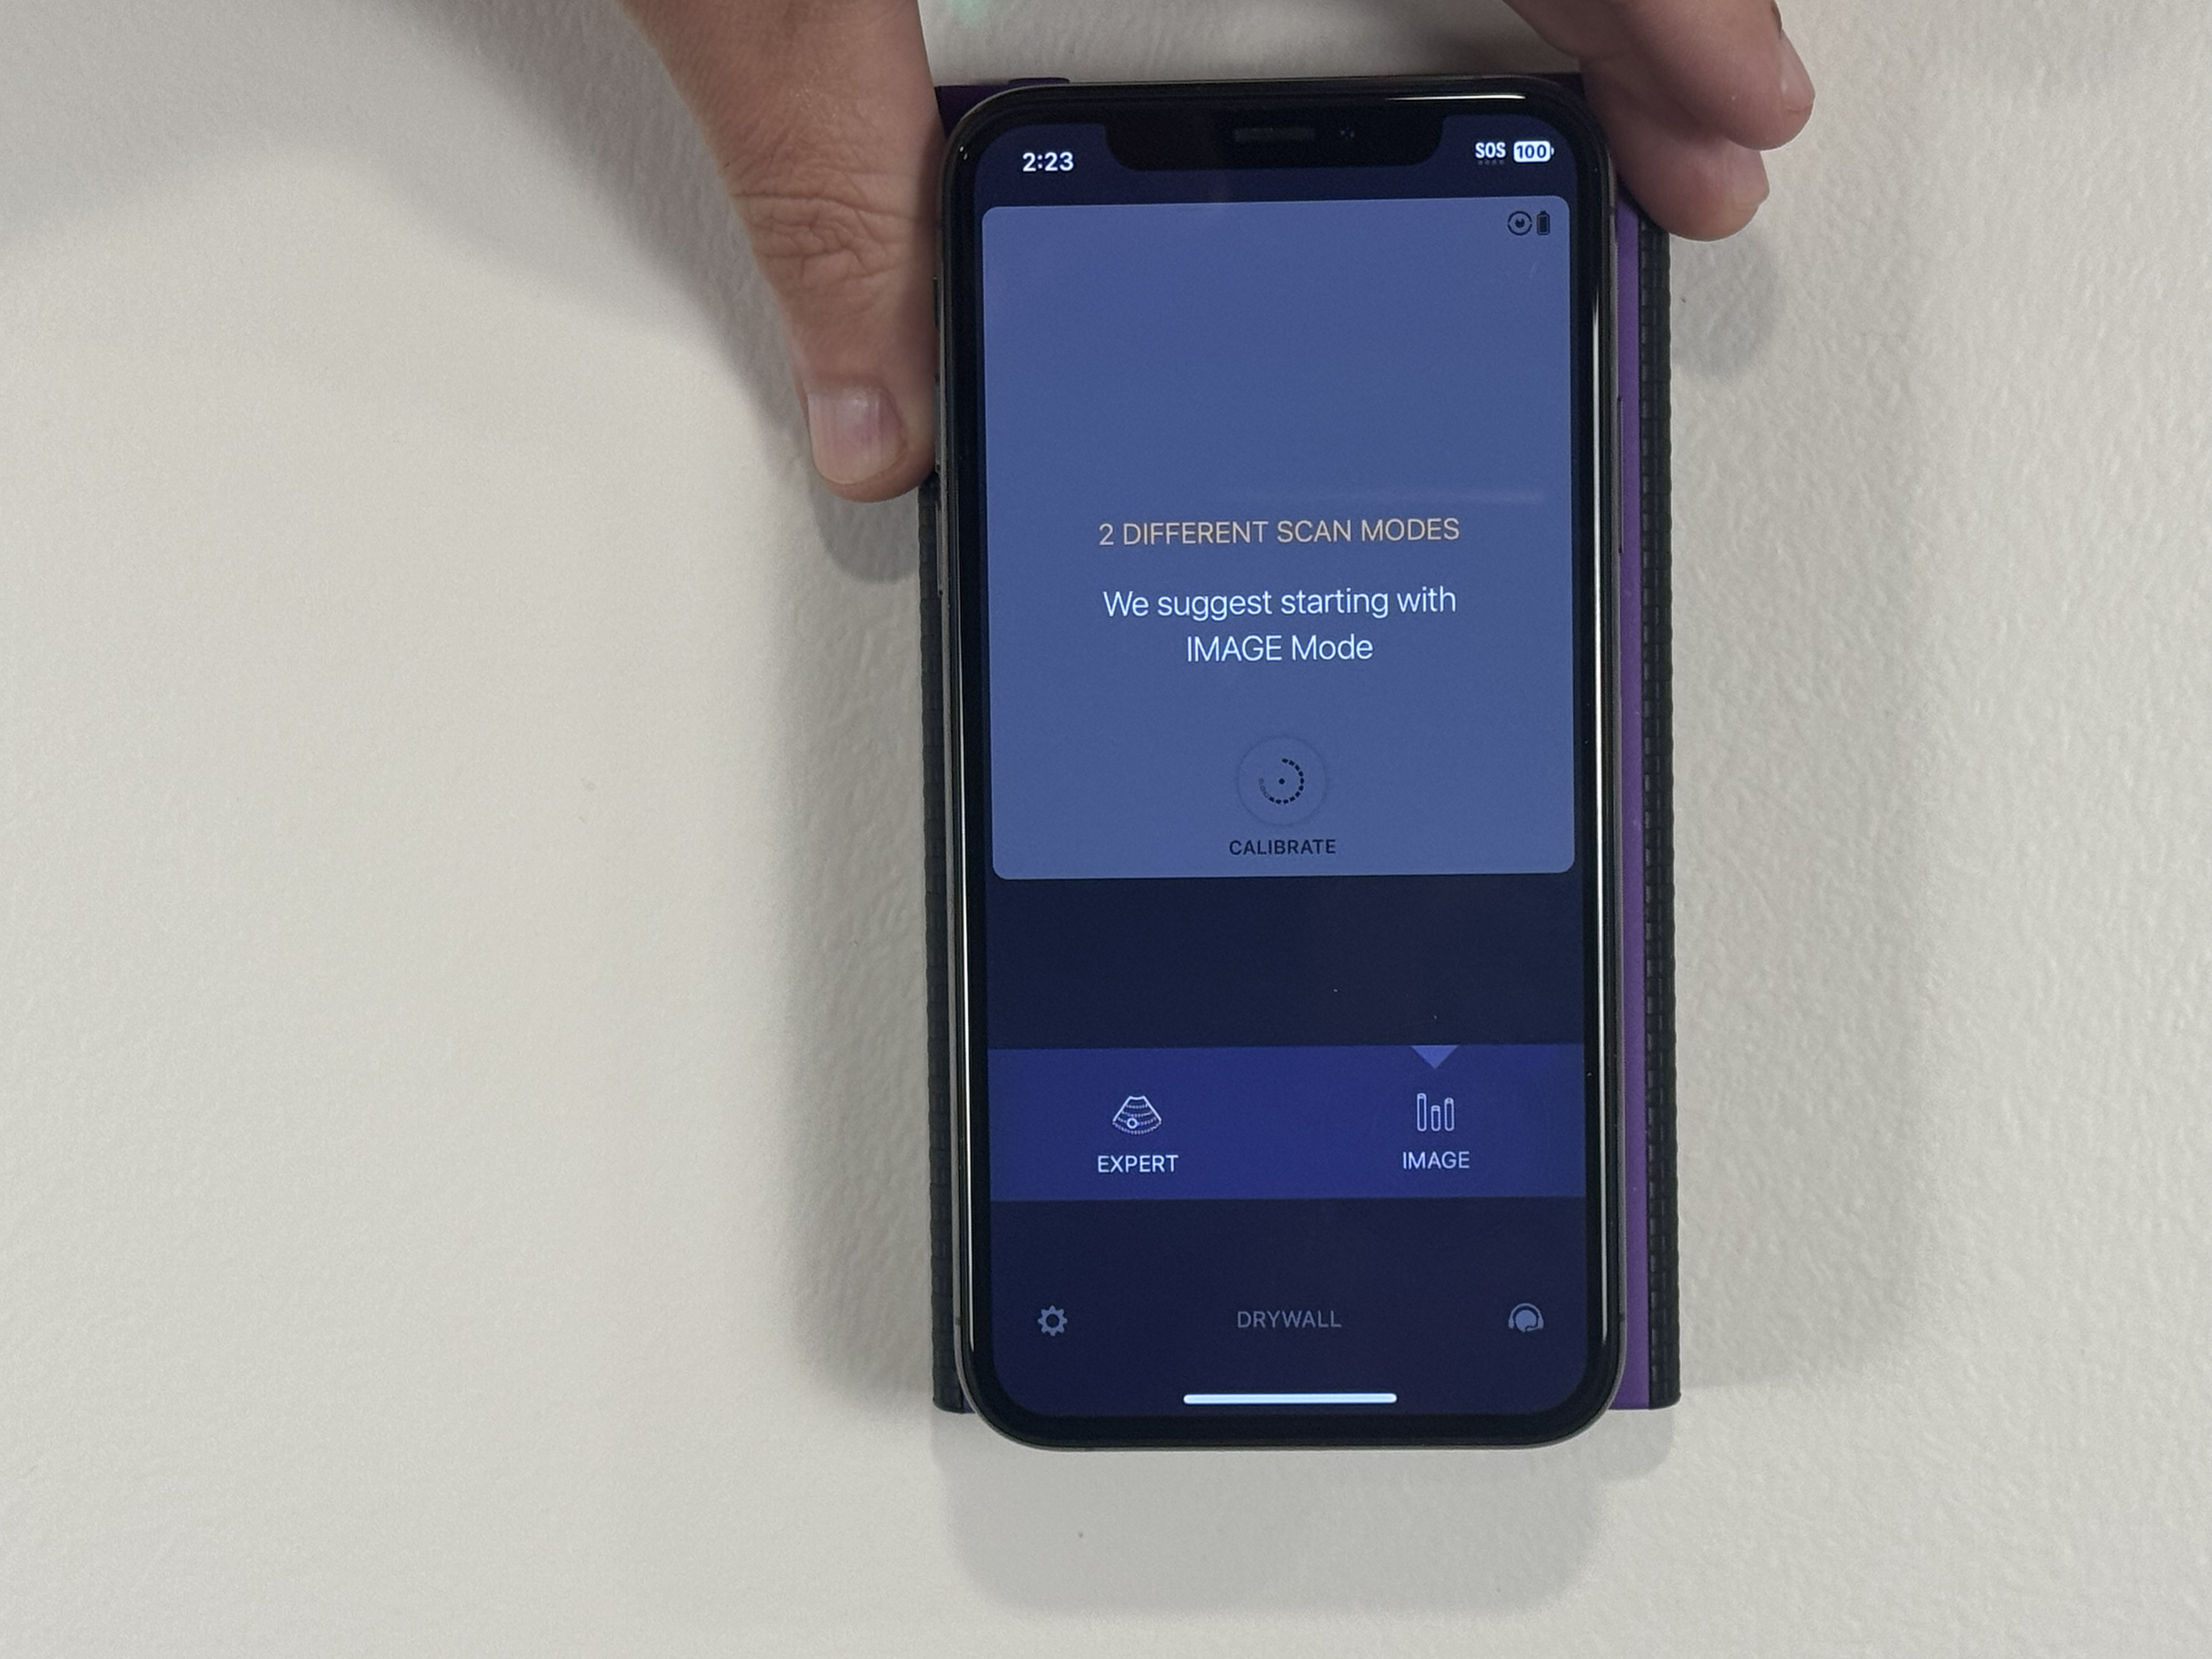
Two scan modes: The app offers Imaging mode, which shows you a single element in the wall at a time, and Expert mode, which gives you more of a heat-map view showing multiple things at once. For most of the project, I stuck with Imaging mode since it's the simplest to read.
With the Walabot held vertically, in line with how studs run, I slid it slowly along the wall until it flagged a stud, with a line marking the center so I could mark it directly. Moving over roughly 16 inches (standard stud spacing), it found the next one right where it should be. The Walabot seems to find studs regardless of which direction it’s held in. The may help in certain situations where blocking might be installed, possibly for hanging a towel rack in a bathroom. Regardless, I was told the device is most accurate when held in parallel with the direction of the studs. The same applies for wires and pipes.
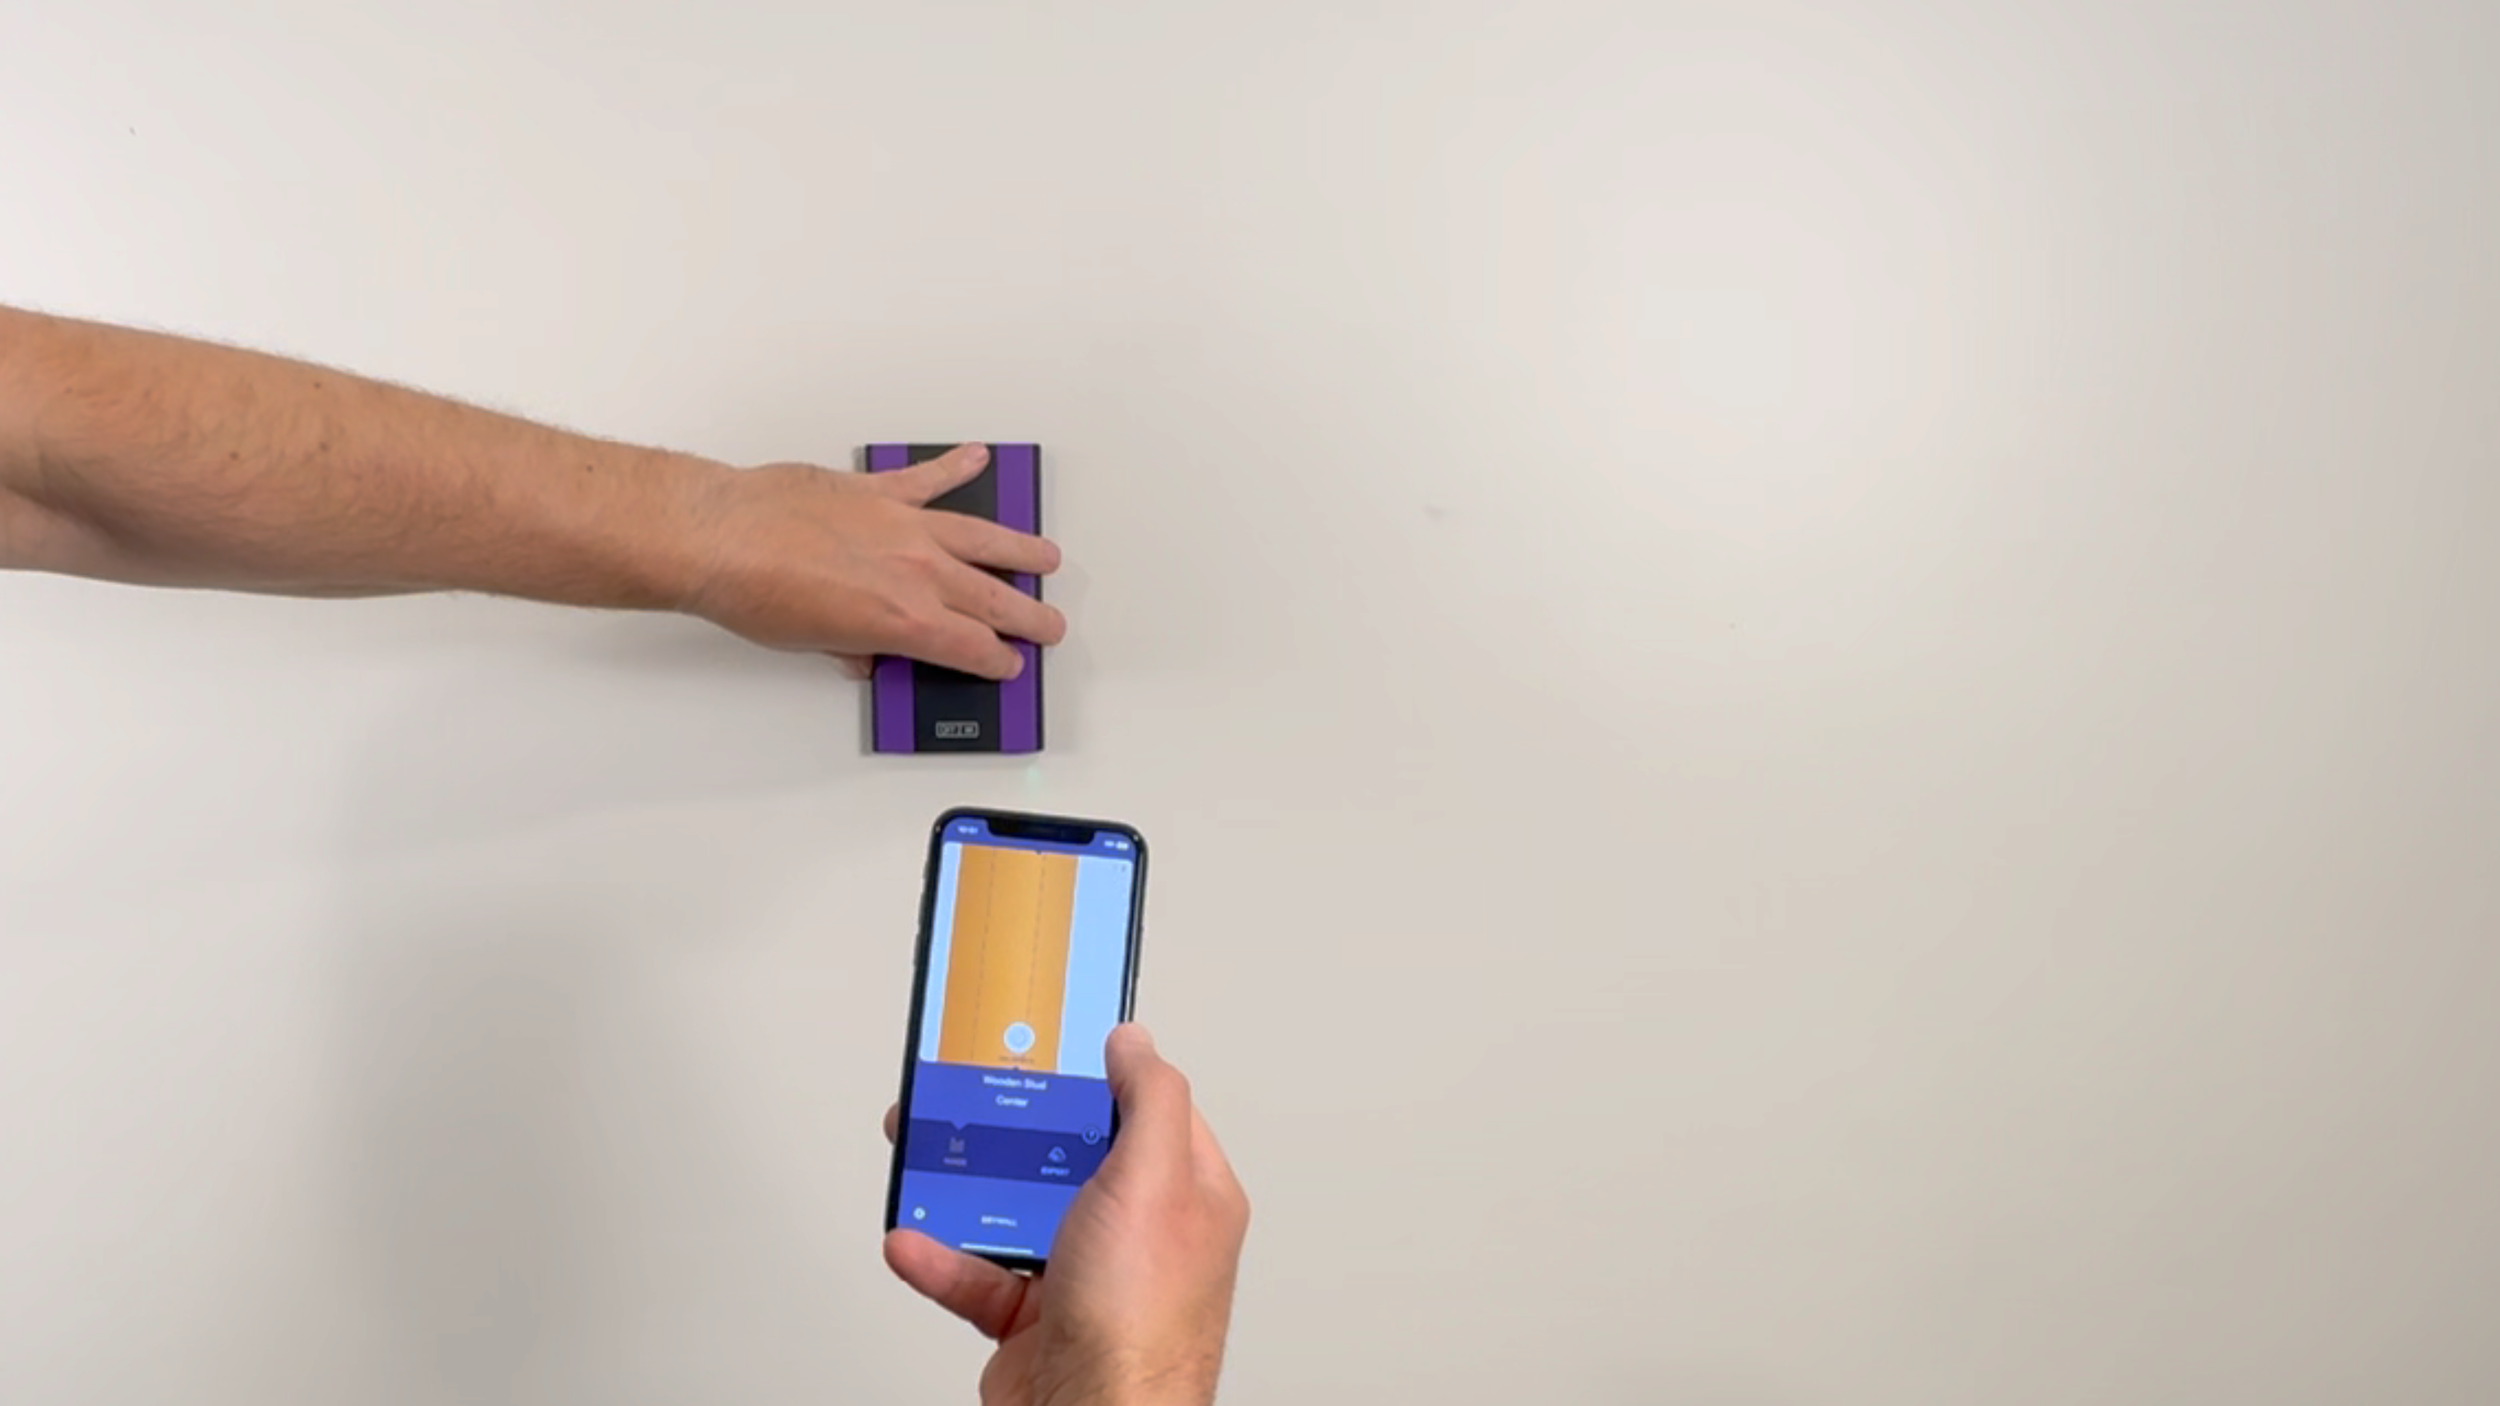
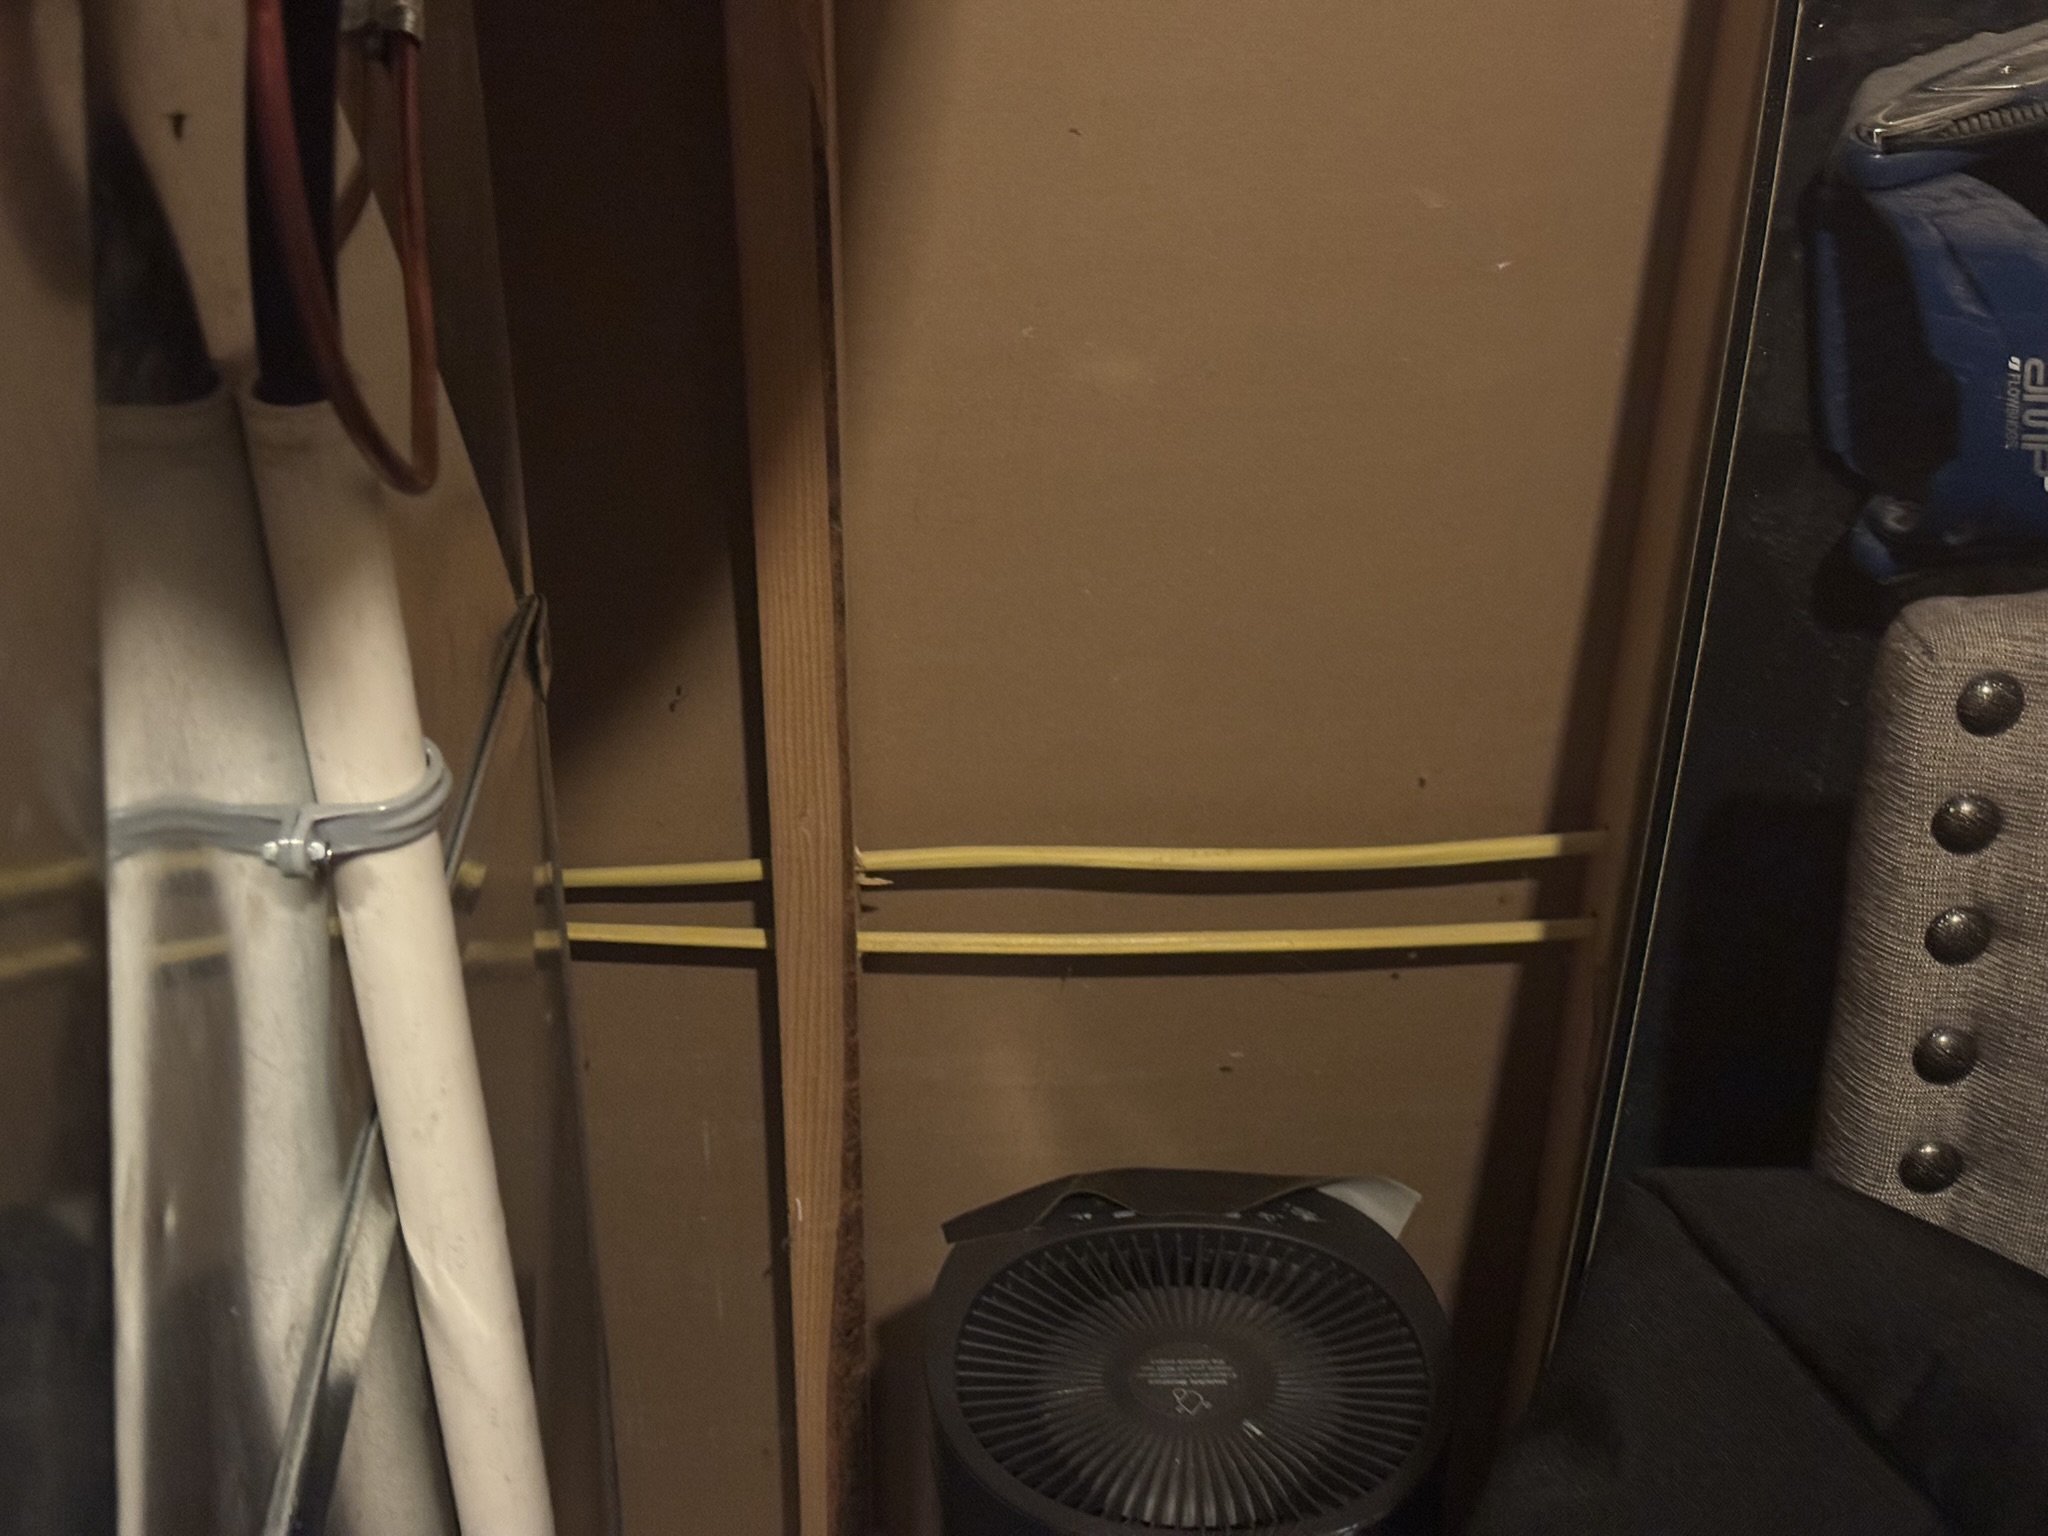
In the unfinished part of the basement near the HVAC area, I could see two electrical wires running at about knee height along the exposed wall. On the finished side, I first re-located a stud to confirm the scanner was reading correctly, then rotated the Walabot 90 degrees to sweep in the direction the wires were running and it found both wires almost immediately, right where they crossed through the stud. That's an important detail: the wire ran through the stud itself, which is exactly the kind of thing you want to know before drilling into what looks like a safe spot.
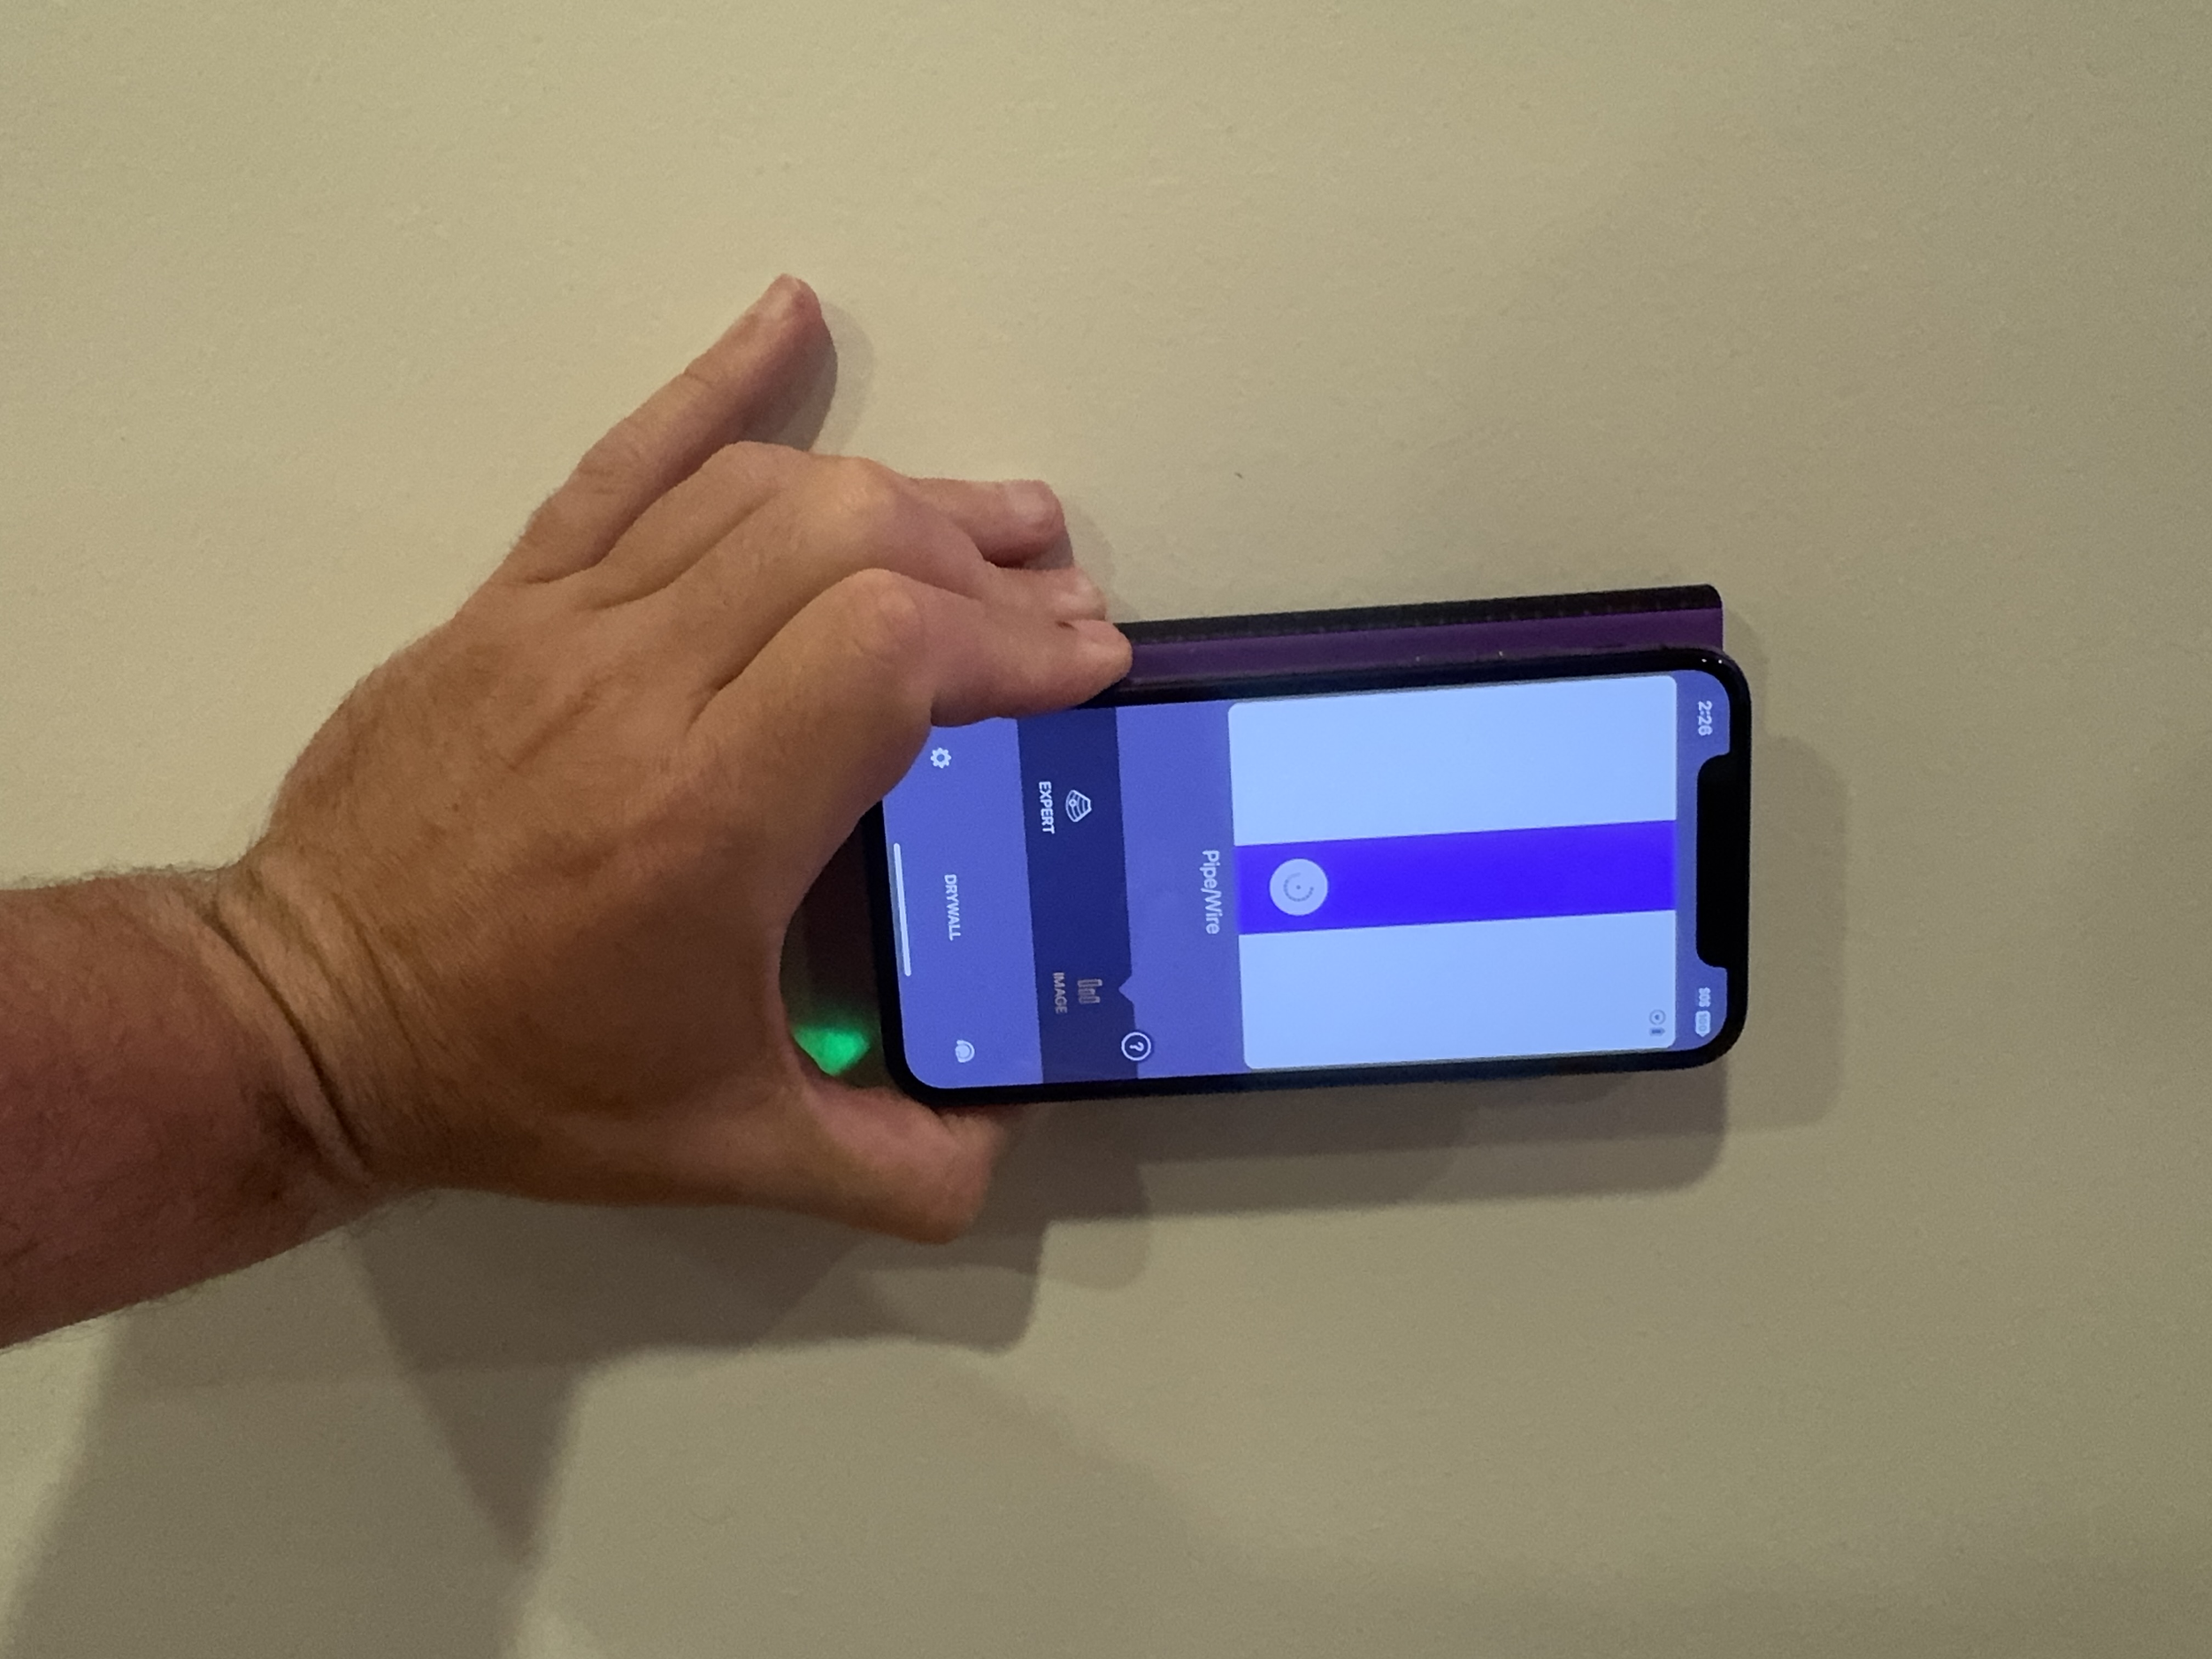
Speaking of wires, the Walabot can detect wires whether they're live or dead, so even when you switch off a circuit, you can still find a wire. No one wants to switch the power on only to find out they cut a wire.
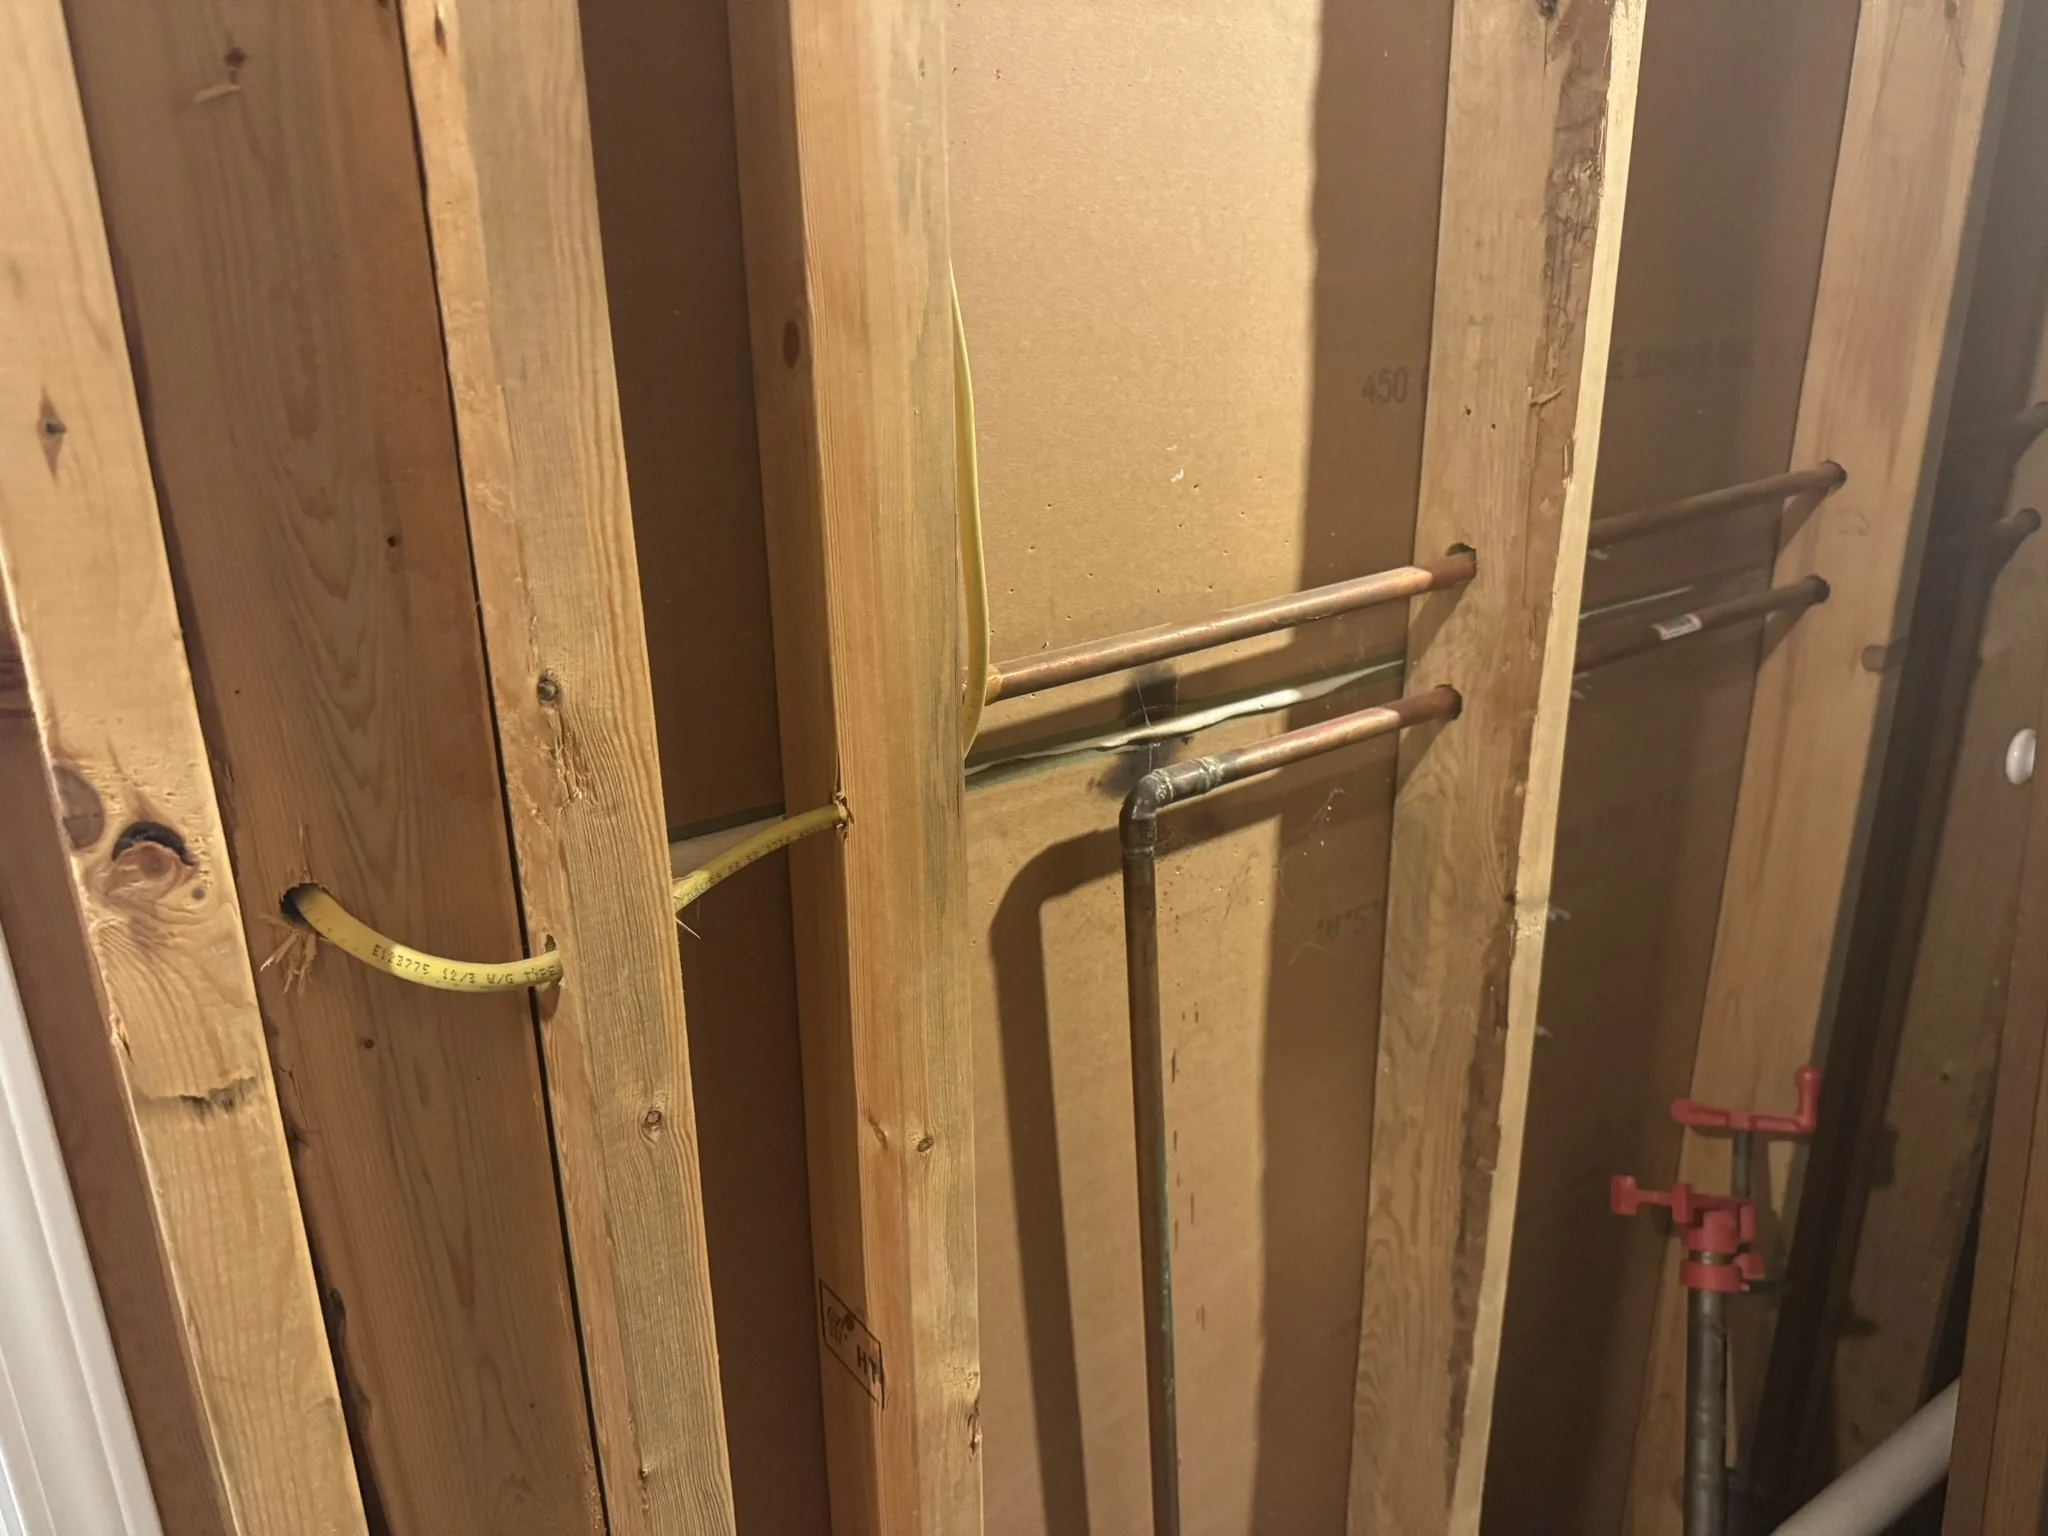
Back on another section of that basement wall, I tracked down copper pipes running at about chest height. The Walabot can detect metal, PVC, and plastic pipes, though I found that if a pipe is too far from the surface of the wall, it can fall outside detection range. Sweeping the wall, I found the pipe passing right through a stud, then located a second pipe running alongside it, exactly matching what I could see on the exposed side.
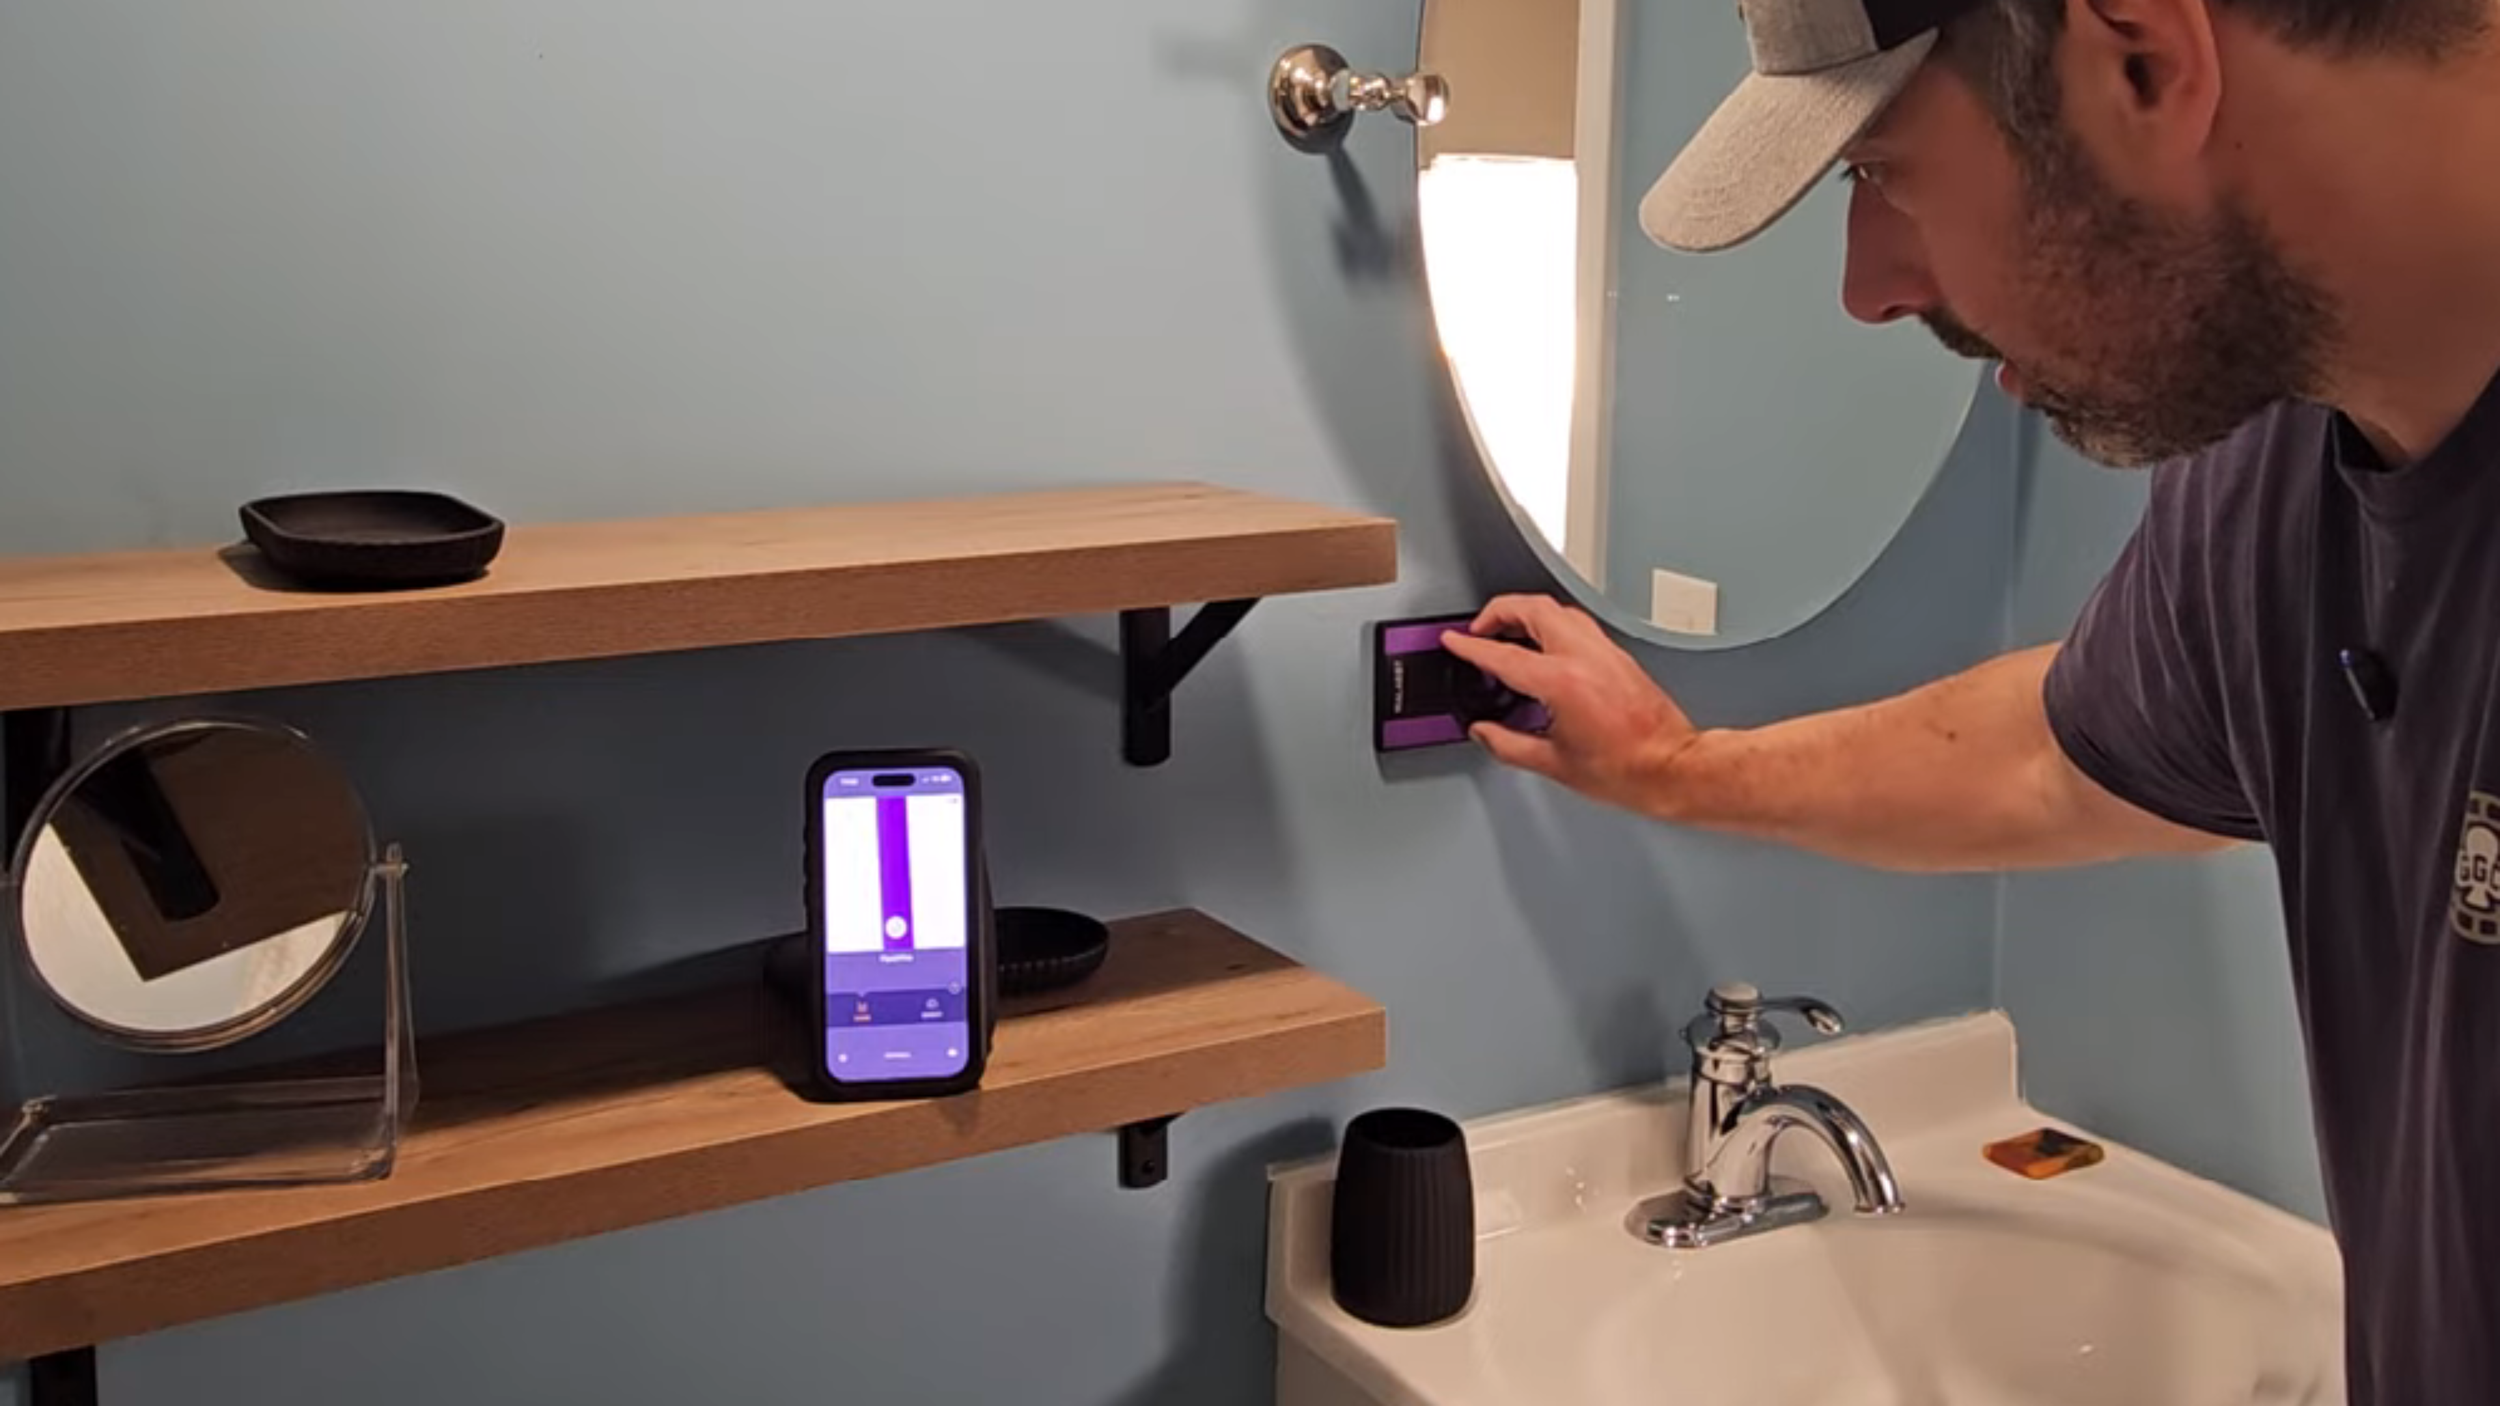
With the basement test confirming the device worked as claimed, I brought the Walabot into the actual bathroom to install the shelves.
I reconnected the scanner to the app (it turns green on the device when connected) and started mapping studs across the wall where I wanted to hang the shelves, marking the center of each one as I found it. I also located the copper supply pipes in that wall, which meant I now knew exactly where not to drill if I wanted to avoid the plumbing while mounting the shelf brackets.
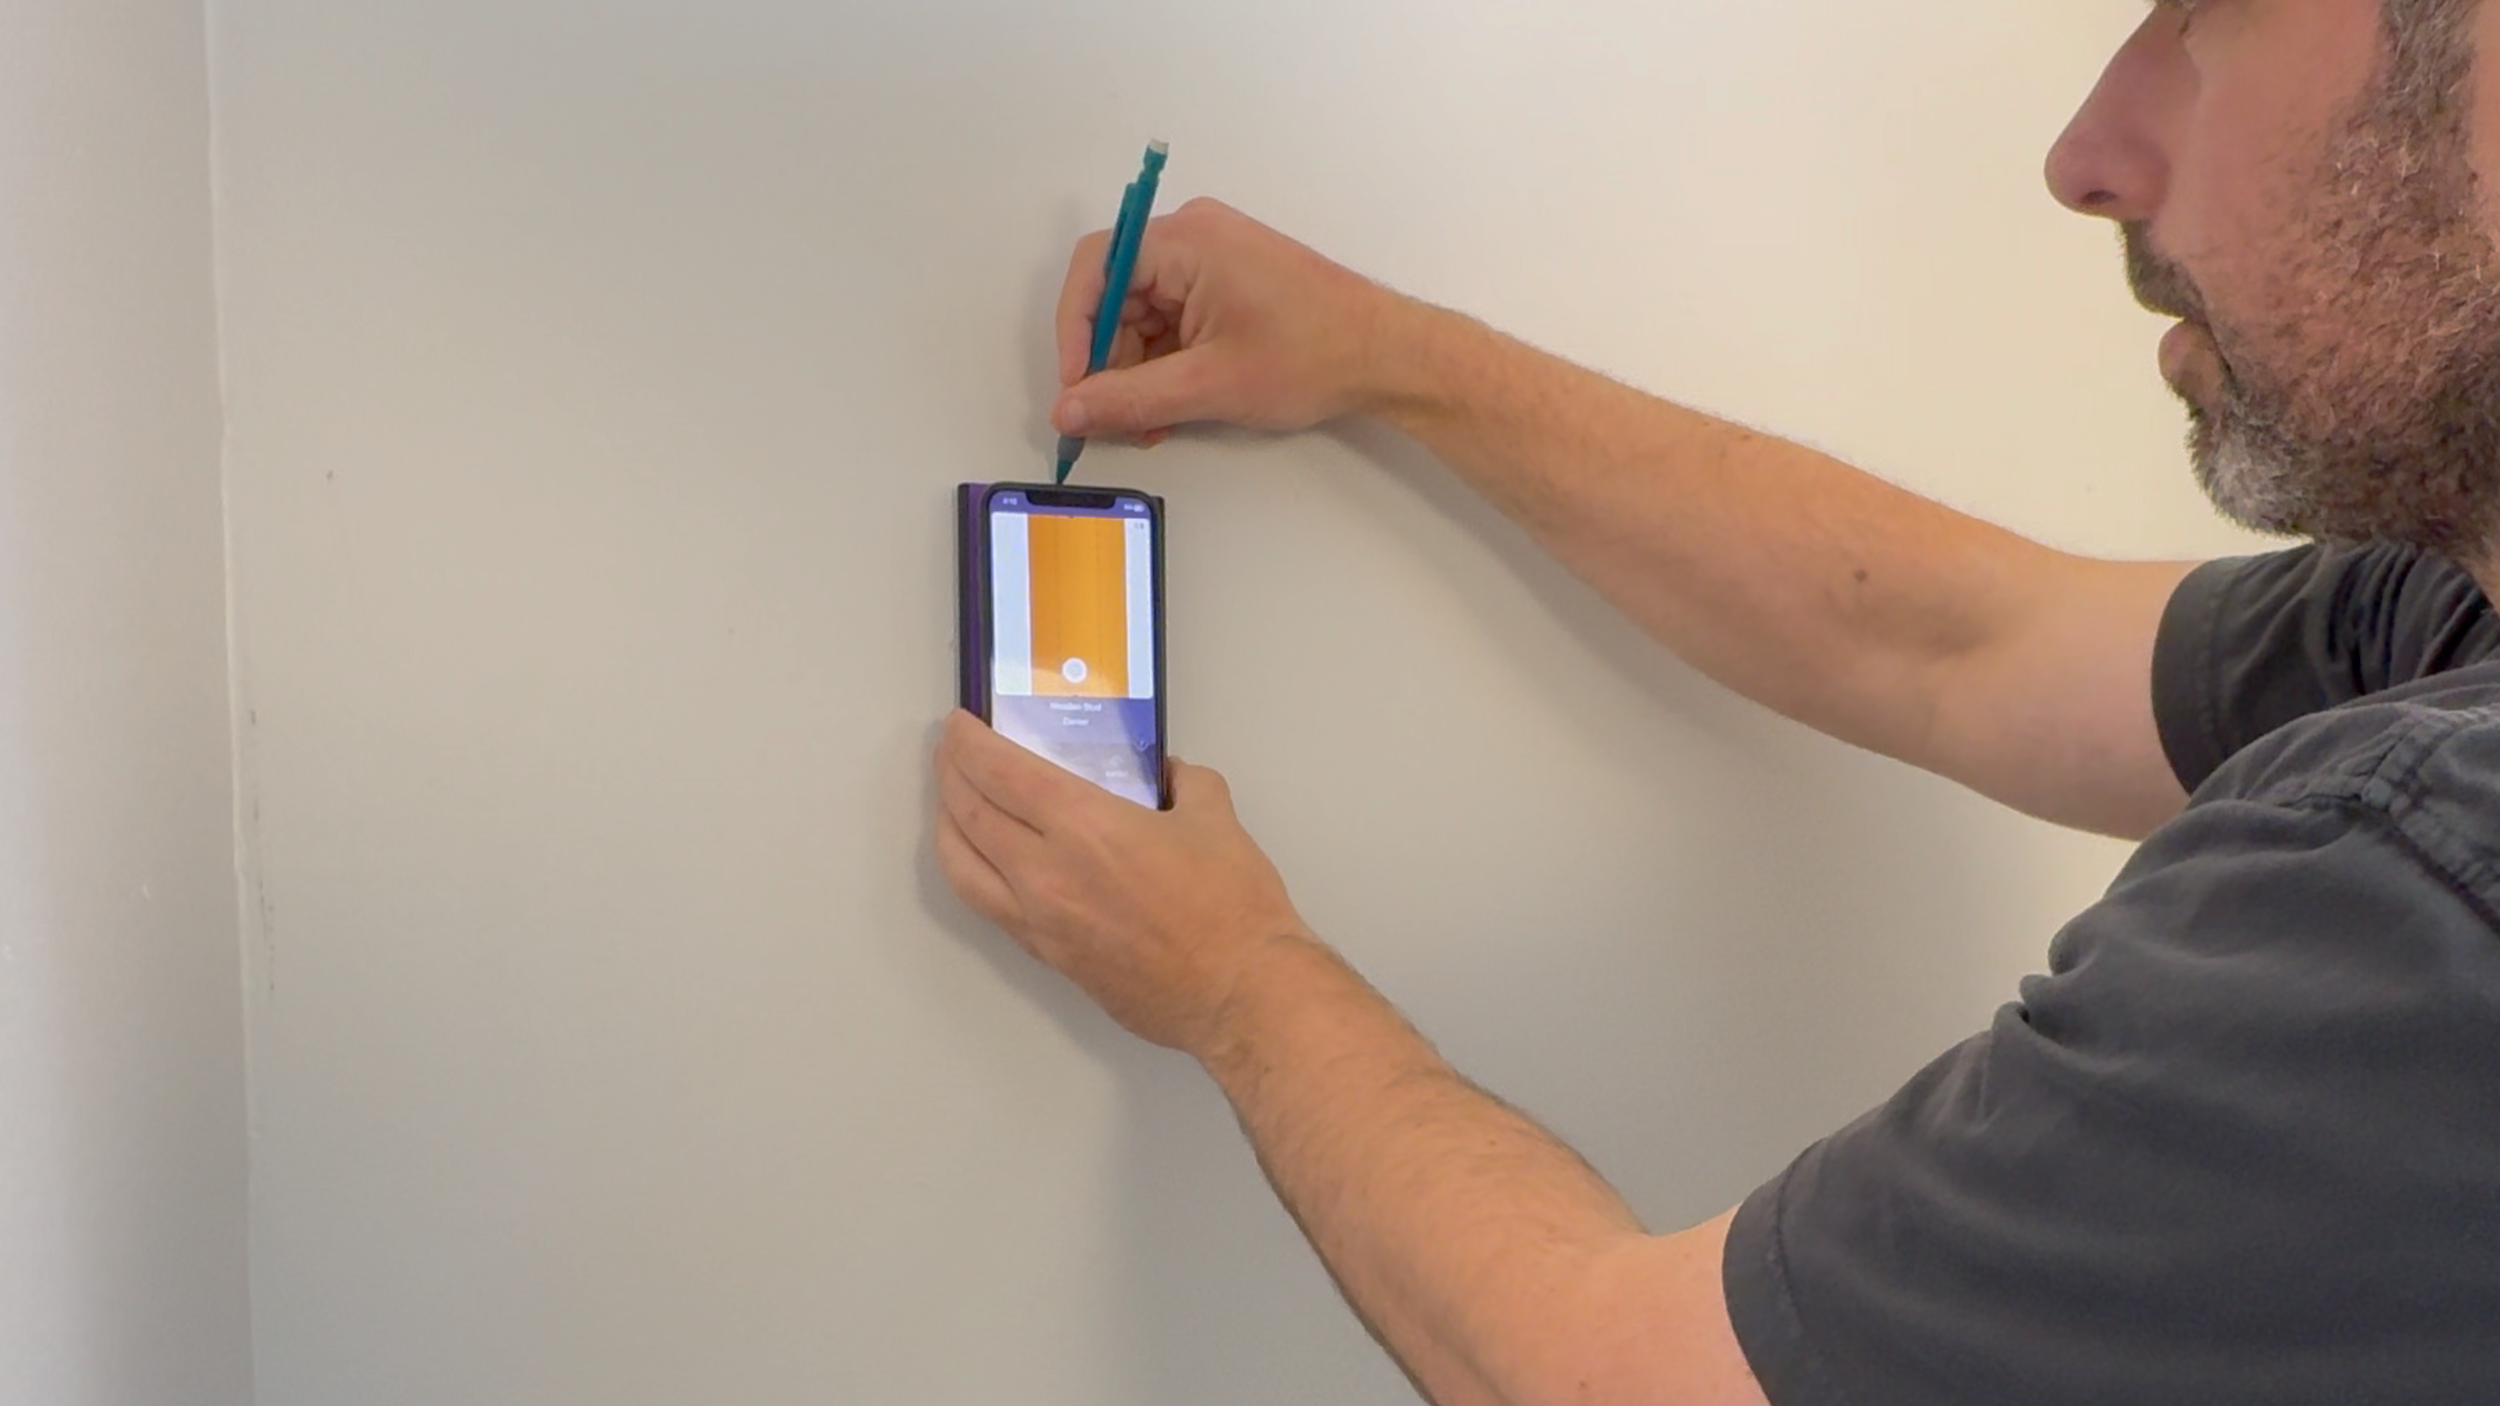
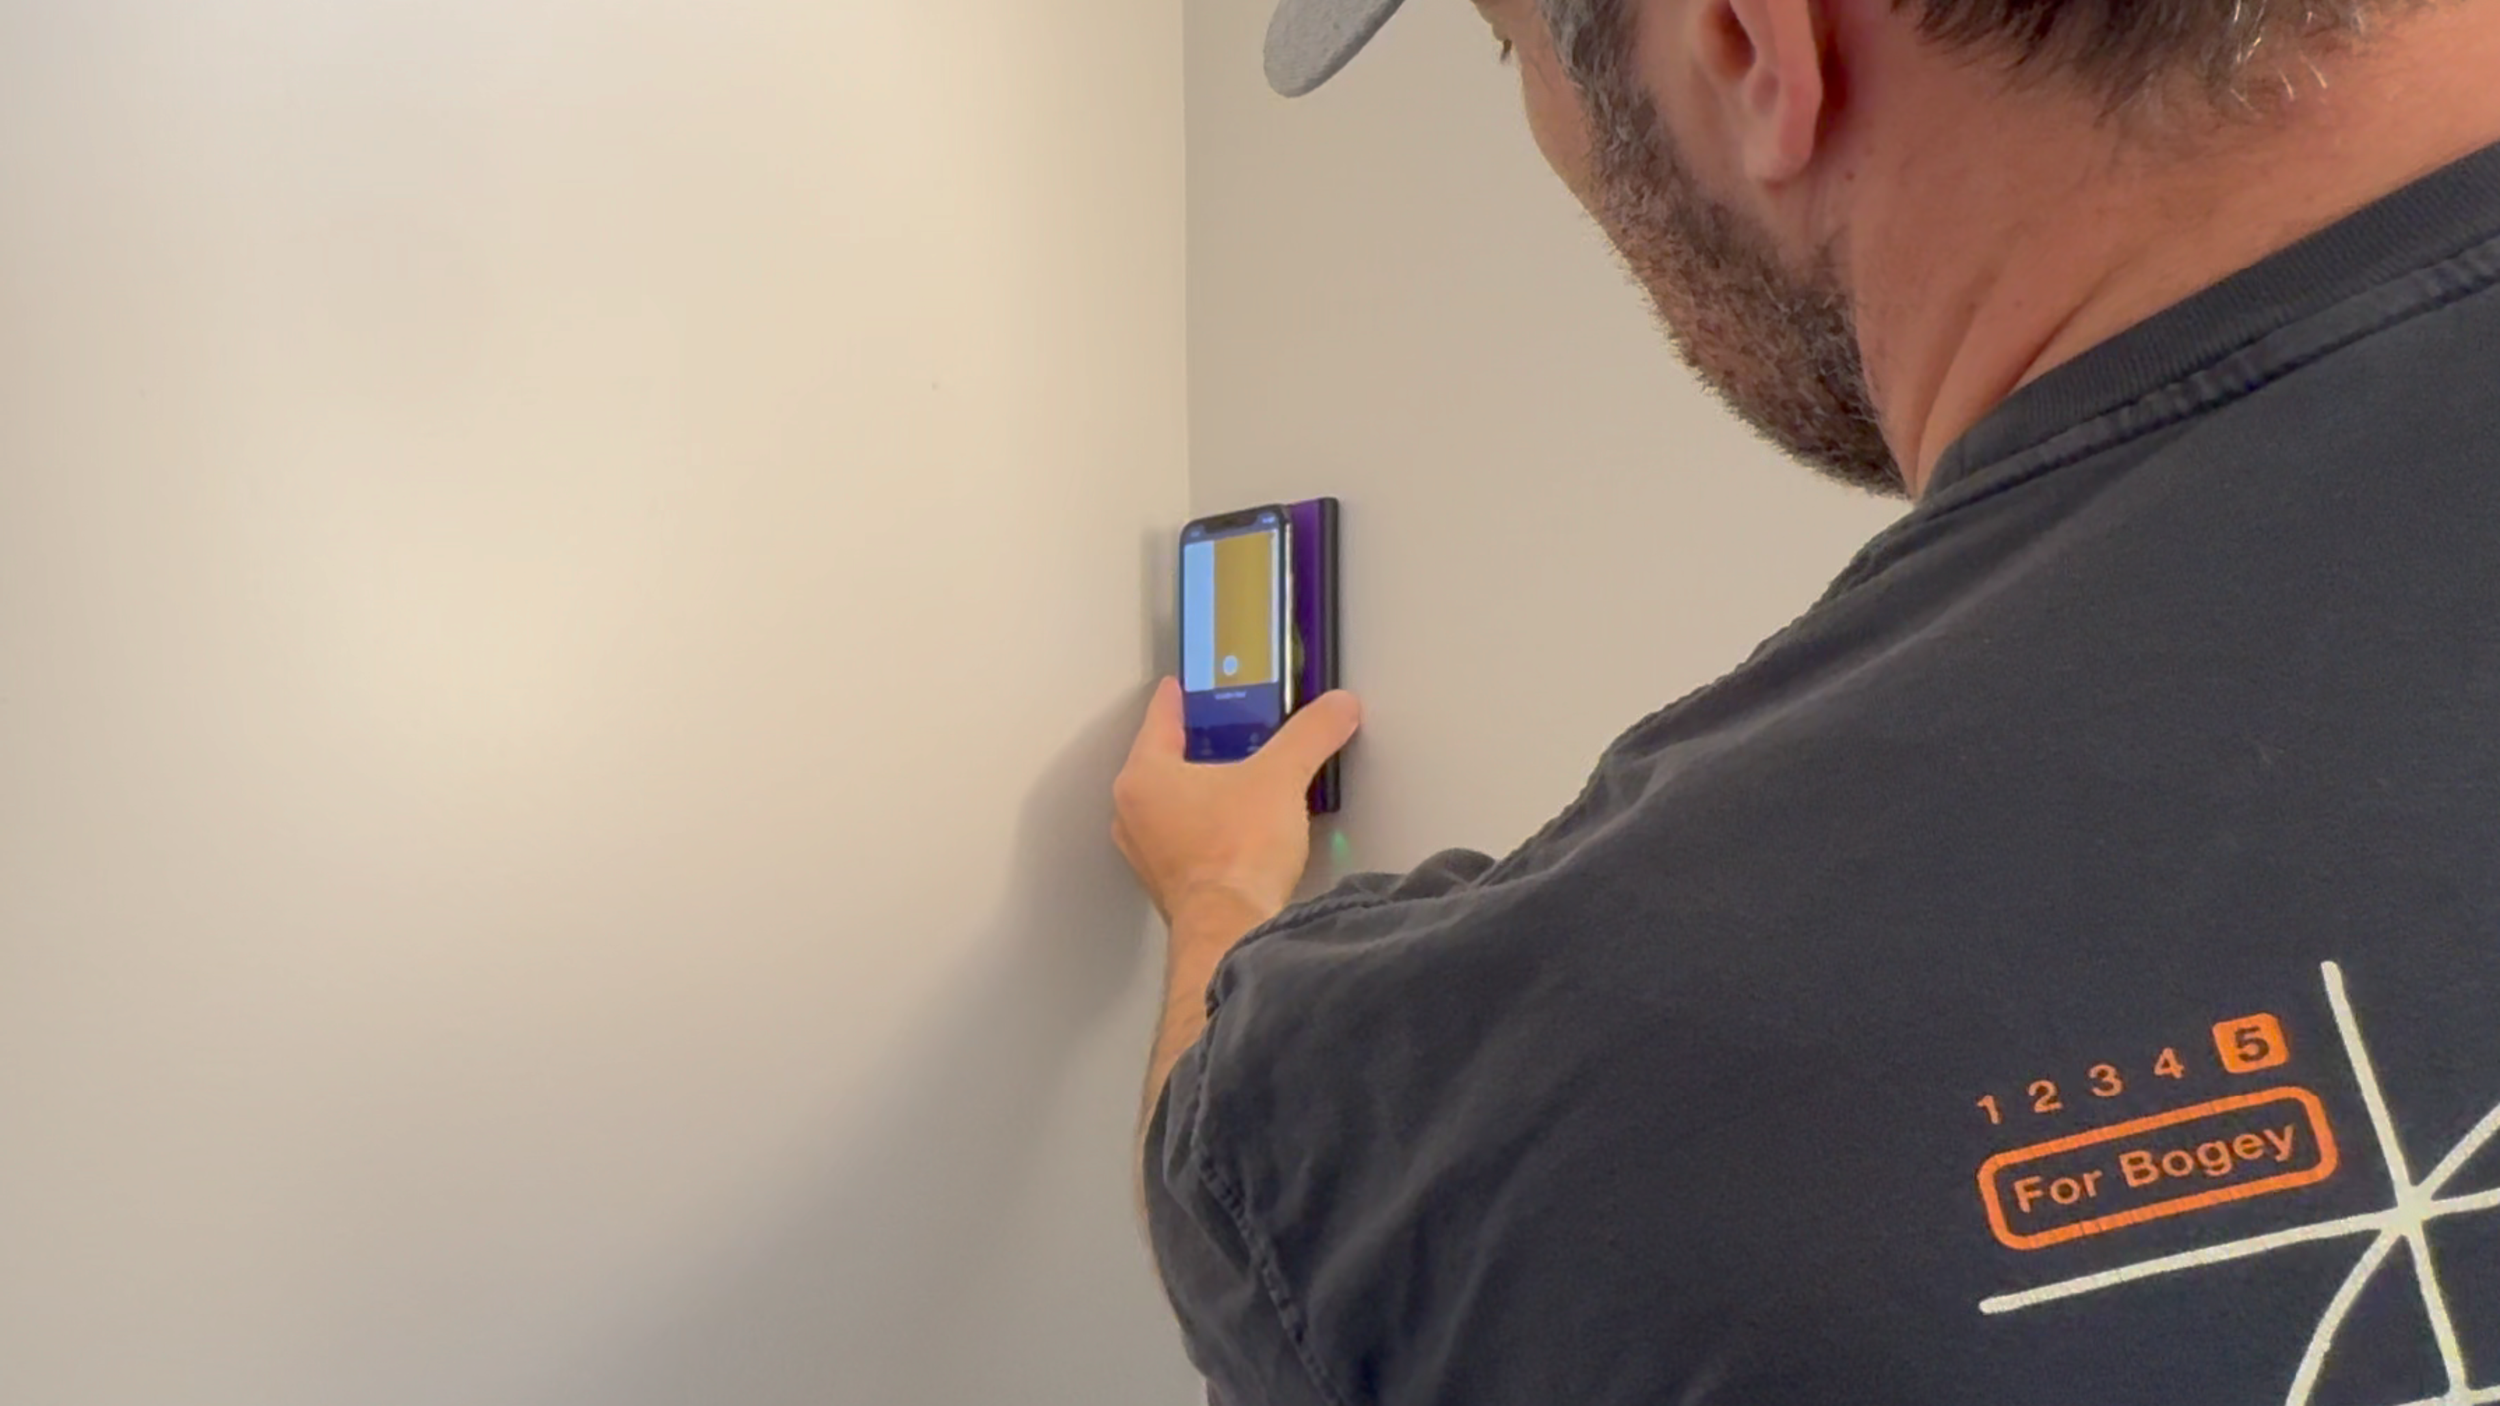
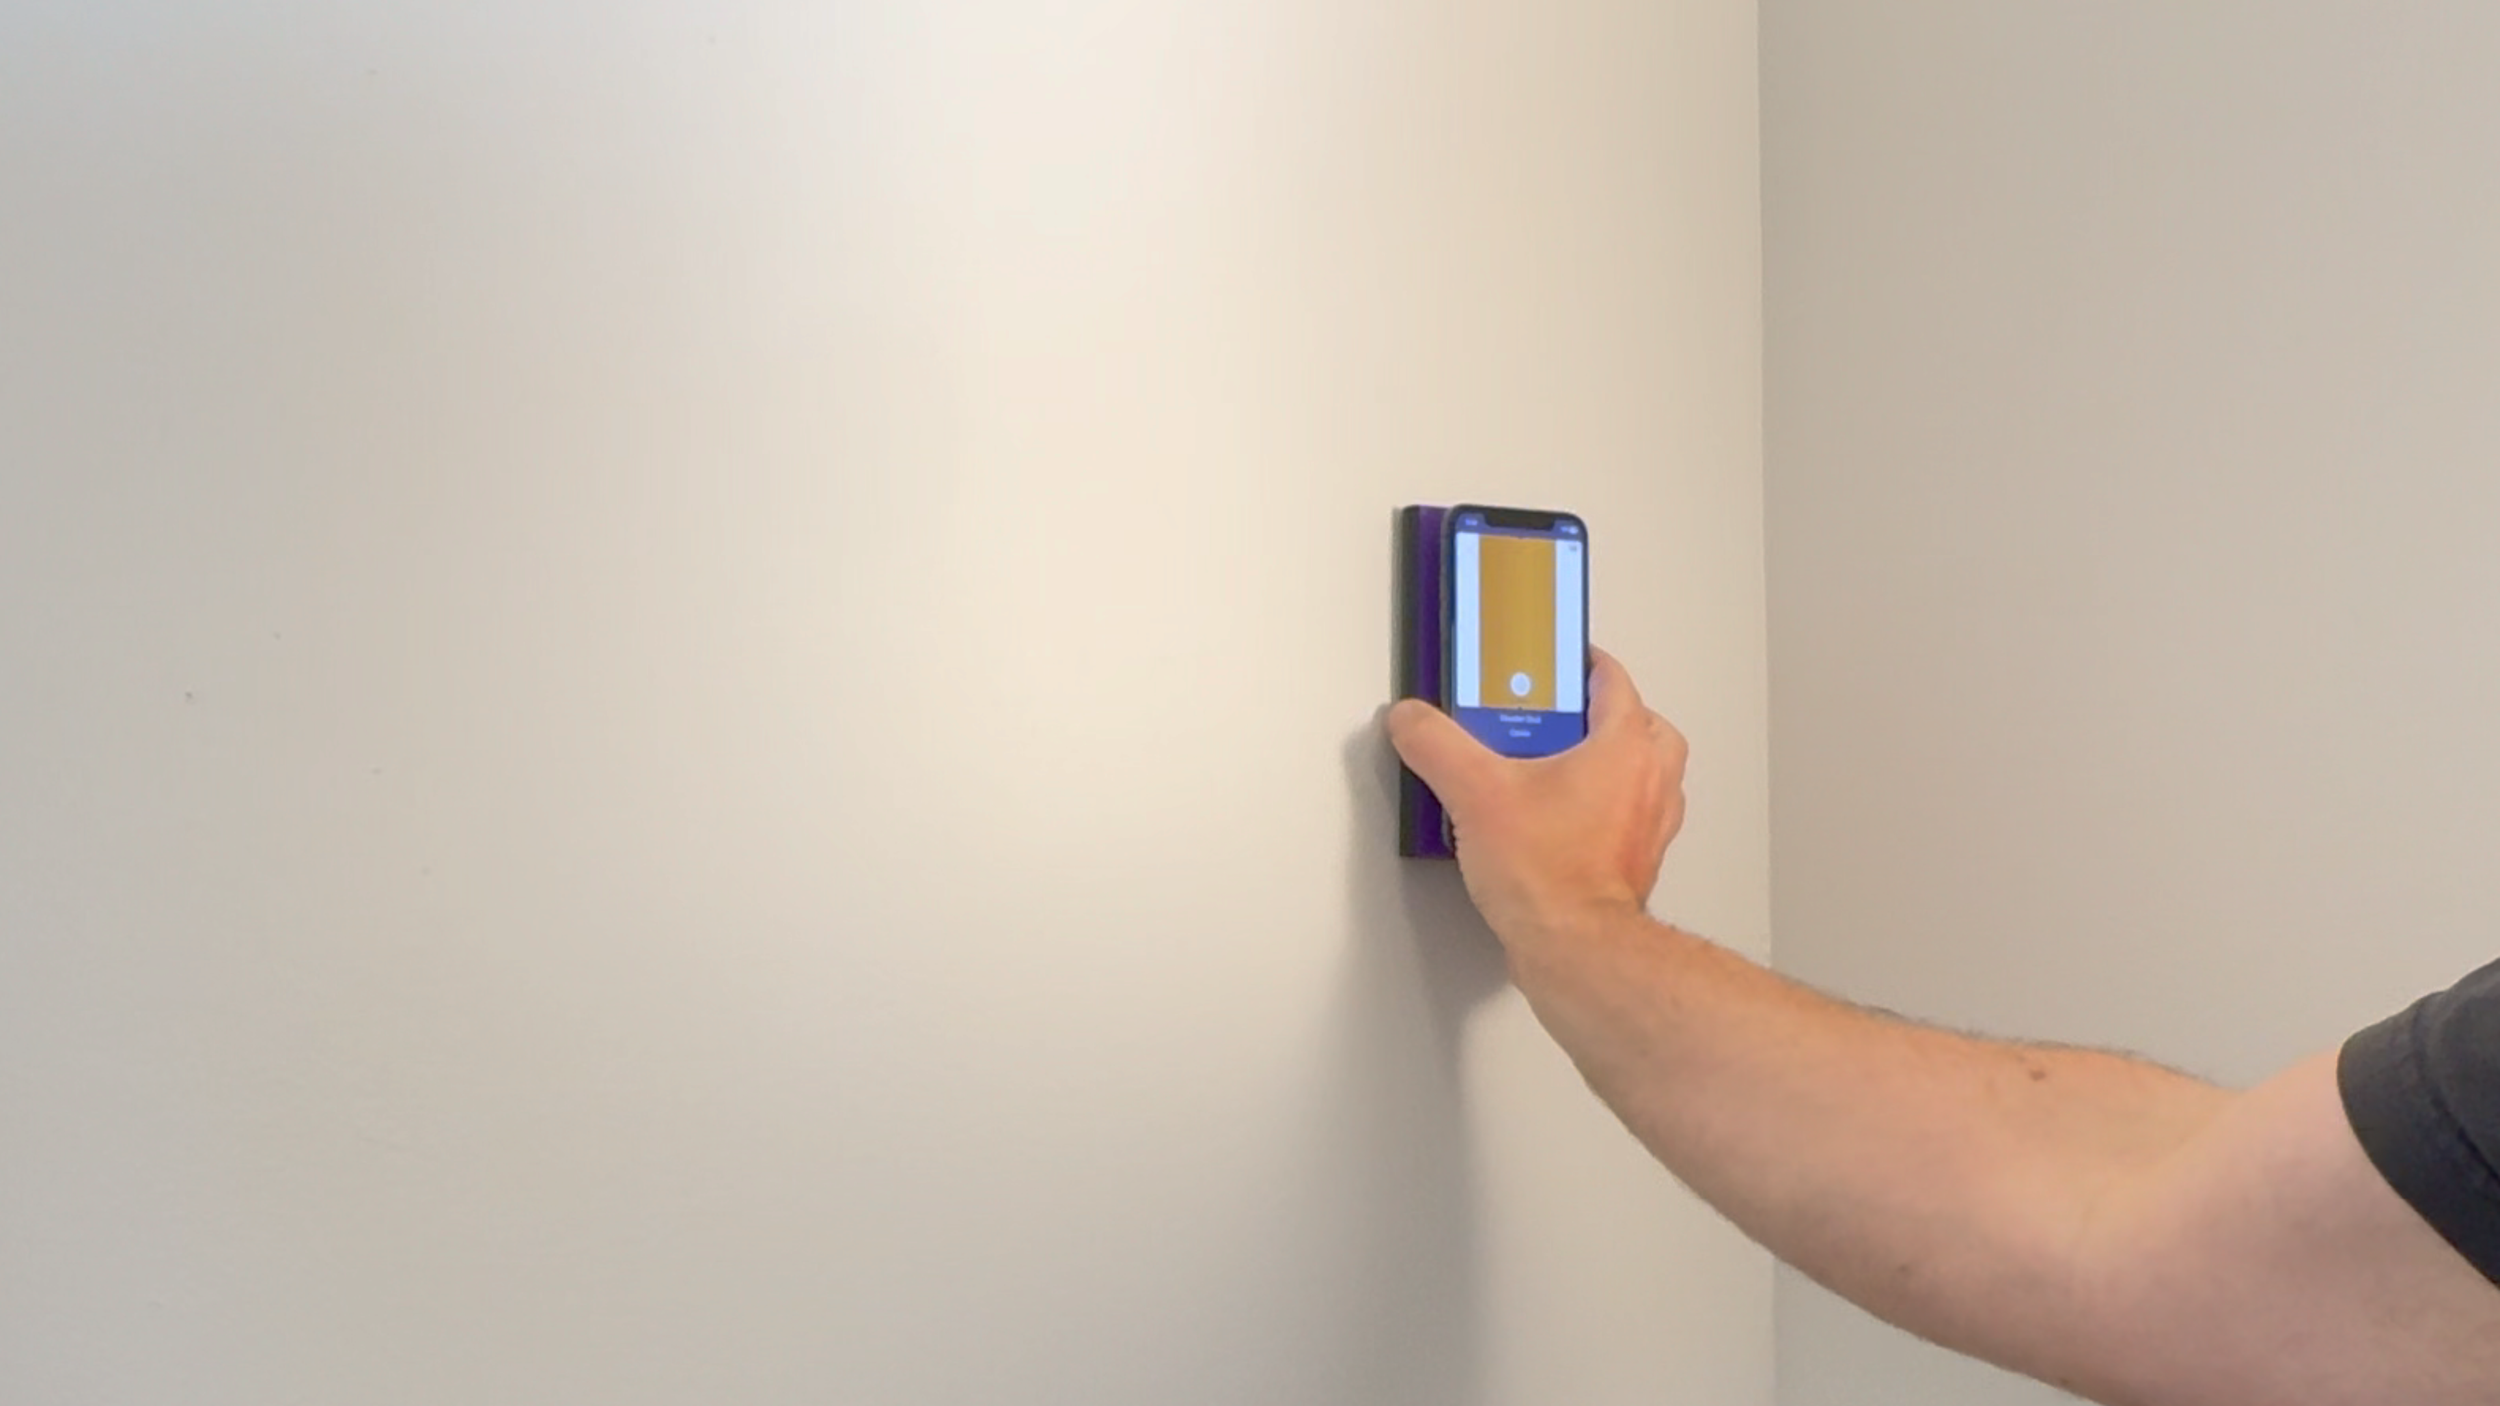
The studs in this bathroom ended up landing in a slightly awkward spot it turns out a previous owner had rearranged the bathroom layout at some point, which explains the odd stud placement relative to the fixtures. I also expected to find a PVC vent stack pipe running up through one section of wall near the sinks, so I switched over to Expert mode to double check. After scanning that section thoroughly, no pipe showed up. The vent probably routes through the wall in a different spot to connect over near the two sinks. I felt confident enough to start drilling.
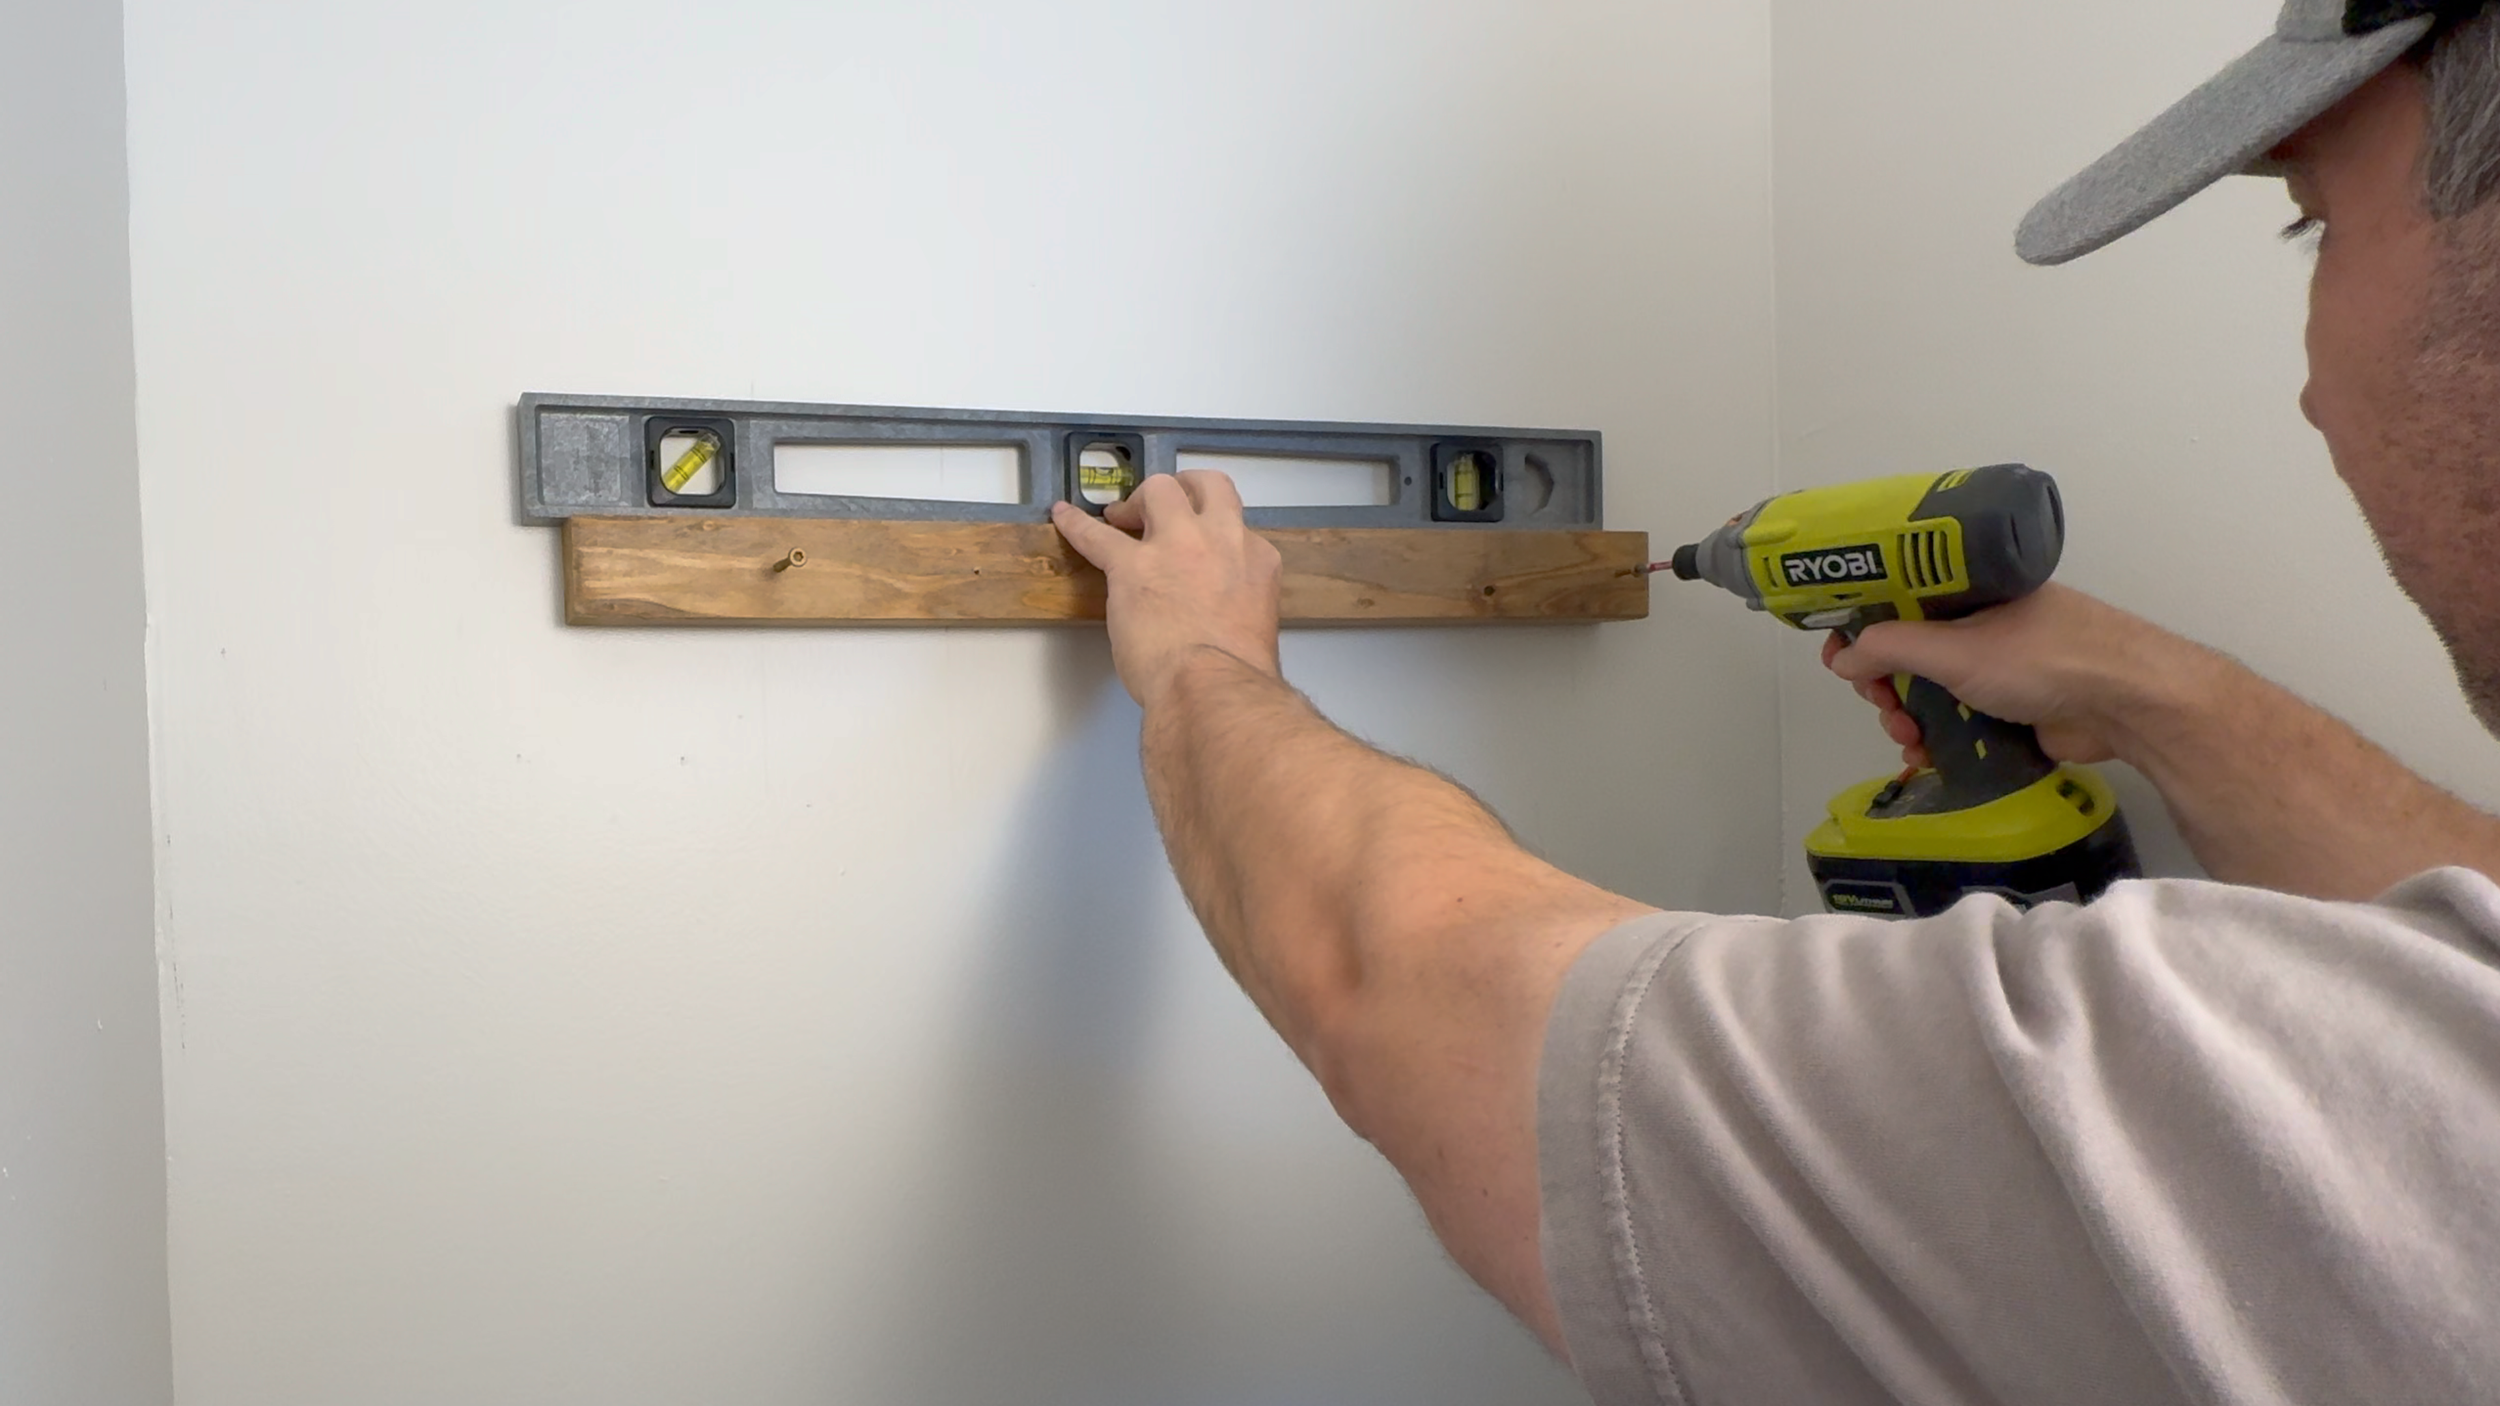
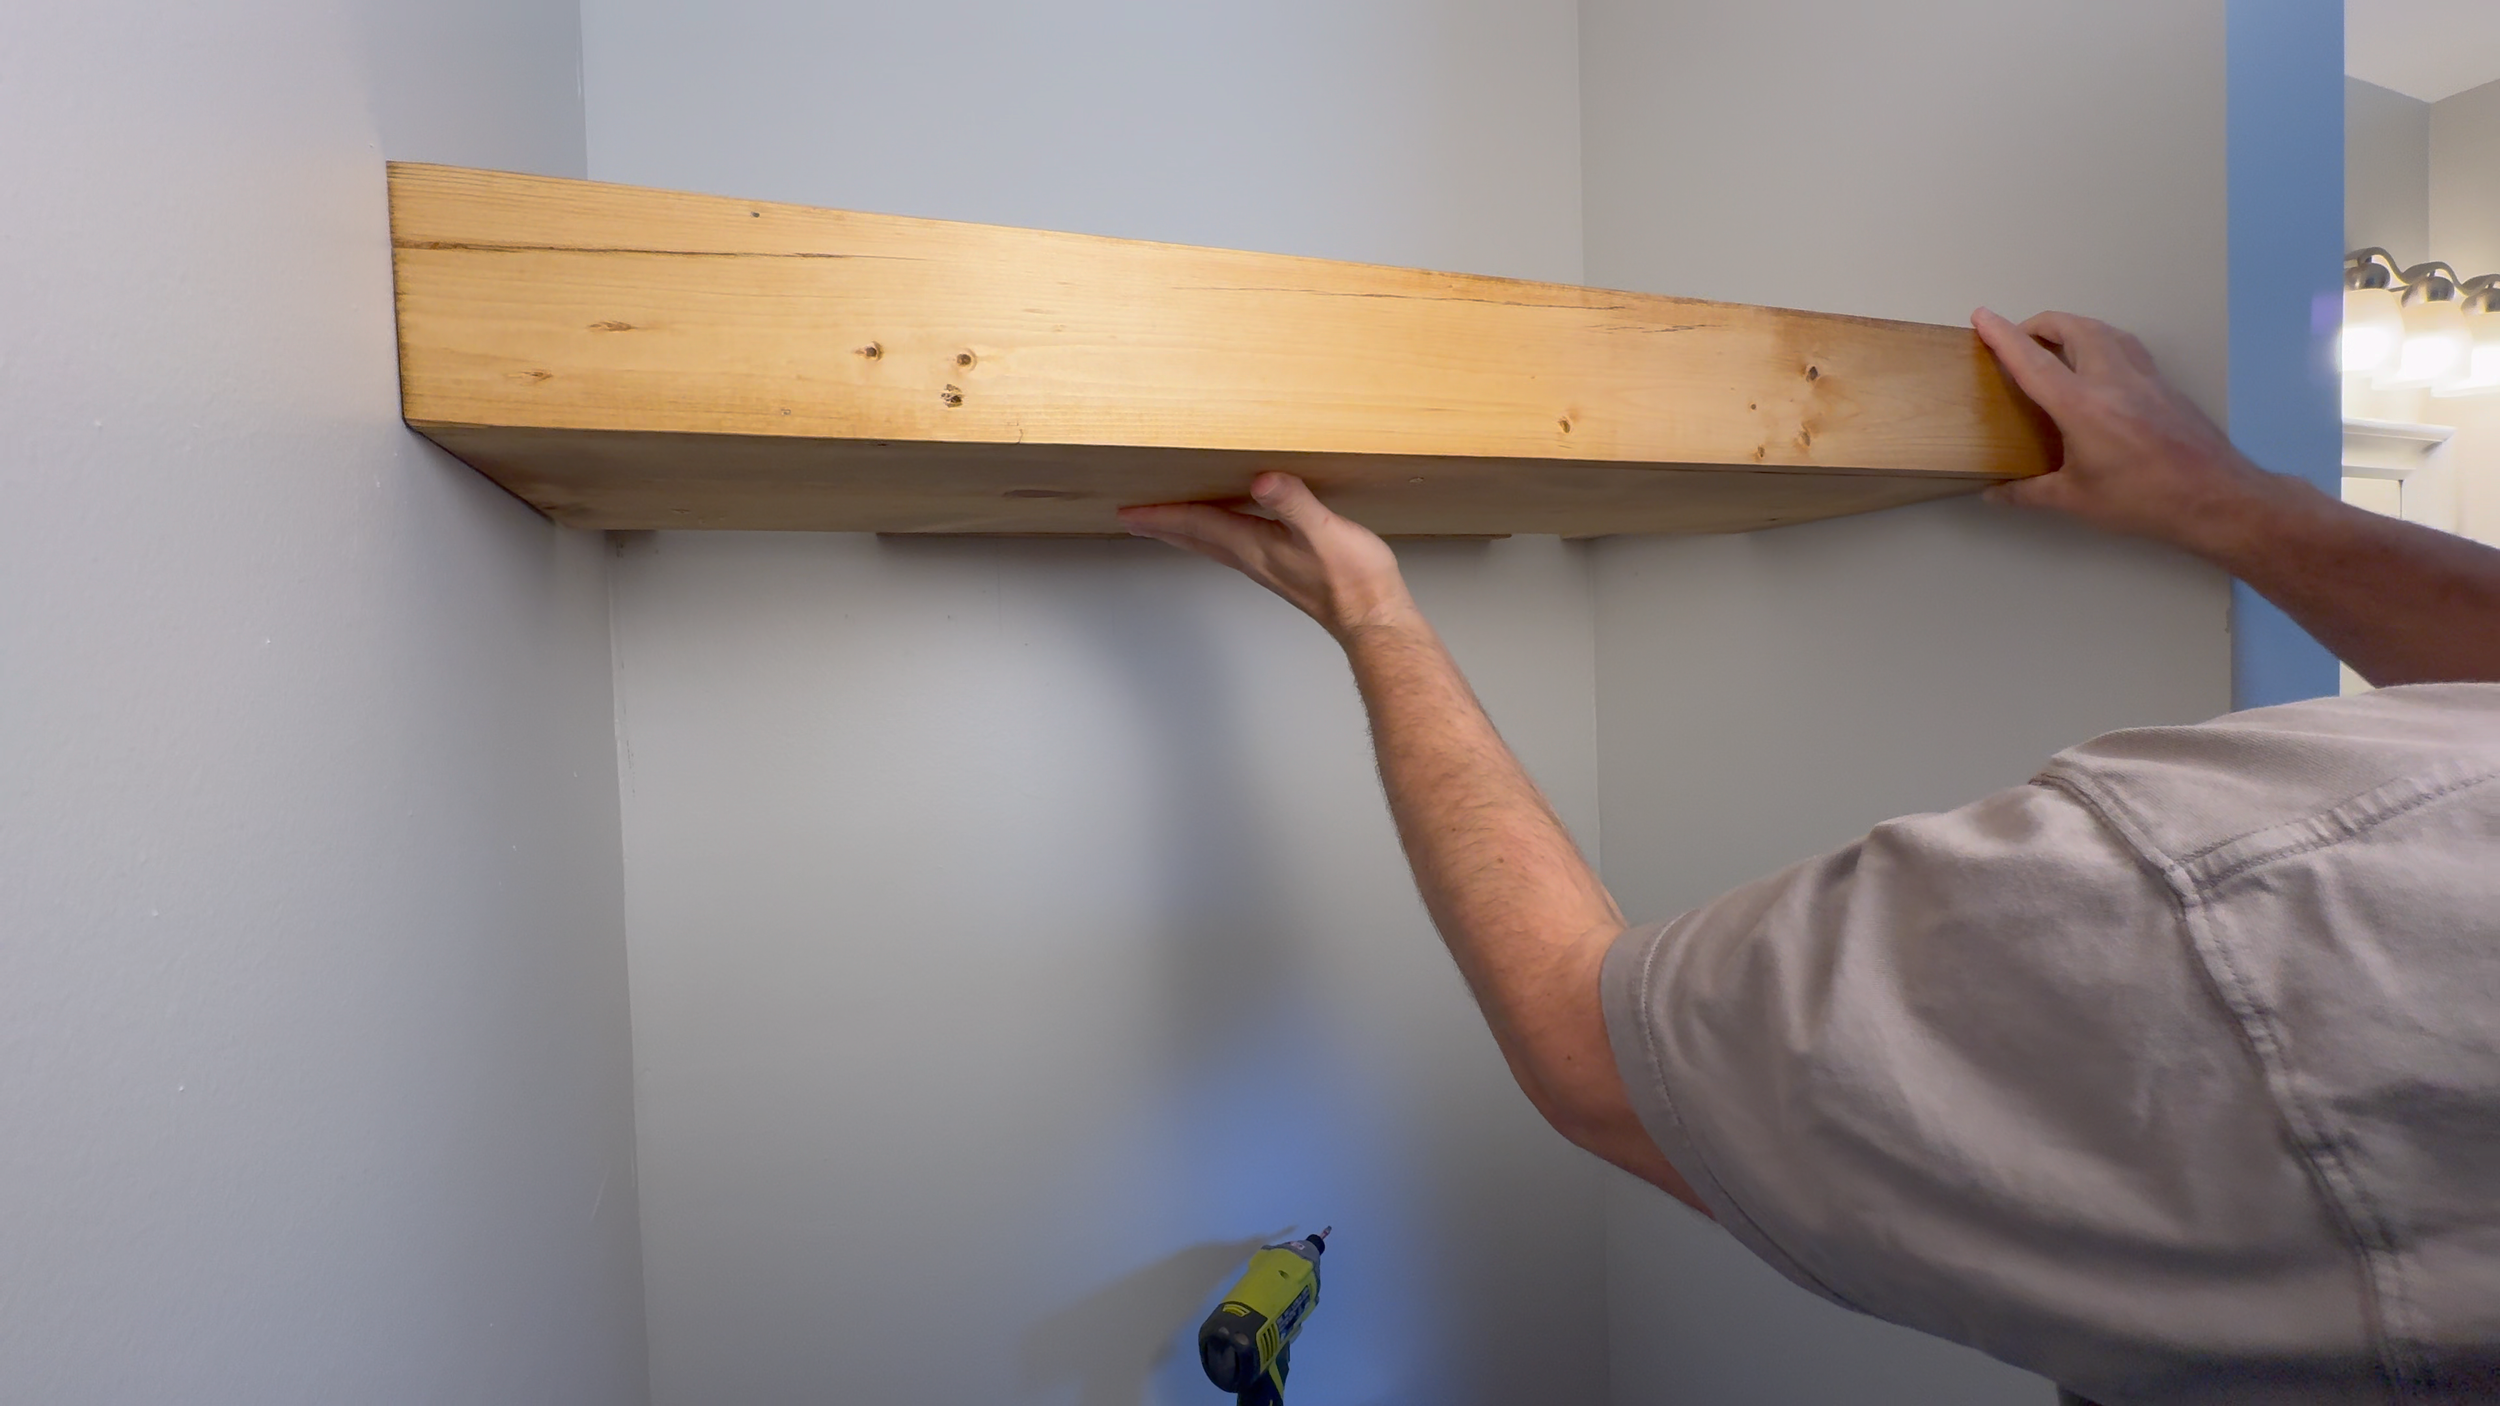
With studs marked and pipes ruled out of the drilling areas, I attached the brackets to the wall and set the shelf in place. The Walabot did exactly what it needed to: it kept me from drilling blind in a room full of plumbing and electrical.
How the Walabot Compares to Other Stud and Wall Scanners:
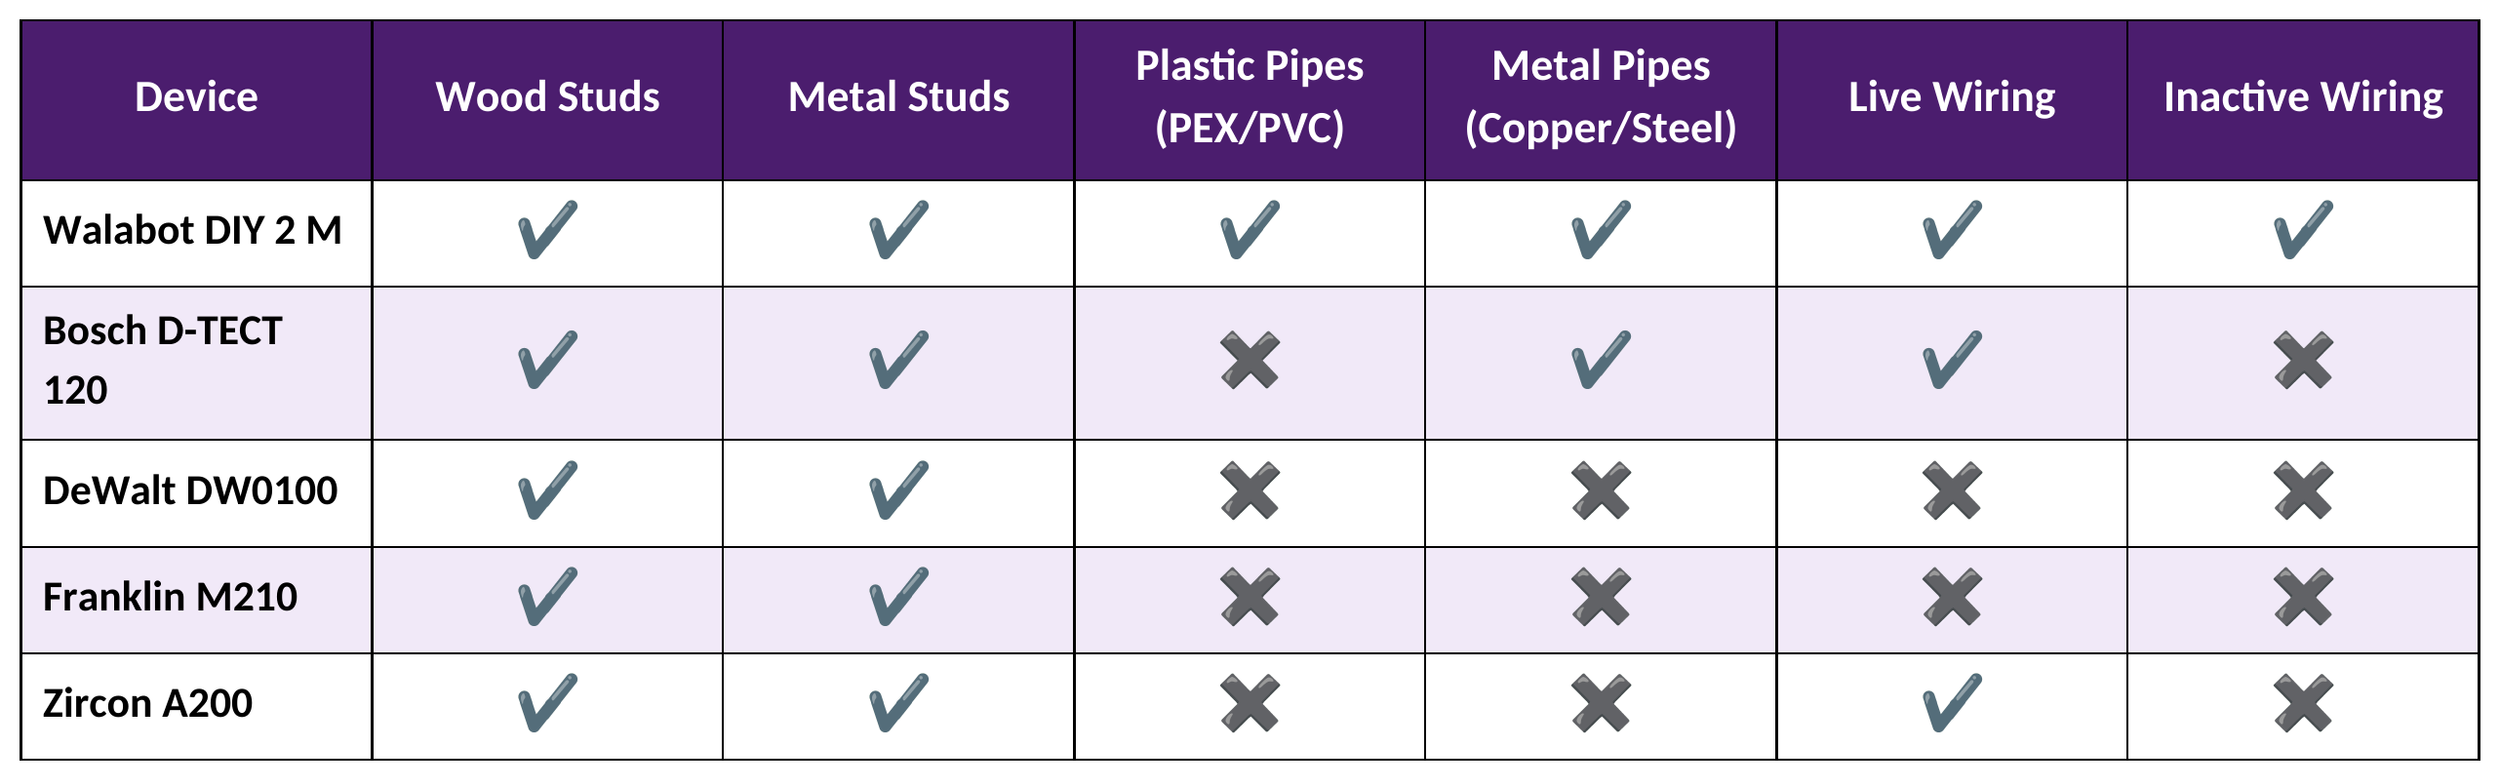
A basic magnetic stud finder or a standard electronic stud finder can get you to a stud, but neither one comes close to covering everything a bathroom wall throws at you, live and dead wiring, copper and PVC pipes, and studs in the same pass. Here's how the Walabot stacks up against other common tools:
A note on this table: most "AC detection" tools only pick up wires that are currently energized, so a wire on a switched-off circuit can slip right past them. Plastic/PVC pipe detection is also rare outside RF imaging tools like the Walabot, since PVC doesn't trigger magnetic or capacitance sensors the way metal does. The Walabot's advantage comes from imaging the object itself, rather than inferring it from one detection method, which is why it's the only device here checking every column.
Why you can’t always trust a regular stud finder…
The Walabot will do exactly what is claims it can do, when used properly. You might think it’s an unnecessary gimmick, but if you’ve spent any time watching construction videos or home inspection videos on social media, you know that things aren’t always done the way they’re supposed to be done. Unless you built the entire house yourself, you never know where there might be an unexpected pipe or wire. Right now, as I write this blog post, I have a hole cut in my living room ceiling. Part of a joist is missing and there is a random wire running at the bottom of another joist, which is not where it’s supposed to be. (NEC states 2 inches from the drywall) The hole has been there for a while because we need to replace a tub and haven’t got around to it. This was before I had the Walabot. I wish I had it before I cut the hole, because I almost nicked that wire.
Before I moved in, I widened a doorway. I removed about 3 feet of wall and nothing made sense when I took the drywall off. There was an unknown heavy gauge wire and I ended up calling an electrician. He had no clue why it was there and I didn’t want to pay him to find out. We also found out the upstairs primary bathroom is wired to the garage door opener outlet. (The bathoom isn’t even over, or next to, the garage. The garage is in the front of the house and the bathroom is at the rear.) There are two lights and three other outlets wired to a different circuit. This doesn’t make any sense. It was a fun time, one morning, trying to figure out why the garage door wouldn’t open, only to find out it was because the GFCI outlet in the bathroom had tripped…it was also wired to one kitchen outlet, but that was fixed when I remodeled my kitchen.
It might seem costly, but it’s much less than the cost of an electrician or a plumber. Plus, once I started using it, I wanted to find more reasons to use it.
*but I was planning to write this post anyway
Latest Projects



Woodworking Blog




Installing floating shelves in a bathroom can be risky when you don't know what's hiding behind the drywall. I tested the Walabot DIY 2 M by scanning for studs, electrical wiring, and plumbing before drilling, and the results changed my mind about wall scanners.