
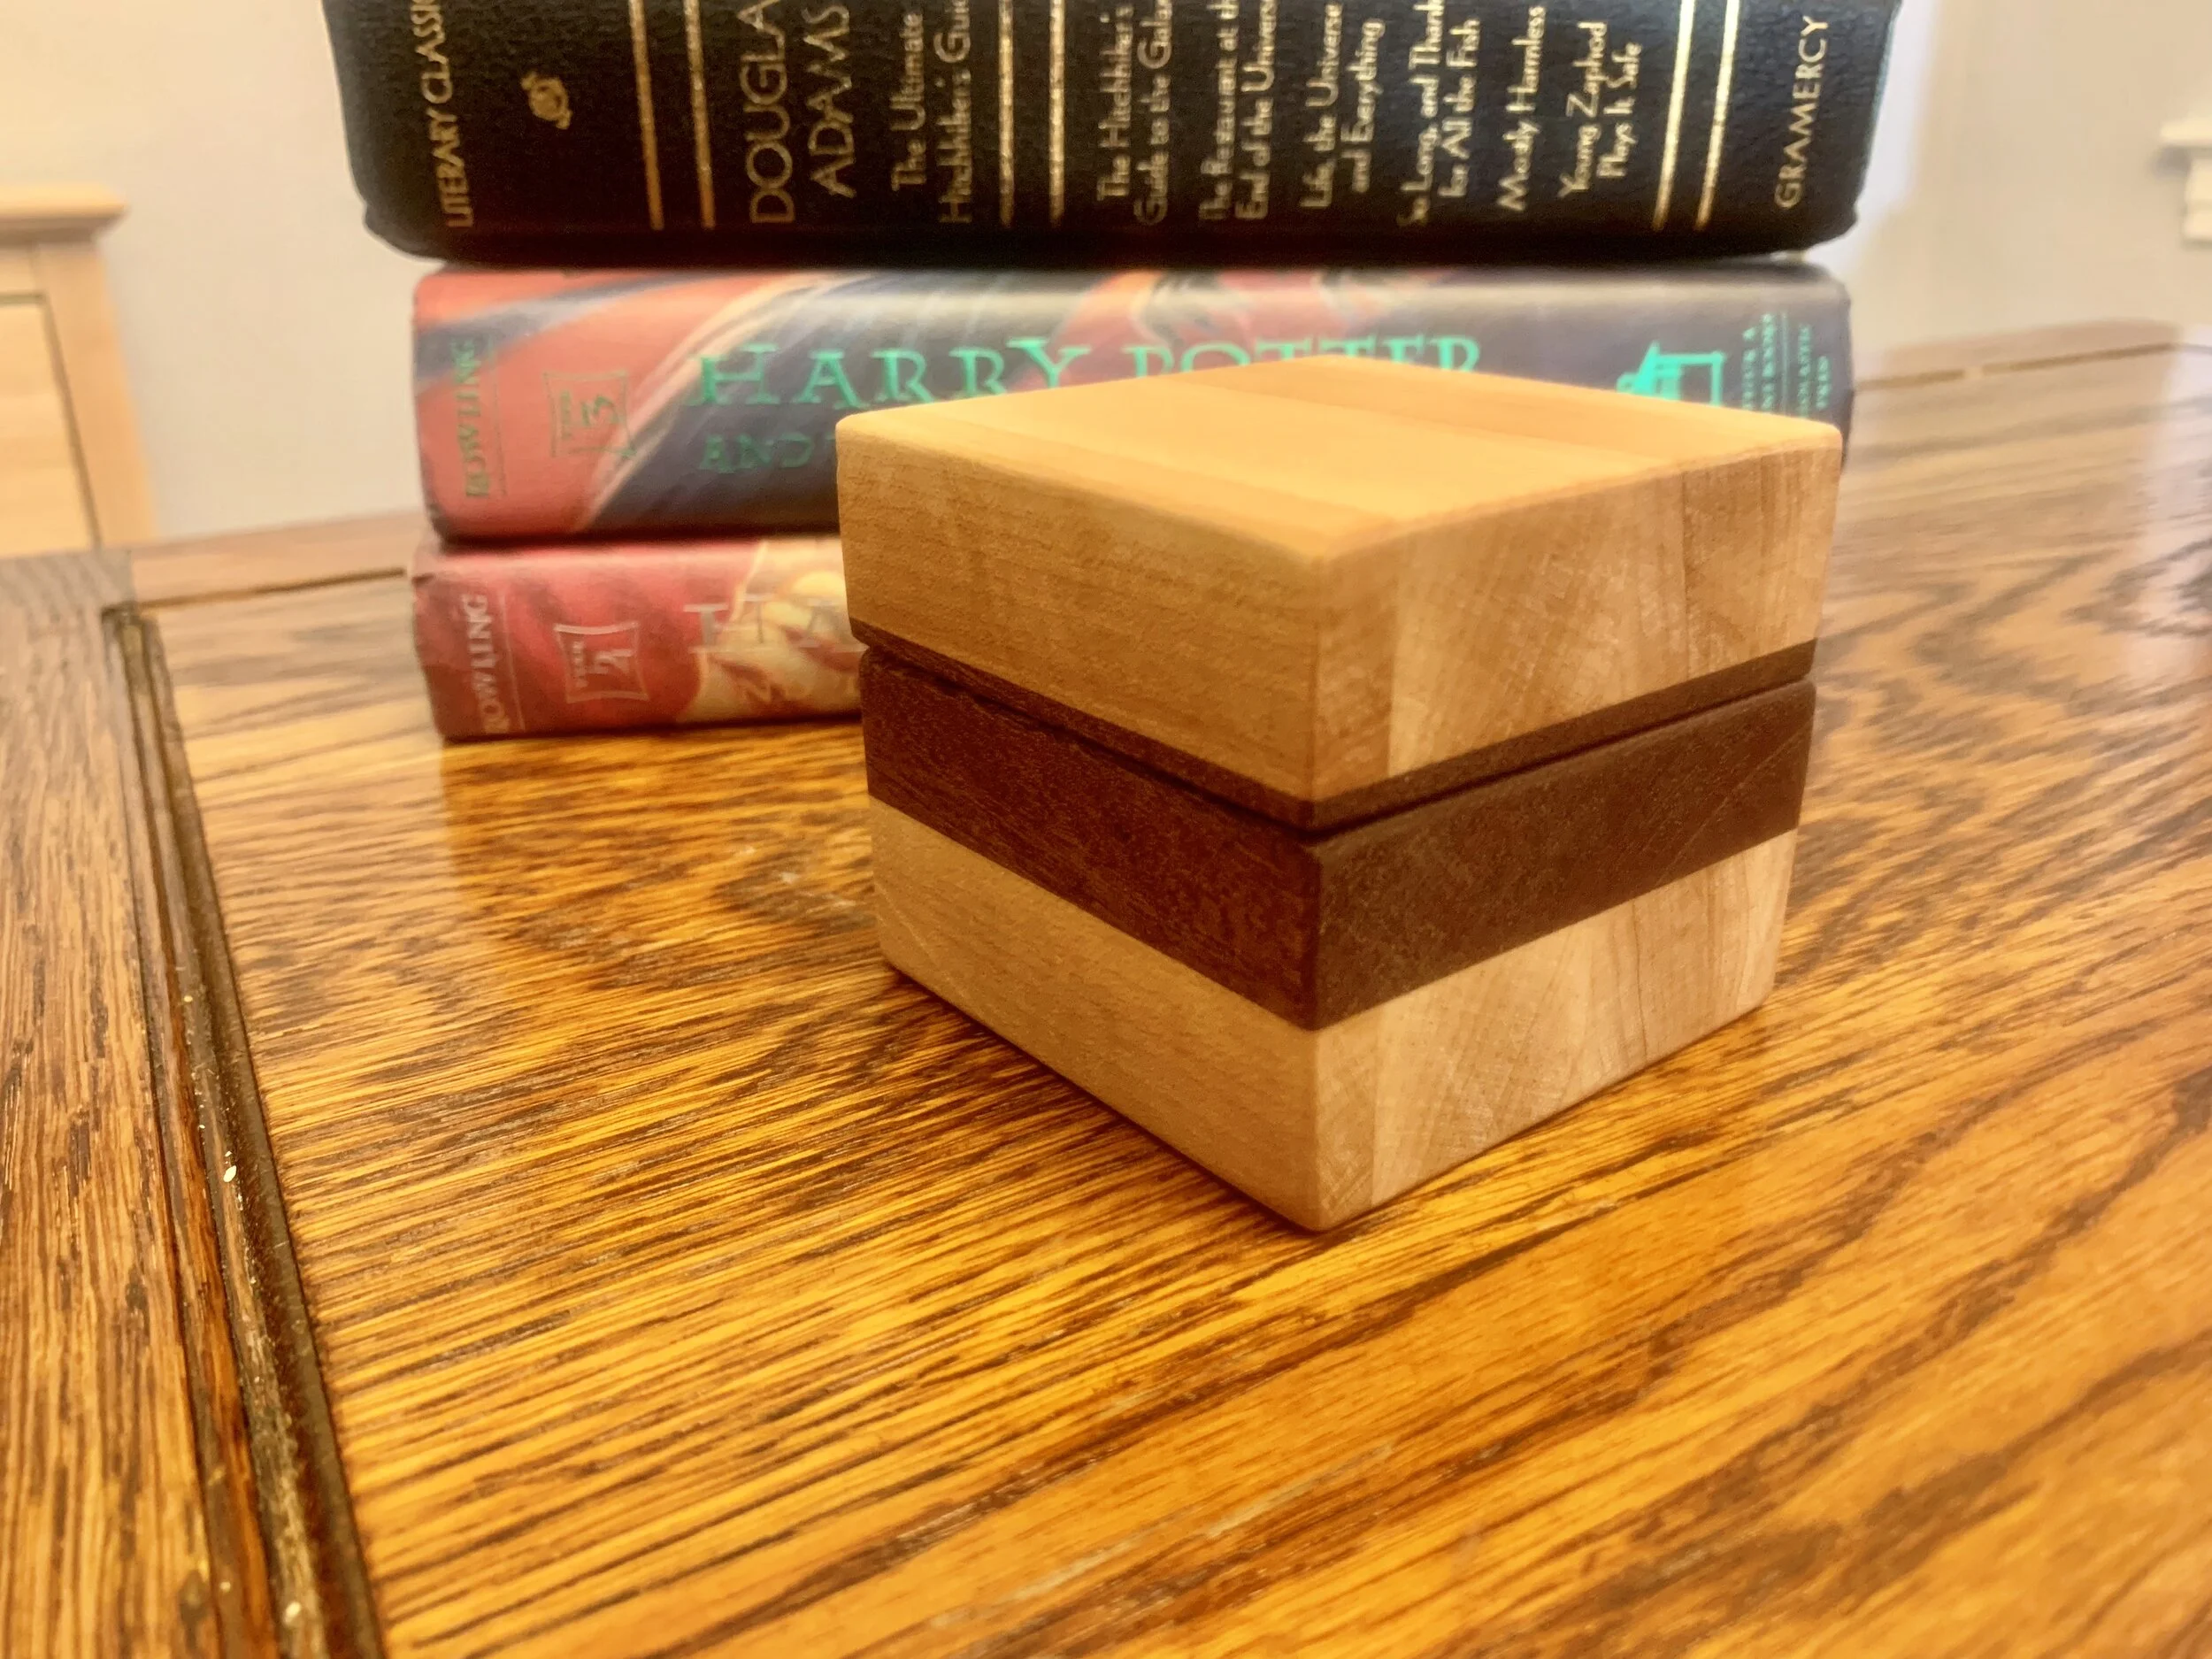
How to Make a Ring Box w/ Magnetic Top

Several months ago I decided I was going to keep my wedding ring in a different location. I normally wear a silicone wedding band instead of my actual ring. When I went to wear my real ring one day I couldn't remember where it was....Fast forward to a few weeks ago when I found it. That led to my wife telling me I need to build a box to keep it in. So I'll show you how I did it.
Materials:
Hardwood of your choosing - this box is approximately 3”x3”x3”
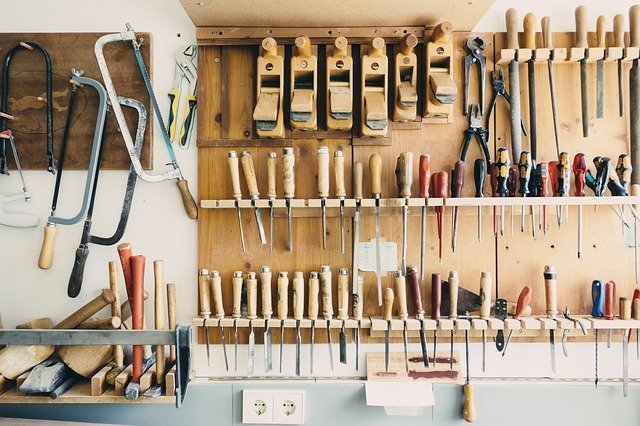
Tools:
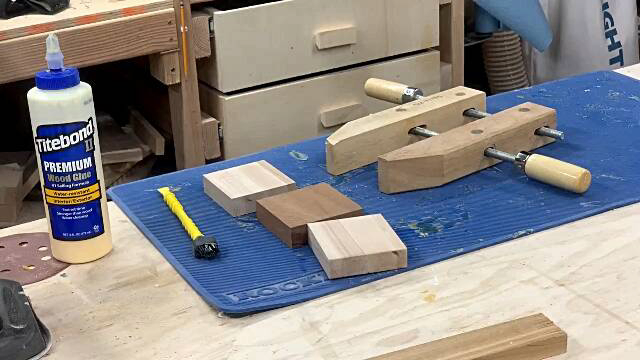
I had some scrap maple and Sapele and ripped all the boards down to the same width. Then I cross cut them into a square.
Next, I glued the three pieces together sandwiching the sapele between the maple. I initially used the hand screw clamp to clamp the 3 pieces in an attempt to prevent them from slipping. Then I added the F style clamps.
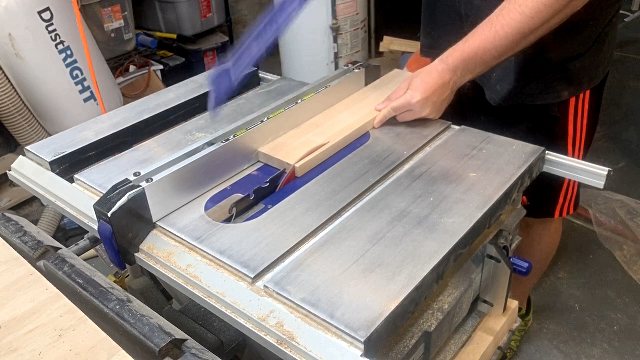
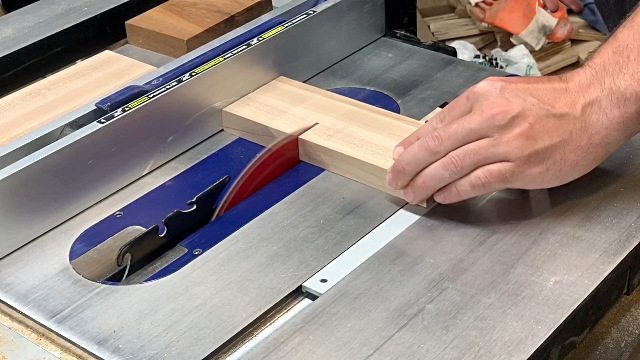
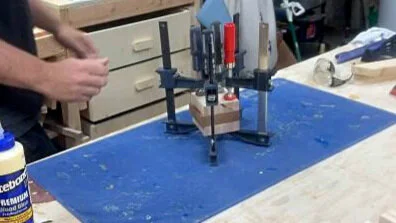
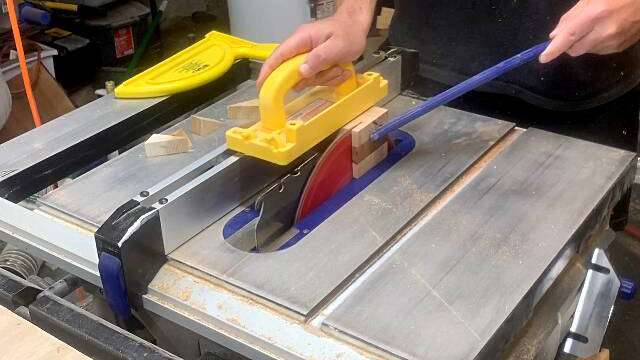
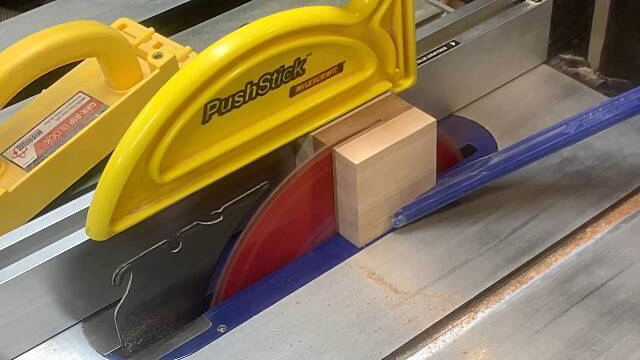
I let it dry over night and came back the next day to remove the clamps. Then I took it back over to the table saw...With the blade very high, I squared up each side in probably the most dangerous way possible. I tried to be smarter about it with the next side.
Finally it was time to cut it into two piece to make the top and bottom. Doing it the safest way I could think of, I left a small section of Sepele on the top. I thought it would look better this way.
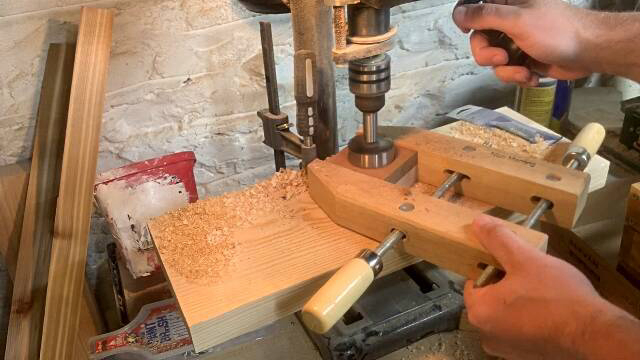
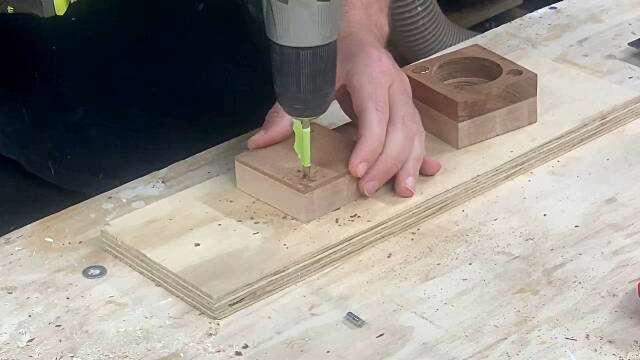
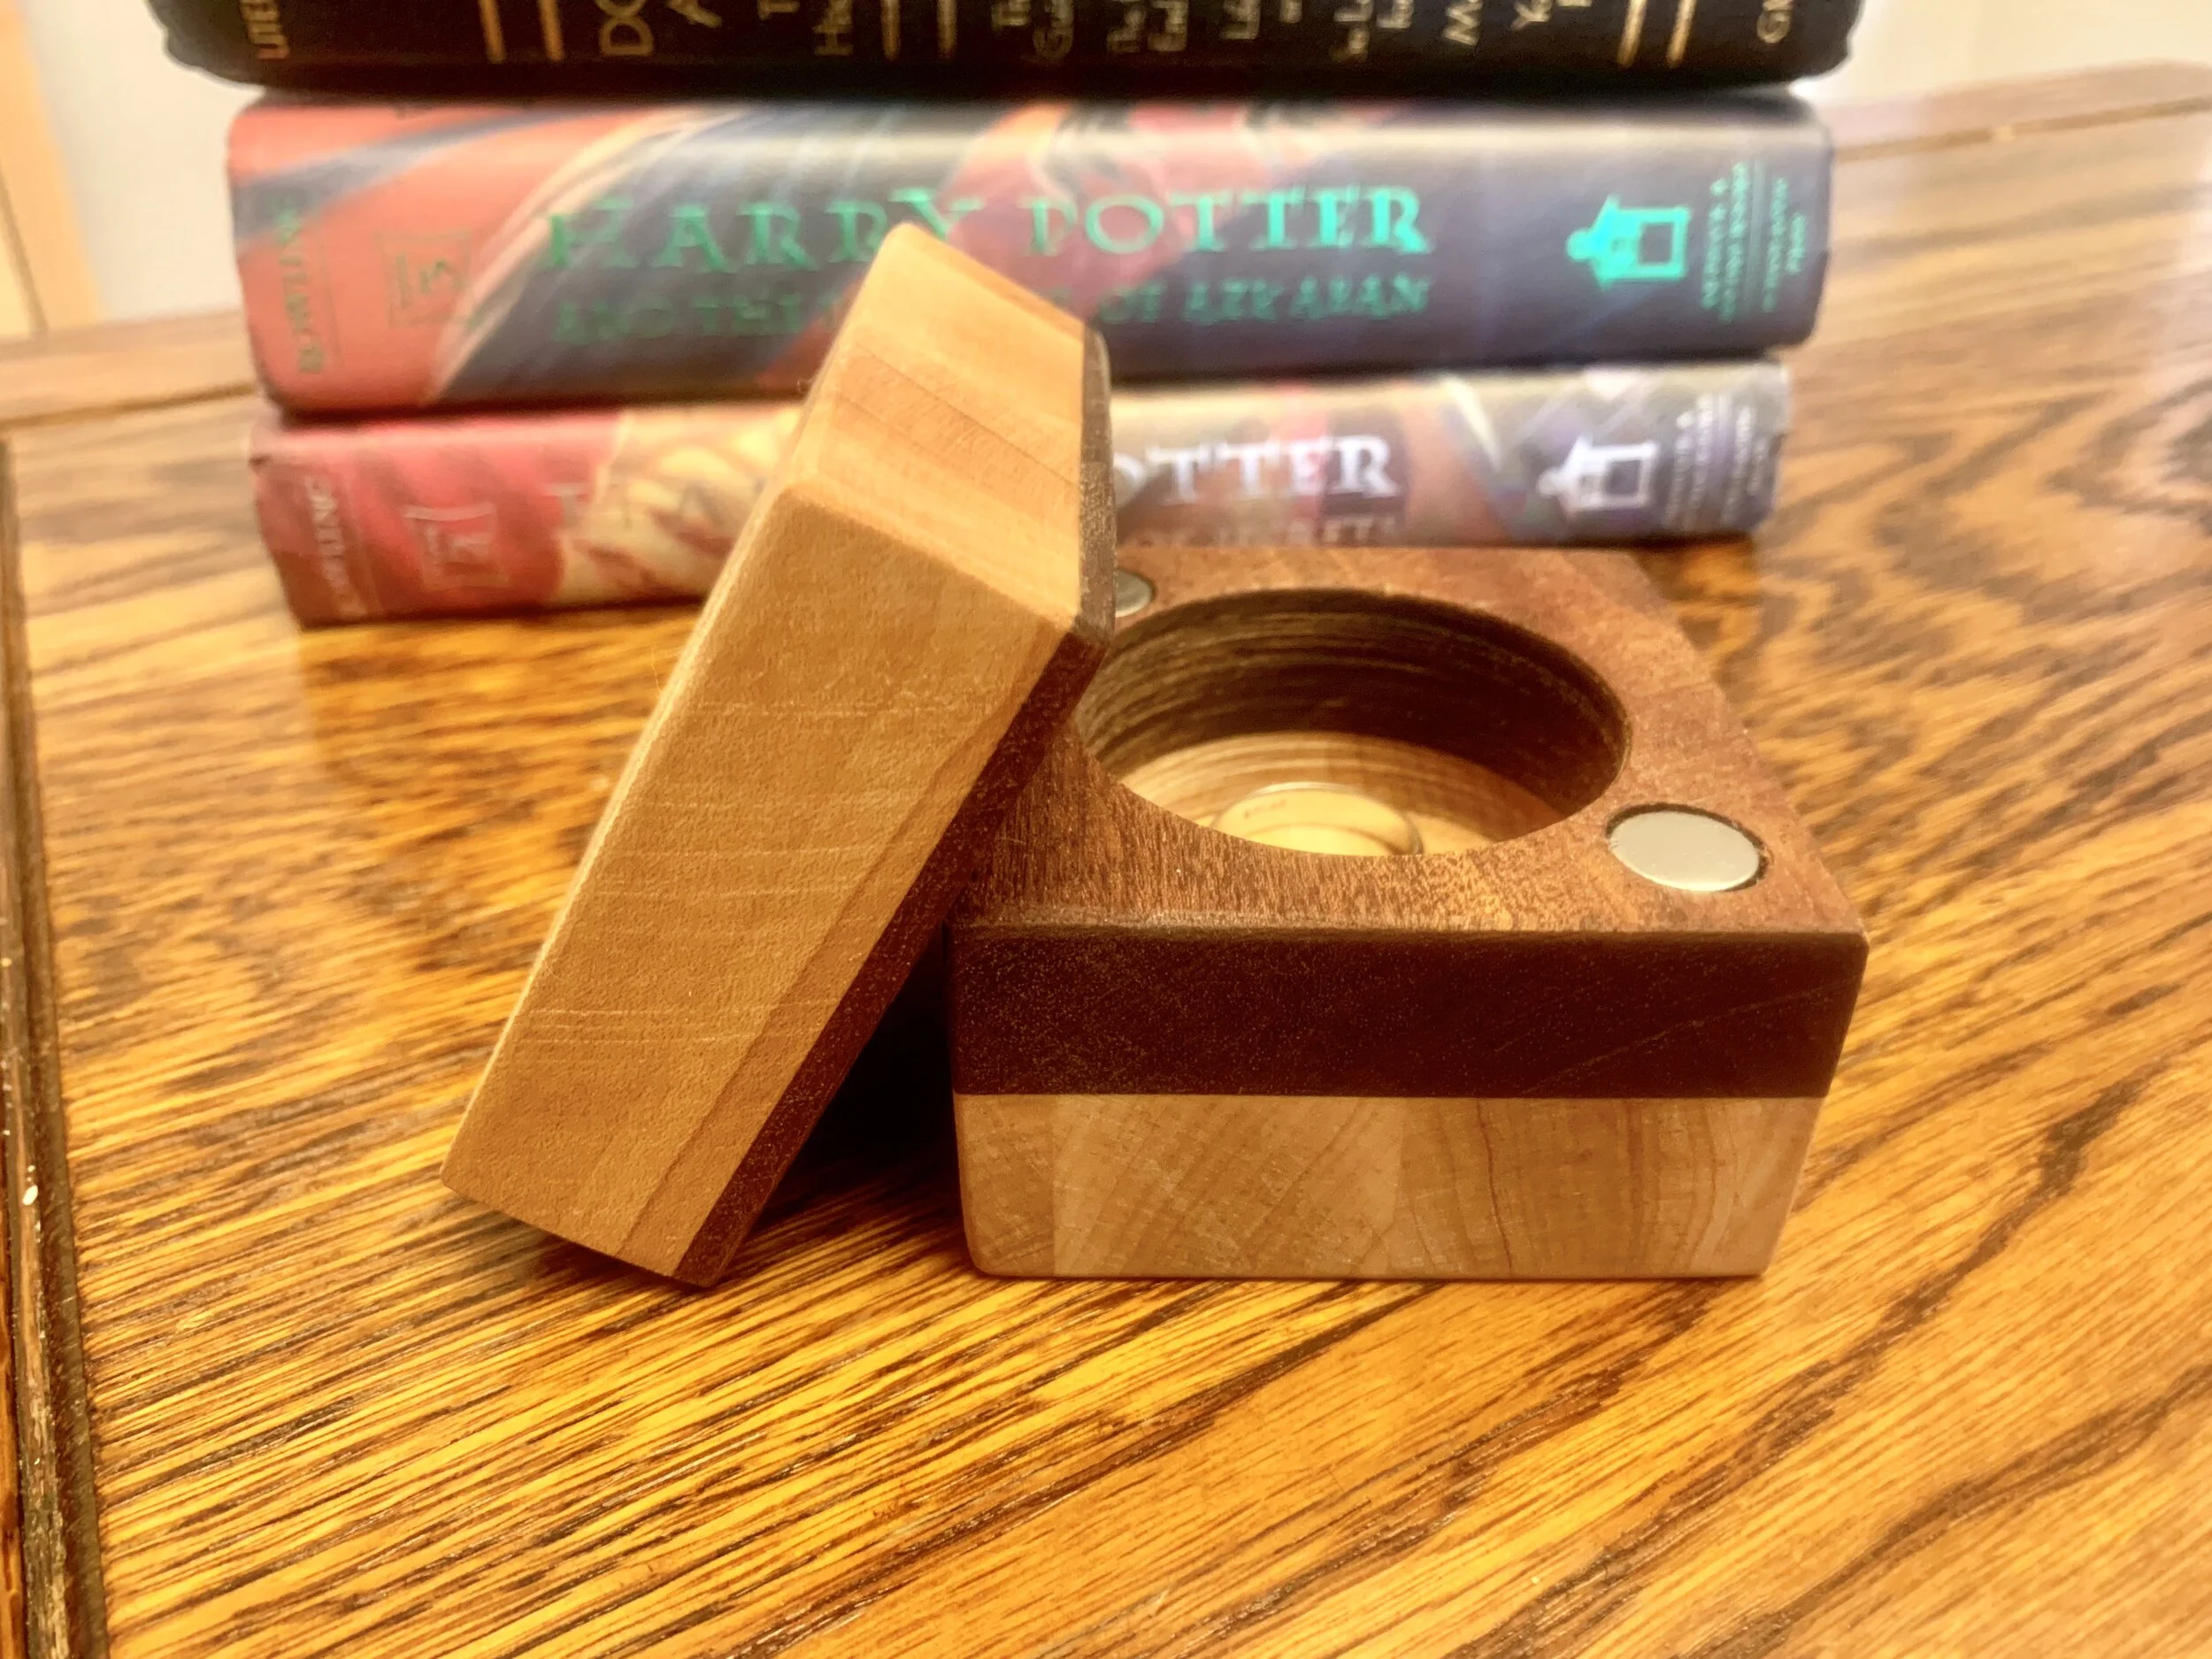
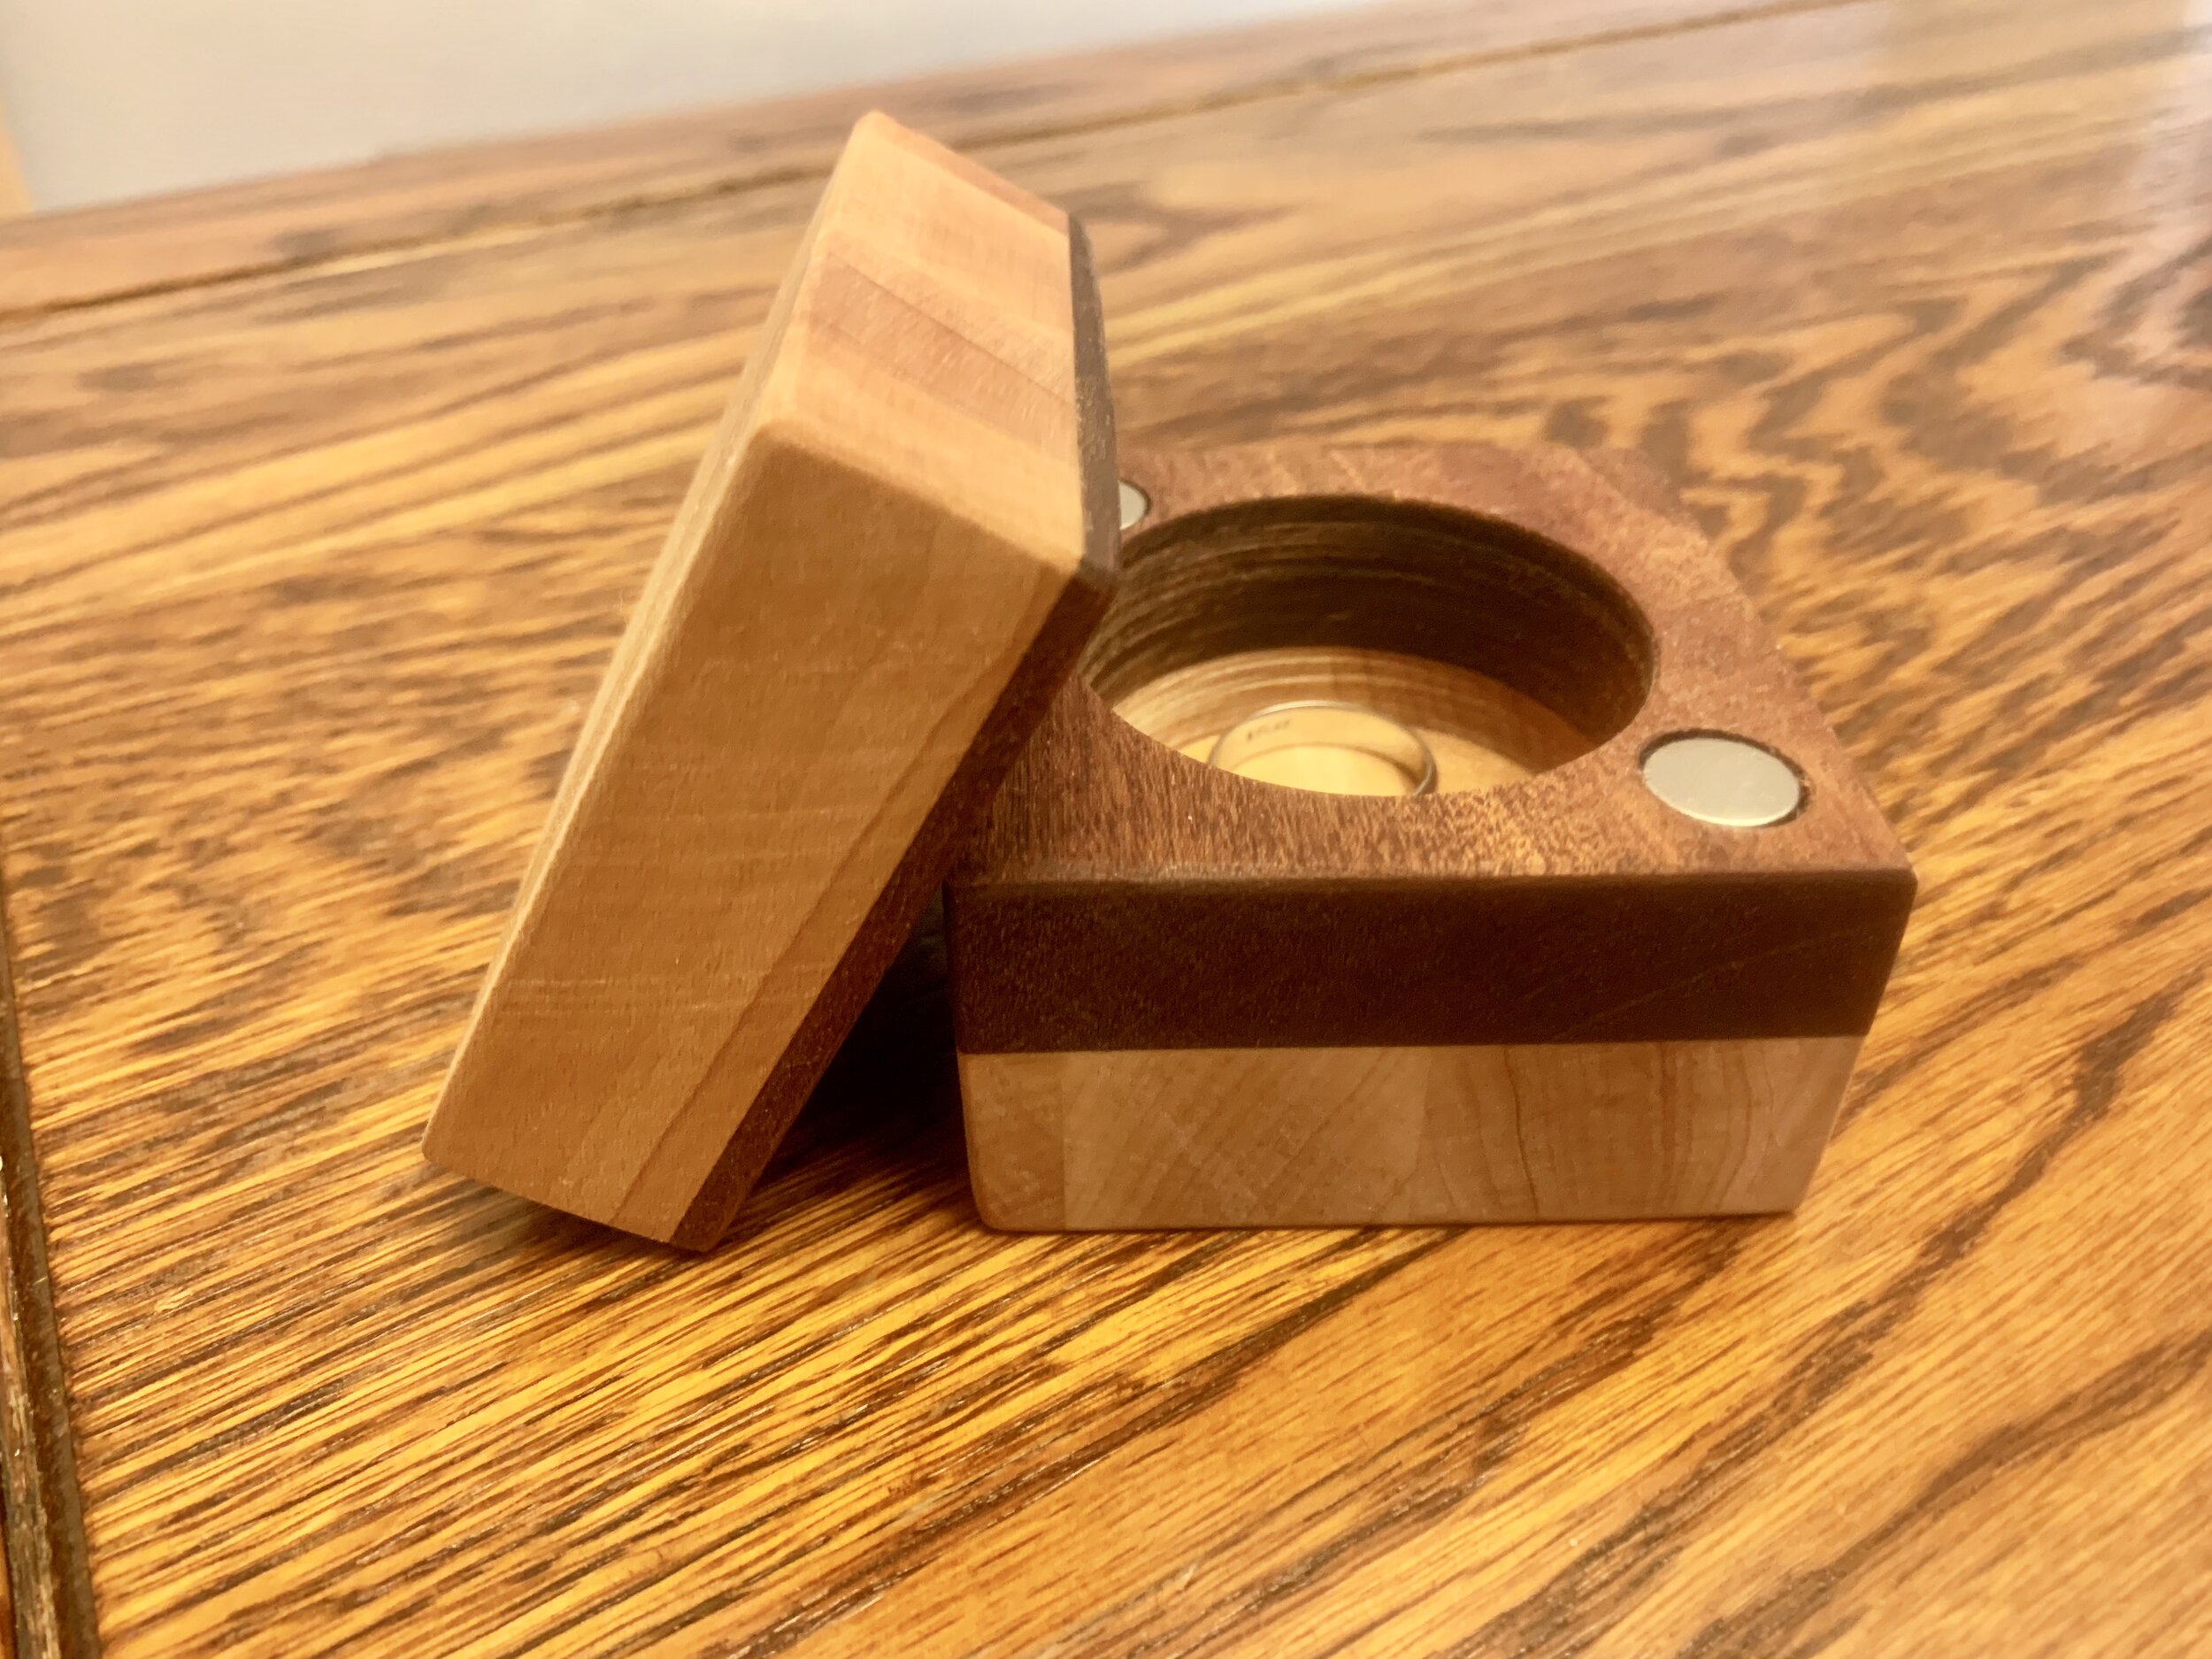
I put the bottom back in the hand screw clamps and took it over to my underpowered, for this job at least, drill press. I'm using a 2 inch forstner bit to drill out the hole. This went on for about 5 minutes and I gave up and switched to my power drill. I has much more success with my this method.
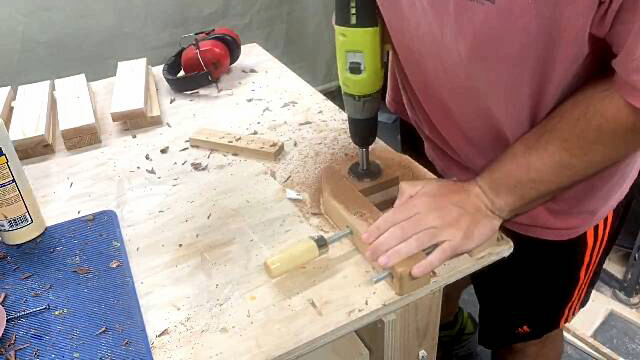
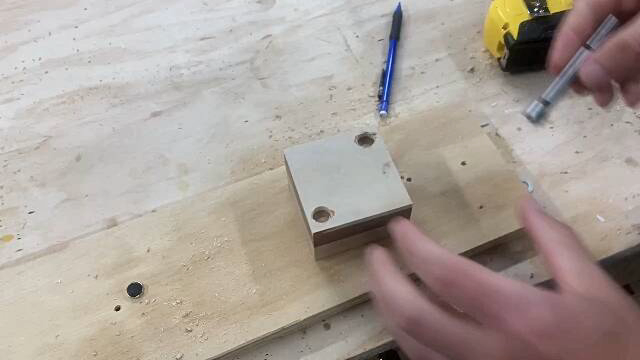
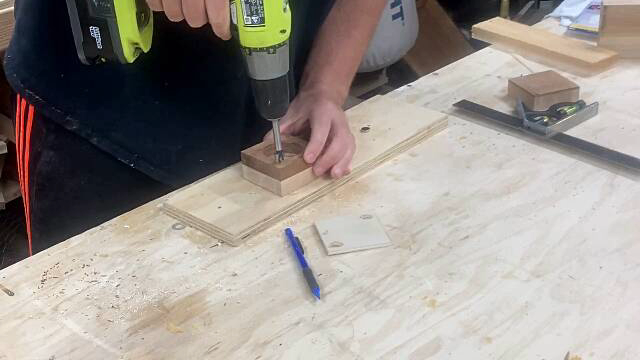
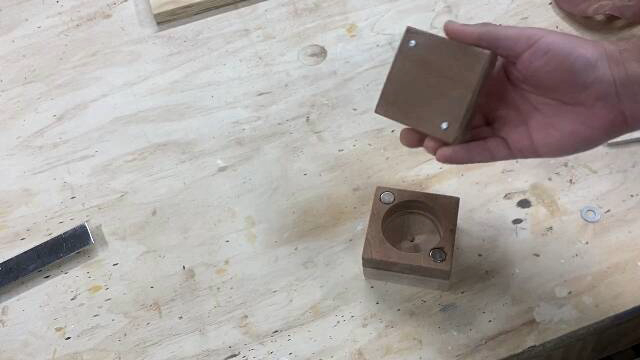
I'm going to hold the top and bottom together with two 1/2 inch neodymium magnets in opposite corners. The easiest way to evenly space and align the top and bottom is to make a template thats the same length and width of your box. Measure and drill out your holes...then use a half inch drill bit, preferably a forstner bit, to mark the center of the hole.
After that, just drill your hole to the proper depth. I opted for the drill a little bit and check method. I was going to put magnets on the top but I was worried the half inch magnets would be too strong and rip themselves out of the holes. Instead, I used some zinc rods. they hold the top on pretty well.

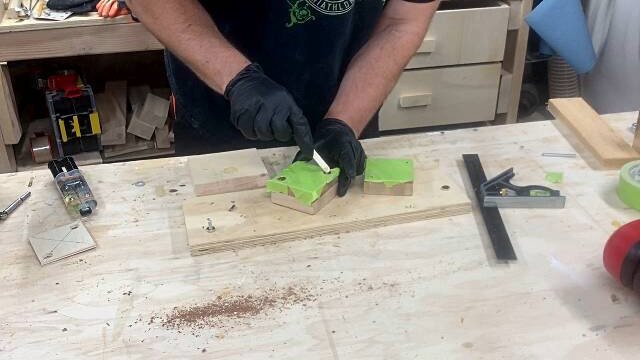
To hold the magnets in place I used some Gorilla Glue Epoxy. You could just use CA glue, I'd recommend Starbond, but I couldn't find my bottle. Pro Tip, do not use water to wipe away CA glue, it will turn everything white and you don't want to worry about sanding around the magnets.
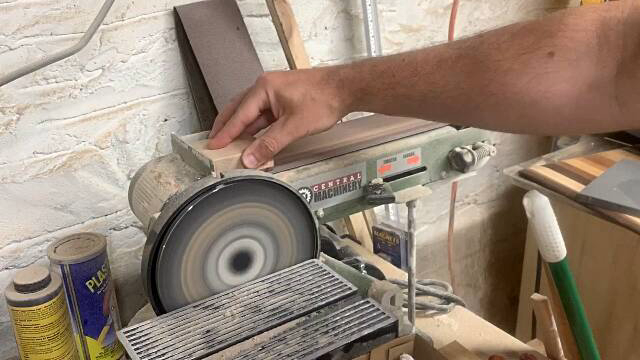
Everything holds together while shaking but I couldn't hammer in the rods far enough and there was a gap. So, I used my belt sander to flatten them out. There is one thing I should mention...DO NOT SAND the MAGNETS, you can demagnetize them with heat. Also, if you put the magnets it backwards, do not try to drill them out, you'll ruin your drill bit, even if they're made for metal. Your best bet is to break it with a hammer and a punch, then dig it out.
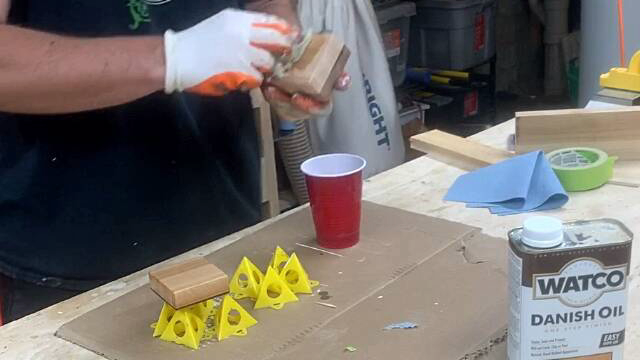
Once I sanded the top flat, it was a near perfect fit. I sanded everything down to 400 grit and For a finish, I applied two coats of Danish oil.
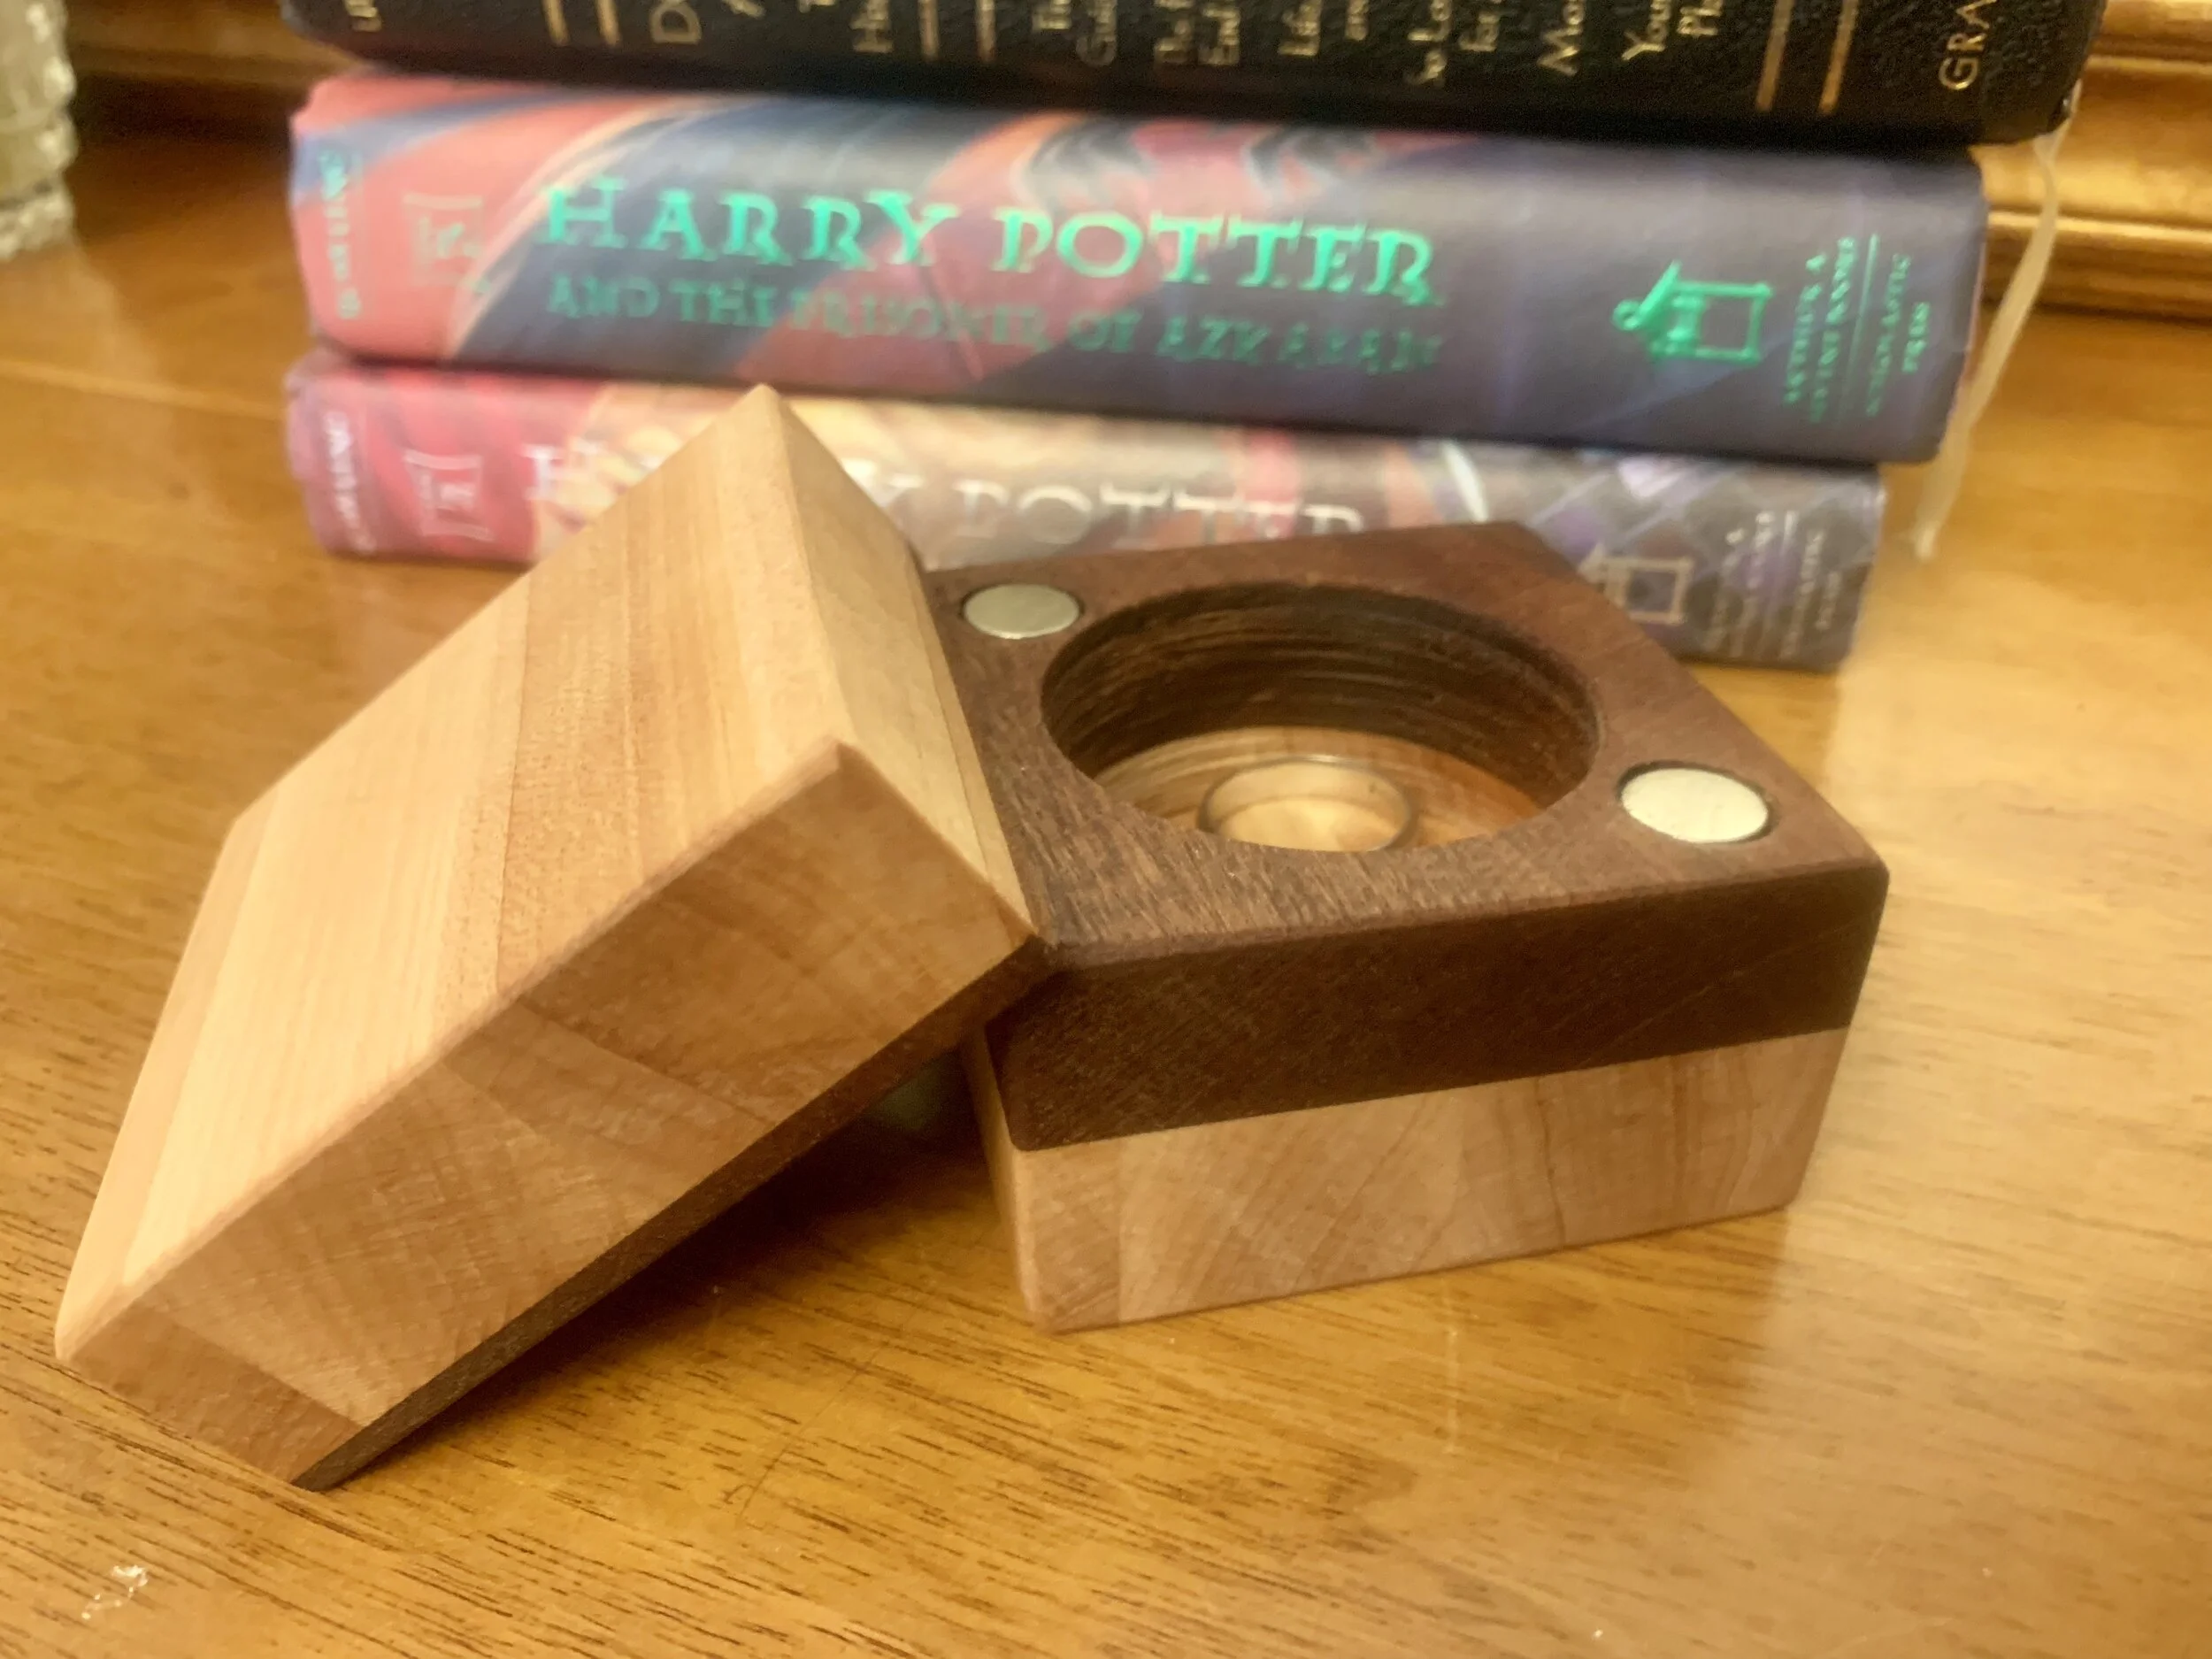
This turned out to look fantastic. I keep it on the top of my dresser and I'll always know where my rings are.


Build the perfect creative space for your young maker with our DIY Kids Workbench Plans. This digital download includes a full parts list, cutting diagram, and step-by-step instructions with CAD drawings. Kid-sized design, pegboard tool storage, and fun, skill-building activities make this an ideal parent-child project. Download instantly and start building today!